Products
Solutions
Resources
9977 N 90th Street, Suite 250 Scottsdale, AZ 85258 | 1-800-637-7496
© 2024 InEight, Inc. All Rights Reserved | Privacy Statement | Terms of Service | Cookie Policy | Do not sell/share my information

Users can customize the layout of columns in all registers. Each user can have up to three personal custom views of each register. These are in addition to views customized specifically for their Project and/or their Company. The instructions below are based on the Inbox mail register but apply equally to other registers.
From within the Inbox mail register, go to More, Register View and then Customize.
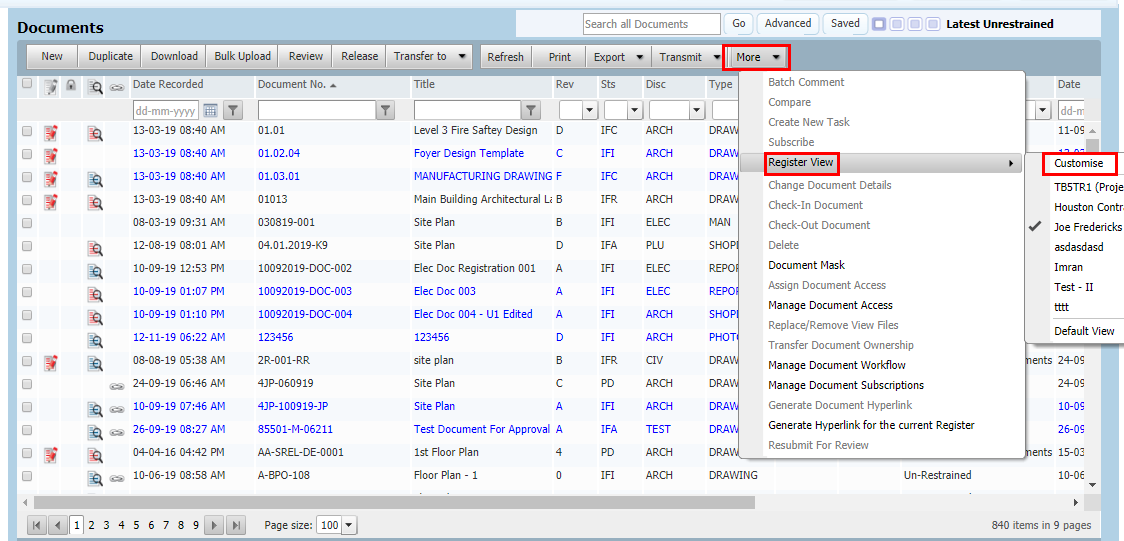
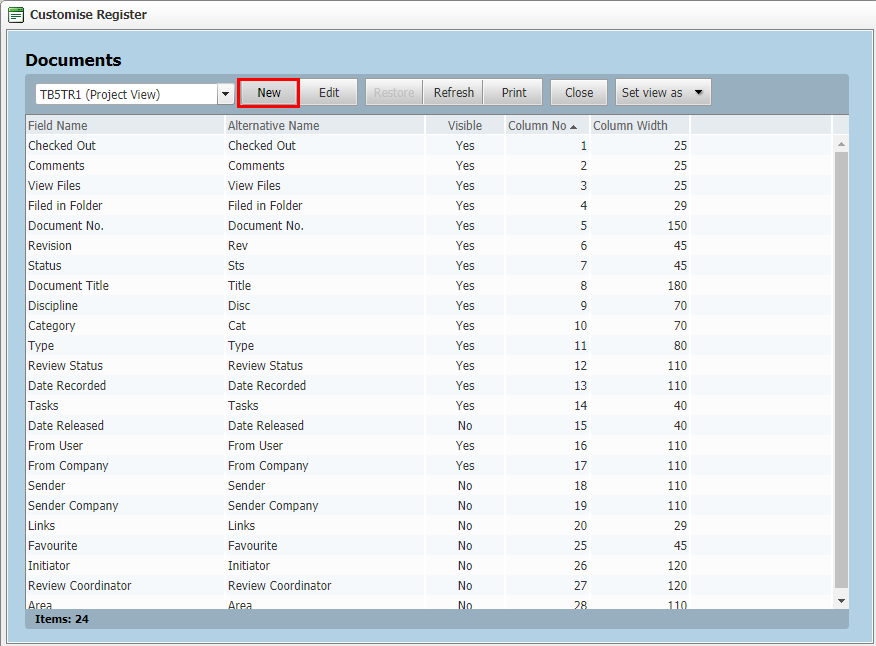
The available columns (Field names) are listed.
To add a new View, choose New. Enter a View Name and Save.
To change the settings for any field name double click and alter the Edit Column settings window.
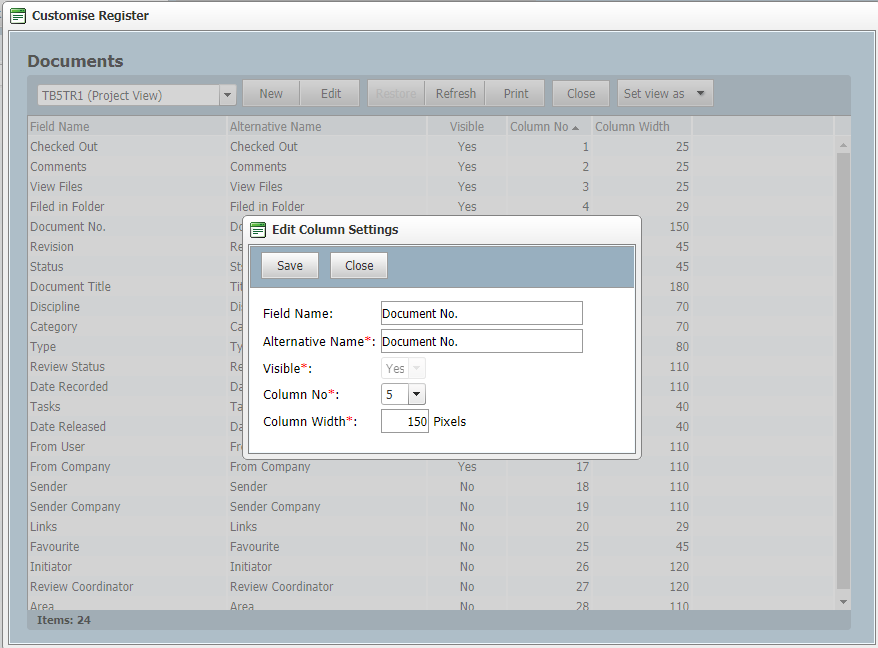
The options for each column are:
Alternative field name: The text to be displayed in the column heading.
Visible: This controls whether the column is displayed or not.
Column No: This controls the position from left to right of the column.
Column Width: Defined in Pixels
Click Save when done and OK when prompted.
To edit a current view, choose the View from the dropdown option in the Customize Register window and Edit.
Not all columns can have alternative names.
Use the Set View as button and select either Project View or Company View to define these custom views (access permitting).
To select the required custom view when accessing the register, go to More, Register View and select the required view.
Additional Information
9977 N 90th Street, Suite 250 Scottsdale, AZ 85258 | 1-800-637-7496
© 2024 InEight, Inc. All Rights Reserved | Privacy Statement | Terms of Service | Cookie Policy | Do not sell/share my information