Products
Solutions
Resources
9977 N 90th Street, Suite 250 Scottsdale, AZ 85258 | 1-800-637-7496
© 2024 InEight, Inc. All Rights Reserved | Privacy Statement | Terms of Service | Cookie Policy | Do not sell/share my information

External contacts are contacts that need to be sent mail or documents but are not required to log in to InEight Document as a user.
External contacts are set up in the Contacts settings in the same way as users of InEight Document. They are indicated as external using by selecting the External Users check box in the user creation details window.
The following differences apply to external contacts:
Mail sent to an external contact is received as an email rather than a notification about mail.
A copy of all mail sent to an external contact is maintained in the Inbox of the contact in case they change from an external contact to an InEight Document user.
If an external contact replies directly to mail received from InEight Document, the mail is routed back into the InEight Document Unregistered Mail folder for processing.
All other notifications generated by InEight Document such as transmittals operate normally for external contacts. If an external contact is changed to an InEight Document user, they will see all mail and transmittals sent to them as though they had been an InEight Document user from the beginning.
Summary: Create an external contact to give access to Document. All Document users are contacts. Internal contacts are first configured as external contacts.
Quick steps:
From the Module Menu, hover over Address book and select Contacts.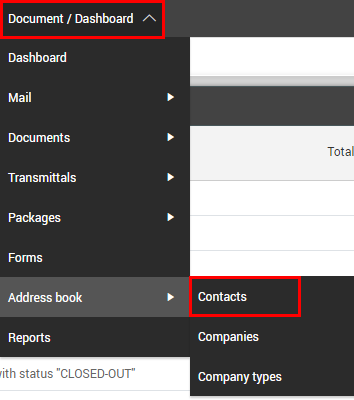
Click the Add icon.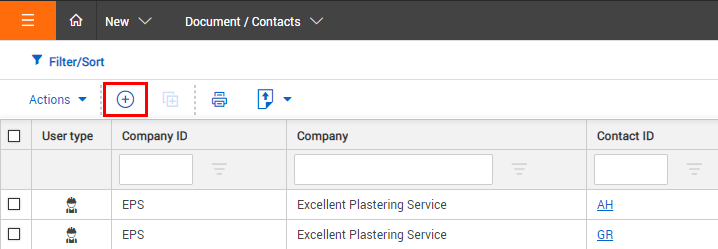
Fill in the contact details.
Select the External contact check box.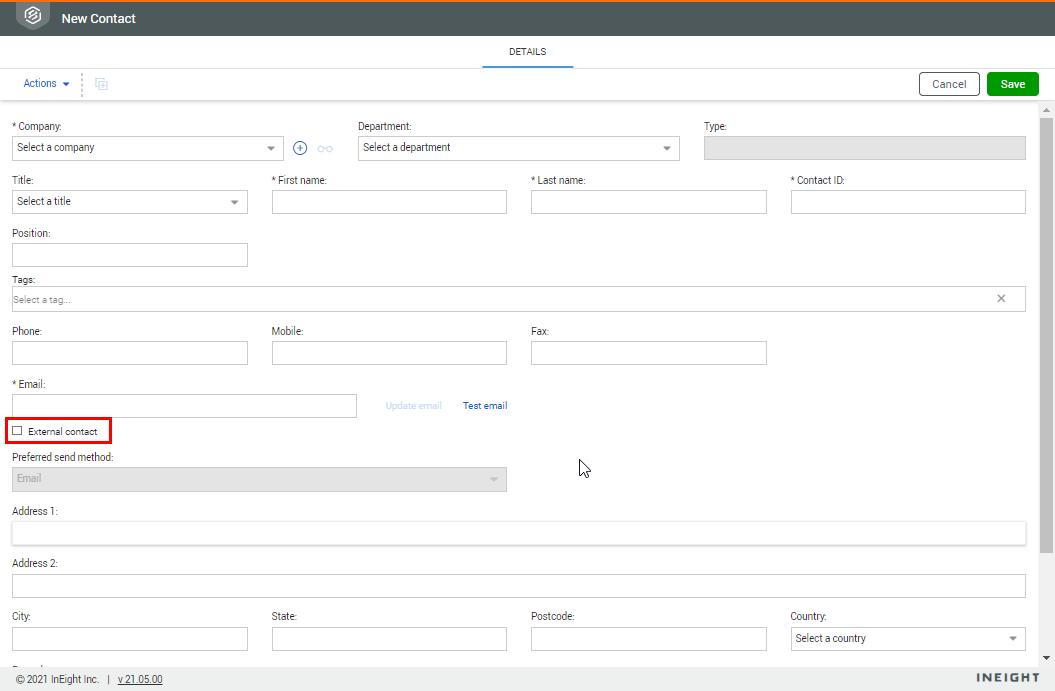
Double click the contact to open it.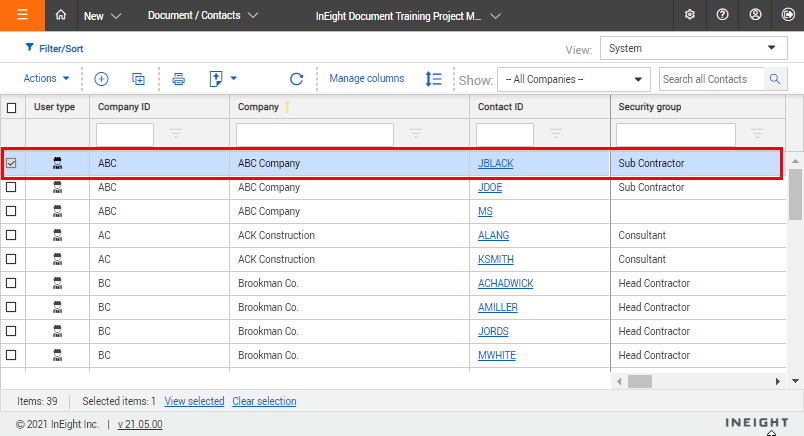
Click the User Security tab.
Select the access level for each module.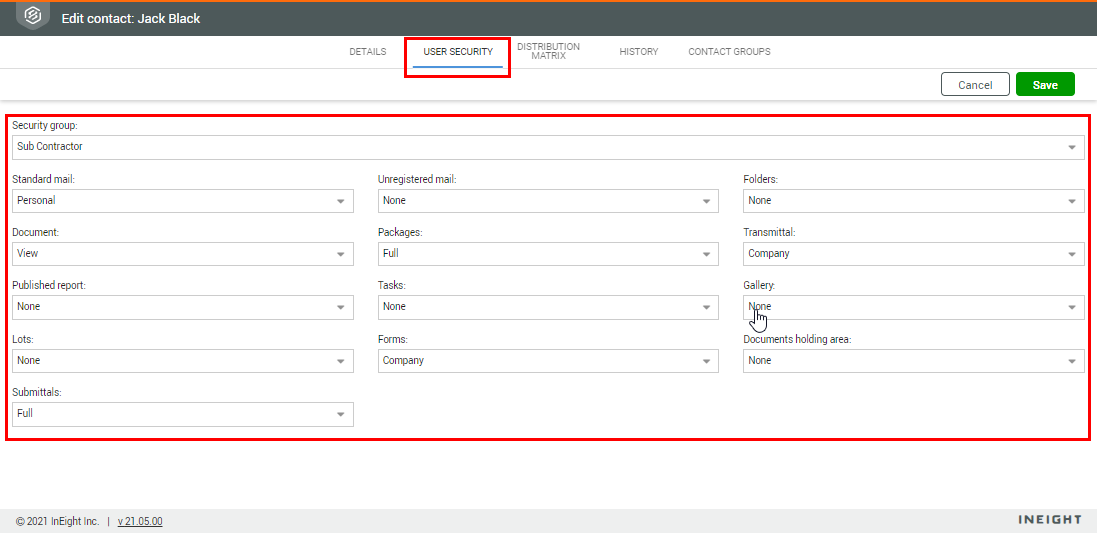
Click Save. The user is added to the Contacts register.
Add or view user information on the following tabs:
You can add security for Document features on the User security tab
You can add contacts to a distribution rule on the Distribution Matrix tab
You can view the history of the contact configuration on the History tab
You can add the contact to one or more contact groups on the Contract groups tab
You can add Roles for the contact on the Roles tab.
When a contact is made inactive they will not receive notifications. They are also removed from listed document distribution rules and any assigned security groups.
If an inactive contact is made active again, you will be prompted to reinstate their previous access level.
Additional Information
9977 N 90th Street, Suite 250 Scottsdale, AZ 85258 | 1-800-637-7496
© 2024 InEight, Inc. All Rights Reserved | Privacy Statement | Terms of Service | Cookie Policy | Do not sell/share my information