Products
Solutions
Resources
9977 N 90th Street, Suite 250 Scottsdale, AZ 85258 | 1-800-637-7496
© 2024 InEight, Inc. All Rights Reserved | Privacy Statement | Terms of Service | Cookie Policy | Do not sell/share my information

Logging defects in the web application helps you track and manage the defects that occur during the project.
Summary: Log a defect to help you keep an accurate record of ab issue that has occurred on your project.
Considerations: The inspection list must be in place before logging defects. Defect validation is dependent on all fields.
From the Module Menu, hover over Defects, and then select Defect Register.
Click the Add icon. This opens the New Defect dialog box.

In the Details tab, enter the following information:

Inspection Company and Inspector
Defect Location within the Project Inspection List and the type of defect
Sub contractors

Defect Orientation and Position if further clarification is required
Whether the defect has passed inspection
Additional notes or a Client Reference; and
Mark whether the defect is complete or not.
After entering all the Defect details, click Save.

Click the Sub Contractors tab to open a list of all subcontractors assigned to the current defect.

Assign a sequence to each of the subcontractors. The sequence determines the order in which subcontractors are assigned to rectify the defect. The first subcontractor is assigned number 1.

After selecting the sequence, enter the estimated hours for fixing the defect and the estimated cost .
Enter the due date. This is the date by which the subcontractor is required to finish fixing the defect.
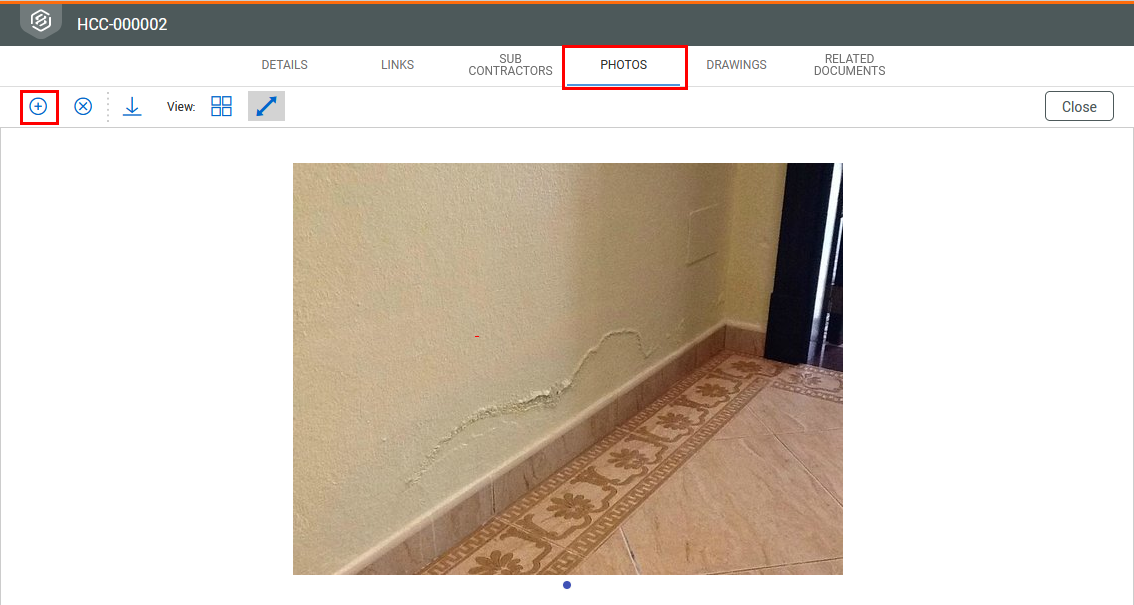
Attach related photos to the defect by selecting the Photos tab and then selecting the Plus icon.
What's next: You can link a drawing from the Documents register at any time using the Link a document function on the Drawings page. You can also use the New defect tool in the viewer to pin a defect on the drawing.
Summary: Link a drawing that already exists in the Documents register, so you do not create duplicate documents.
Considerations: You can also add drawings to the inspection list, but they are not available in the Documents register. This feature is available for PDF files only.
From a saved defect, go to the Drawings tab.
Click Link a document.

A dialog box that lets you search the Documents register opens
Optionally, select the Markup tab in the viewer, and then use the pin tool to show point out the defect.
Additional Information
9977 N 90th Street, Suite 250 Scottsdale, AZ 85258 | 1-800-637-7496
© 2024 InEight, Inc. All Rights Reserved | Privacy Statement | Terms of Service | Cookie Policy | Do not sell/share my information