Products
Solutions
Resources
9977 N 90th Street, Suite 250 Scottsdale, AZ 85258 | 1-800-637-7496
© 2024 InEight, Inc. All Rights Reserved | Privacy Statement | Terms of Service | Cookie Policy | Do not sell/share my information

The Documents Register makes working with documents easy. You can perform a number of actions on documents after they are uploaded into the Documents Register.
See the links below for information on how to work with documents.
The check out functionality can be used for various reasons, such as when documents need to be placed on hold if they have been released too early. This prevents other users from downloading the document while it is being updated.
After any changes are completed the document can be checked in, meaning users can download it again.
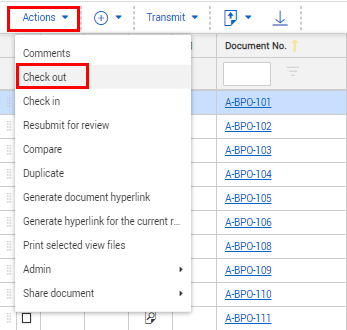
Select the document.
Click Actions and select Check out.
Enter a reason for checking out the document.
If you want to completely remove access to the document (and while it’s checked out, select the Remove Access check box.
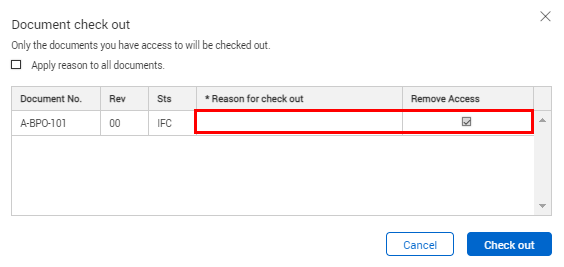
Click Check out.
Click Yes to confirm.
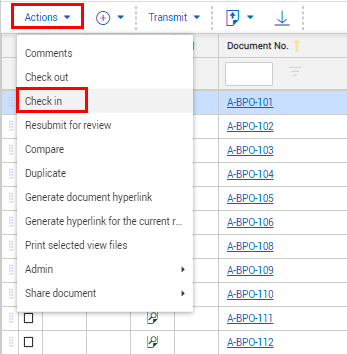
Select the document in the Register.
Click Actions and select Check in.
Enter the reason for checking in the document.
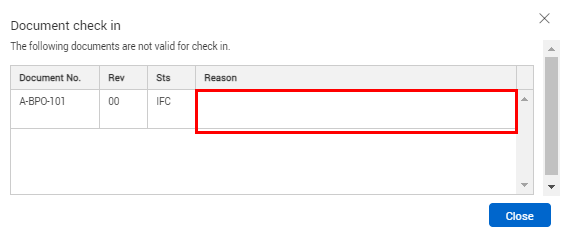
Click Check in.
Click Yes to confirm.
There are times where documents may need to be deleted from the Document Register. You can delete documents through the Admin menu if you have access to this function.
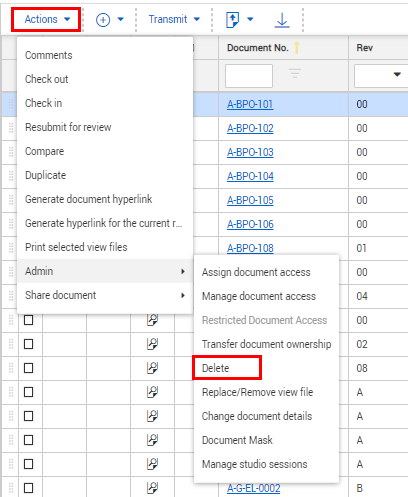
Select the document.
Click Actions.
In the Admin menu, select Delete.
Enter a reason for the deletion.
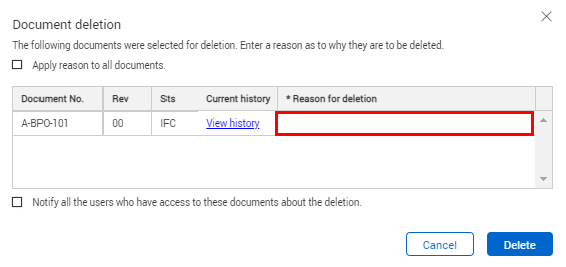
If you want to apply the same reason to all documents, select the first check box.
If you want to notify all users who have access to the document, select the second check box.
Click Delete.
Click Yes to confirm.
There are times when a deleted document needs to be restored to the Documents register. If you have the proper security group permissions, you can restore deleted files and comments. If a document has been deleted within the last 30 days, the document is restored with comments. If it is after 30 days, it is uploaded to the Documents register as a new document.
You can restore a deleted document if a document was deleted accidentally or if you find you need a document that was deleted.
You must have the applicable permissions to restore documents. If you do not have the proper security group permission, see your system administrator.
From the module navigation, go to Documents > Deleted items.
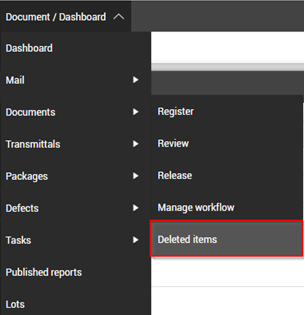
The Manage deleted documents register opens.
Select the documents you want to restore, and then click Actions > Restore.
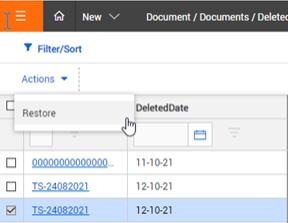
If the document had been deleted in the last 30 days, the document and any comments are returned to the Documents register. The document history shows that the document has been restored.
If a document you restored was deleted more than 30 days ago, the New document upload screen is shown with the relevant metadata and the view files. You must add the document as new. The newly added document does not have any previous comments or other associations.
You can add comments to documents and control who can view them.
Select the document in the Register.
Click Actions and select Comments.
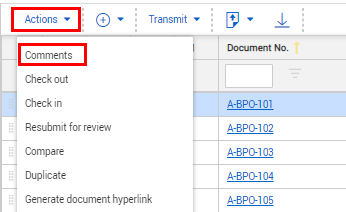
Enter the comment details.

Click Save.
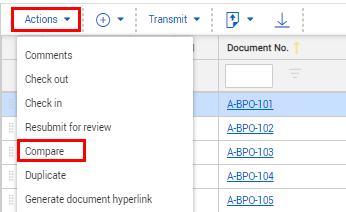
Select the documents.
Click Actions and select Compare.
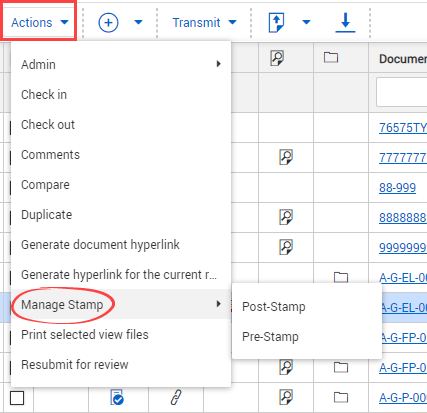
If the Vendor Data module is enabled, you can apply pre-review and post-review stamps to documents.
Click Actions.
In the Manage Stamp menu, select Post-Stamp.
Select the date.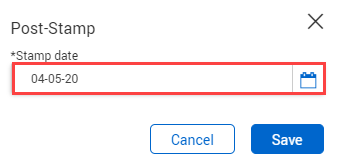
Click Save.
Click Actions.
In the Manage Stamp menu, select Pre-Stamp. The pre-stamp will be applied to the document.
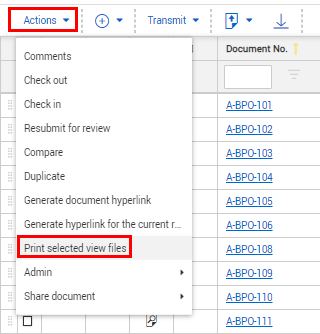
Print document view files directly from the Documents Register.
Click Actions and select Print selected view files.
Select the view files you want to print.
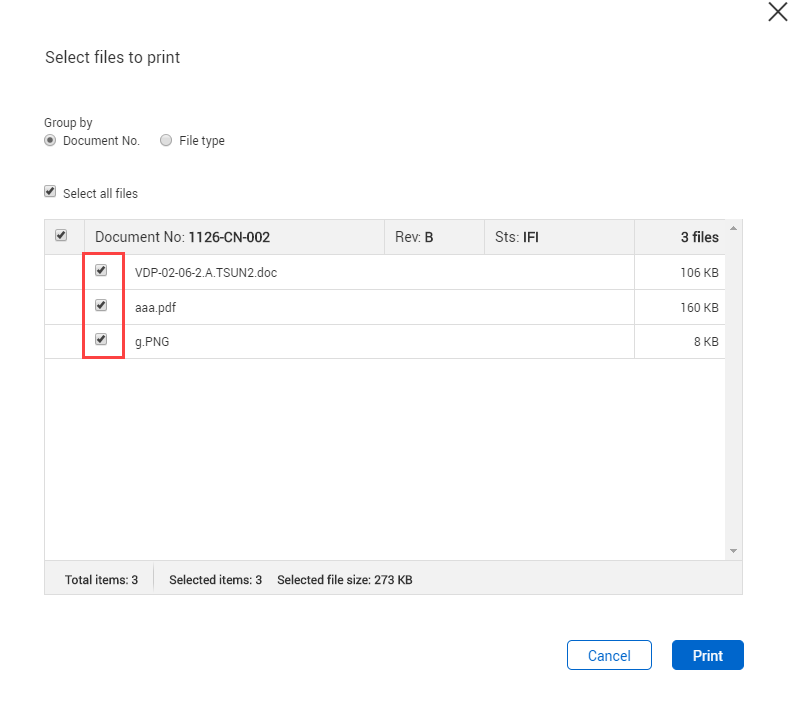
Click Print.
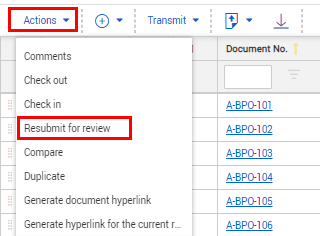
Resubmit documents for review directly from the Documents Register.
Click Actions and select Resubmit for review.
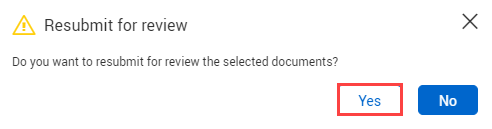
Click Yes.
Favorite documents to easily access them.
Click Manage columns.

Select Favorites and click the arrow icon.
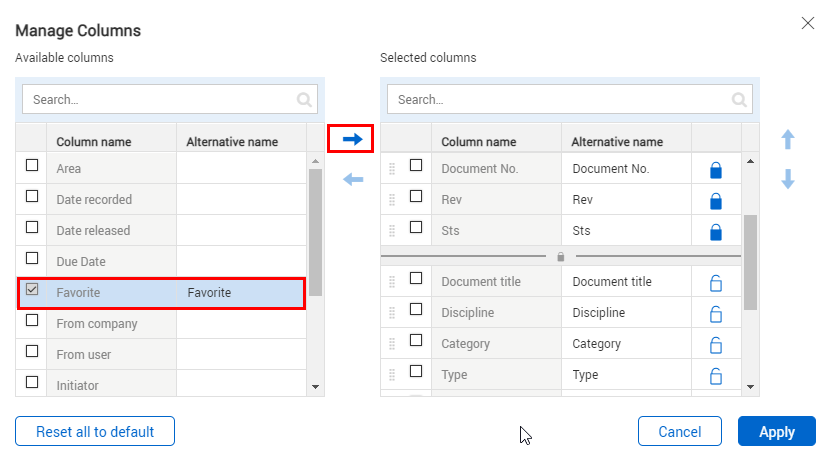
Click Apply.
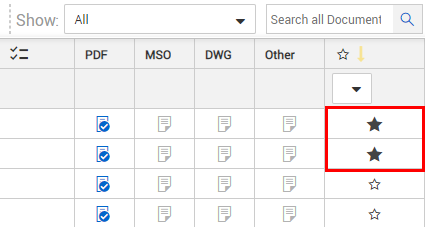
In the Register, find the document you want to favorite.
Click the favorite icon.
Additional Information
9977 N 90th Street, Suite 250 Scottsdale, AZ 85258 | 1-800-637-7496
© 2024 InEight, Inc. All Rights Reserved | Privacy Statement | Terms of Service | Cookie Policy | Do not sell/share my information