Products
Solutions
Resources
9977 N 90th Street, Suite 250 Scottsdale, AZ 85258 | 1-800-637-7496
© 2024 InEight, Inc. All Rights Reserved | Privacy Statement | Terms of Service | Cookie Policy | Do not sell/share my information

See the tables below for a list of settings available in each tab.
|
Setting |
Explanation |
|---|---|
|
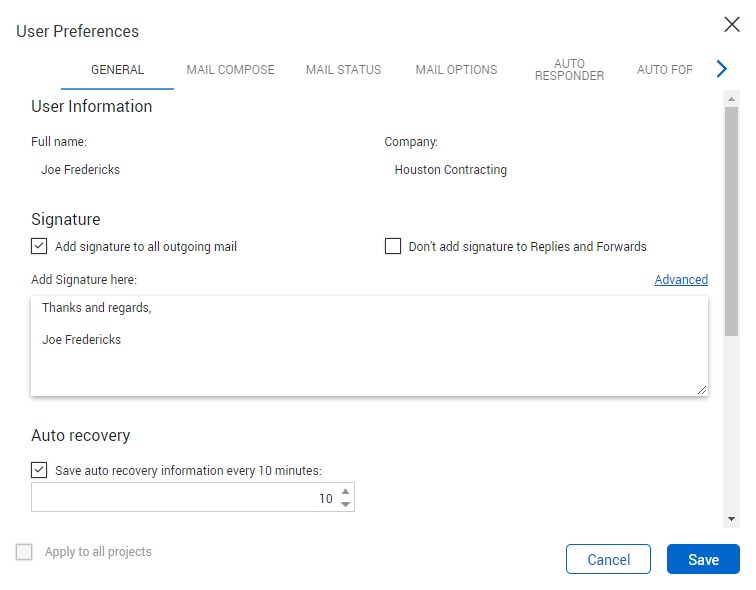
Add signature to all outgoing mail. |
Use this option to set up a default signature to be included in your mail. |
|
Don’t add signature to Replies and Forwards. |
Use this option to exclude the signature when replying to and forwarding mail. |
|
Setting |
Explanation |
|---|---|
|
Save auto recovery information every _ minutes: |
Use this option to set how frequently InEight Document saves mail you are composing for auto-recovery purposes. |
|
Setting |
Explanation |
|---|---|
|
Hide duplicate department/company items in Inbox Mail/Transmittal Register. |
Use this option to hide duplicate department and company items in the main and transmittal inboxes. |
|
Default markup color. |
Use this option to set the color for redlining documents. |
|
Default view: |
Use this option to select your most used Register or Dashboard view. This view loads when you log in. |
|
Automatically refresh Dashboard every _ minutes: |
Use this option to set how frequently the Dashboard refreshes. |
|
Auto allocate all revisions to folders when adding documents. |
Use this option to automatically allocate new revisions to folders when adding documents. |
|
Setting |
Explanation |
|---|---|
|
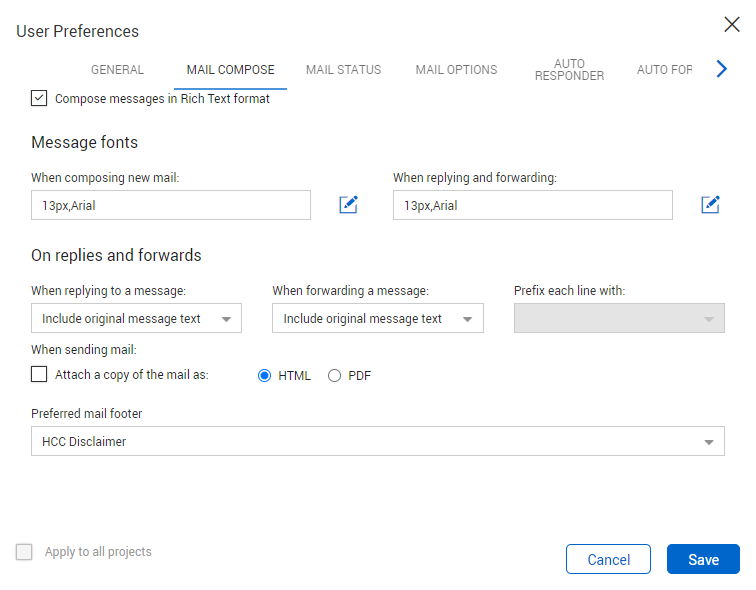
Compose messages in Rich Text format. |
Use this option to compose messages in Rich Text format. |
|
Setting |
Explanation |
|---|---|
|
When composing new mail: |
Select the font to use when composing new mail. |
|
When replying and forwarding: |
Select the font to use when replying to or forwarding mail. |
|
Setting |
Explanation |
|---|---|
|
When replying to a message: |
Use this option to choose whether the original message will be sent with your reply. |
|
When forwarding a message: |
Use this option to choose whether the original messages will be sent with your reply. |
|
Prefix each line with: |
Use this option to add a prefix to each line. |
|
Attach a copy of the mail as: |
Use this option to choose whether to include a PDF or HTML version of the mail when sending. |
|
Preferred mail footer. |
Use this option to select your preferred mail footer. |
|
Setting |
Explanation |
|---|---|
|
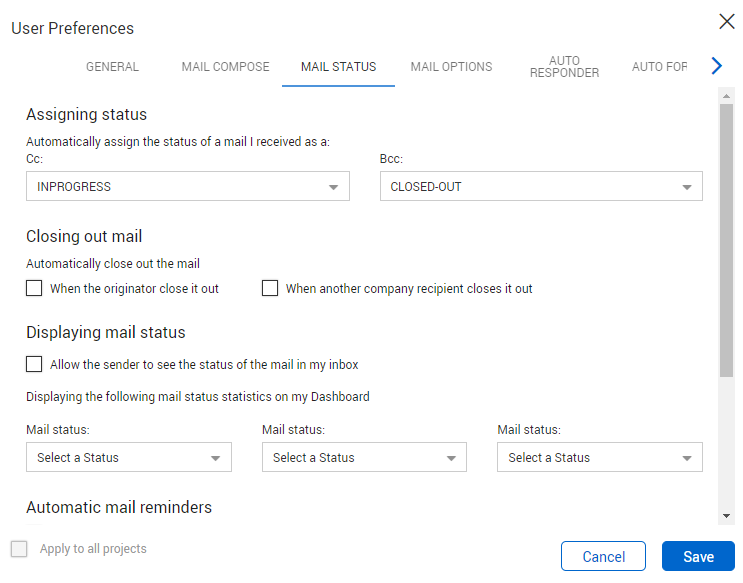
Automatically assign the status of mail I received as a Cc: |
Use this option to automatically assign a status value to incoming mail you receive as a Cc. |
|
Automatically assign the status of mail I received as a Bcc: |
Use this option to automatically assign a status value to incoming mail you receive as a Bcc. |
|
Setting |
Explanation |
|---|---|
|
Automatically close out mail:
|
Use this option to enable mail to be automatically closed out by either the originator or a company recipient. |
|
Setting |
Explanation |
|---|---|
|
Allow the sender to see the status of the mail in my inbox. |
Use this option to allow the sender to see the status of the mail in your inbox. |
|
Displaying the following mail status statistics on my Dashboard. |
Use this option to select the mail status statistics you want shown on your Dashboard. |
|
Setting |
Explanation |
|---|---|
|
Automatically send me a reminder for mail at the following status: |
Use this option to receive a reminder for mail with a specific status, such as In Progress. |
|
Send a reminder every _ business day(s). |
Use this option to set how often you want to receive reminders. |
|
Include (regardless of status) mail: |
Use this option to set whether you want to be reminded of all mail or only mail where the response is overdue. |
|
Setting |
Explanation |
|---|---|
|
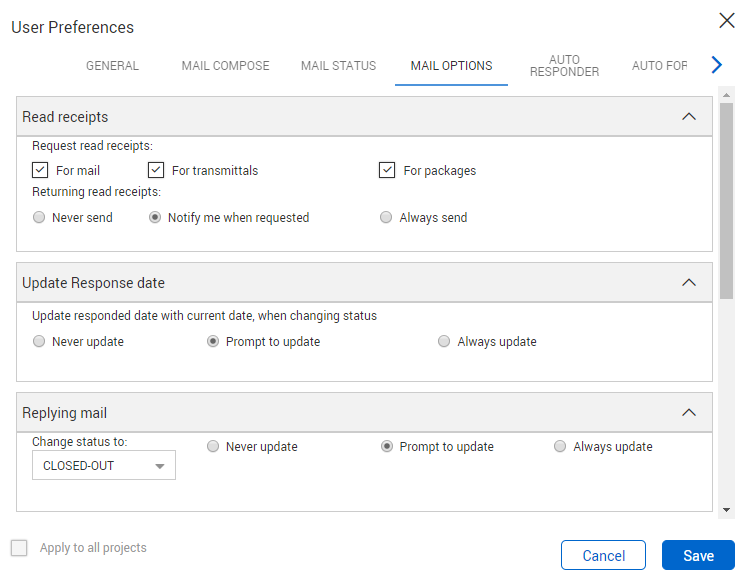
Request read receipts:
|
Use this option to request read receipts for mail, transmittals and packages. |
|
Returning read receipts:
|
Use this option to select whether to send read receipts, or to be notified when they have been requested. |
|
Setting |
Explanation |
|---|---|
|
Update responded date with current date, when changing status:
|
Use this option to select whether you want the date responded to be updated to the current date. |
|
Setting |
Explanation |
|---|---|
|
Change status to:
|
Use this option to automatically change the status of mail when you reply to it. You can also select whether you want to be prompted for this option. |
|
Setting |
Explanation |
|---|---|
|
When sending mail via Hard Copy:
|
Use this option to select whether Hard Copy mails are shown as a preview or printed immediately. |
|
Print Mail |
Explanation |
|---|---|
|
When sending mail:
|
Use this option to select whether you want to automatically print sent mail. |
|
Include internal notes:
|
Use this option to select whether you want to include internal notes when you print mail. |
|
Attaching Mail |
Explanation |
|---|---|
|
Attach mail as PDF document, when processed as document:
|
Use this option to automatically attach documents in PDF format. |
|
Setting |
Explanation |
|---|---|
|
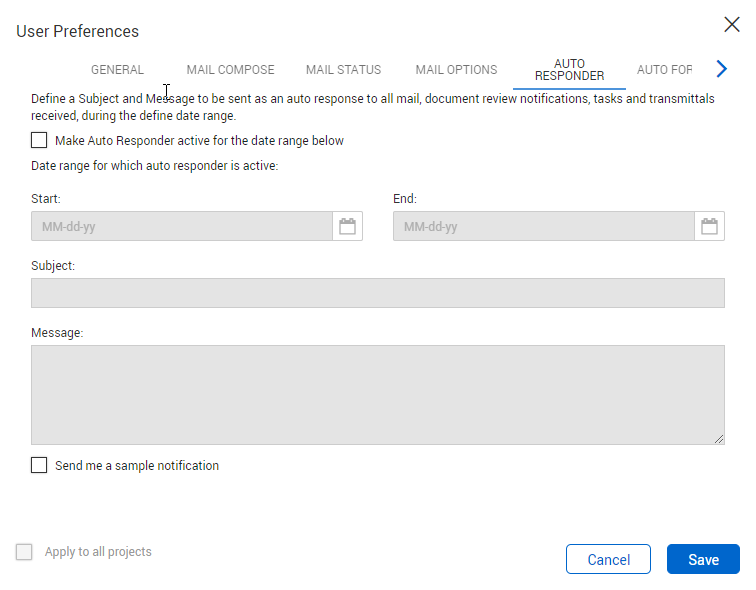
Make Auto Responder active for the date range below. |
Use this option to enable an automatic response for incoming mail. |
|
Start: |
Select the start and end dates for the autoresponder. |
|
Subject: |
Enter the subject of the autoresponder. |
|
Message. |
Enter the message of the autoresponder. |
|
Send me a sample notification. |
Use this option to send a sample notification to your email. |
|
Setting |
Explanation |
|---|---|
|
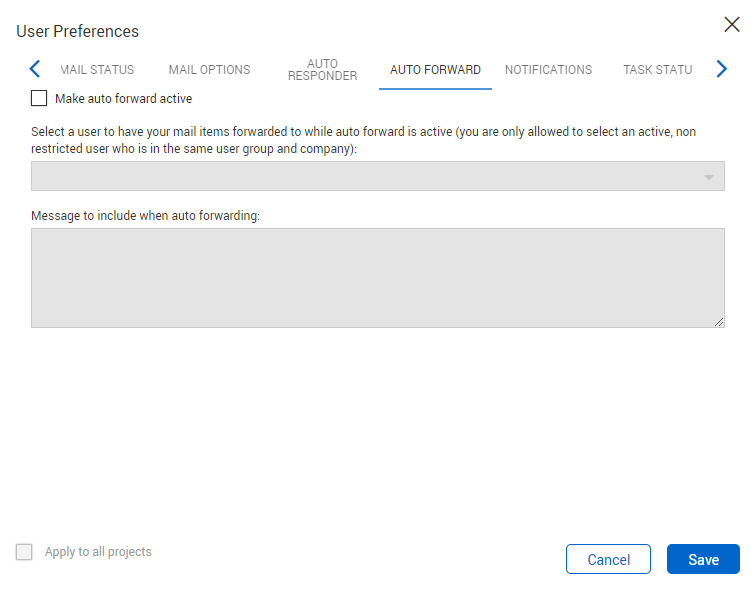
Make Auto forward active. |
Use this option to automatically forward any correspondence you receive to a designated person with a standard covering note. |
|
Select a user to have your mail items forwarded to while Auto forward is active (You are only allowed to select an Active, Non restricted user who is in the same user group and company). |
Use this option to select a user to receive the correspondence. |
|
Message to include when auto forwarding. |
Enter the message to include when auto forwarding correspondence. |
|
Setting |
Explanation |
|---|---|
|
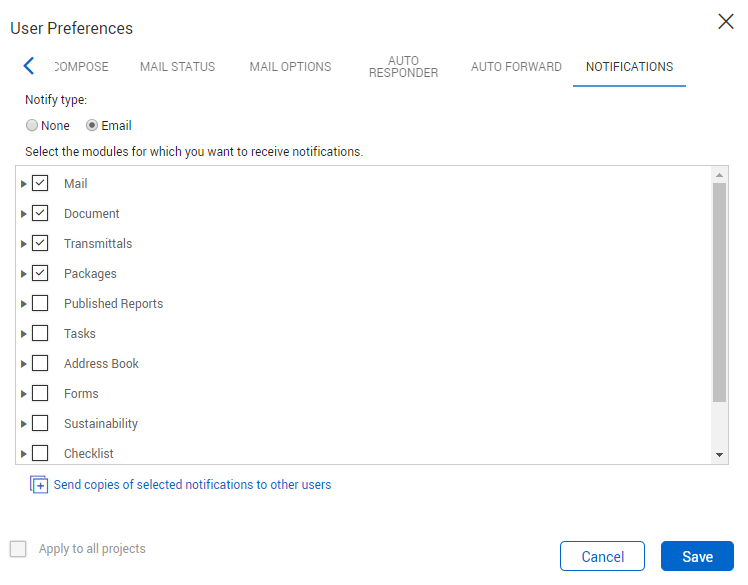
Use this option to select whether you want to receive notification by email for selected modules. |
|
Select the modules for which you want to receive notifications. |
Select the check boxes of modules you want to receive email notifications for. |
|
Send copies of selected notifications to other users. |
Use this option to select whether a copy of notifications is to be received by another user. |
Additional Information
9977 N 90th Street, Suite 250 Scottsdale, AZ 85258 | 1-800-637-7496
© 2024 InEight, Inc. All Rights Reserved | Privacy Statement | Terms of Service | Cookie Policy | Do not sell/share my information