Products
Solutions
Resources
9977 N 90th Street, Suite 250 Scottsdale, AZ 85258 | 1-800-637-7496
© 2024 InEight, Inc. All Rights Reserved | Privacy Statement | Terms of Service | Cookie Policy | Do not sell/share my information

There are some key functionalities you can use to manage mail in the Mail Register.
InEight also provides an Outlook Integration tool if you prefer to access your InEight Document Mail using Microsoft Outlook.
For more information on how to manage mail, see the information below.
Every mail item has a status. Filter mail by status to see which items require action from you or a recipient. Manage resolved mail items by changing their status to closed out. You can also automatically set mail items to be given an automatic status in user preferences.
Select the mail and click Actions.
In the Change status to menu, select the new status.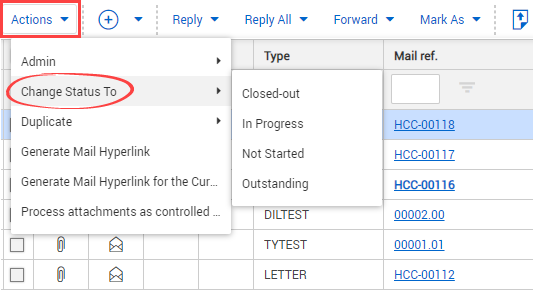
Click Yes.
Open the mail.
Select the new status from the drop-down menu.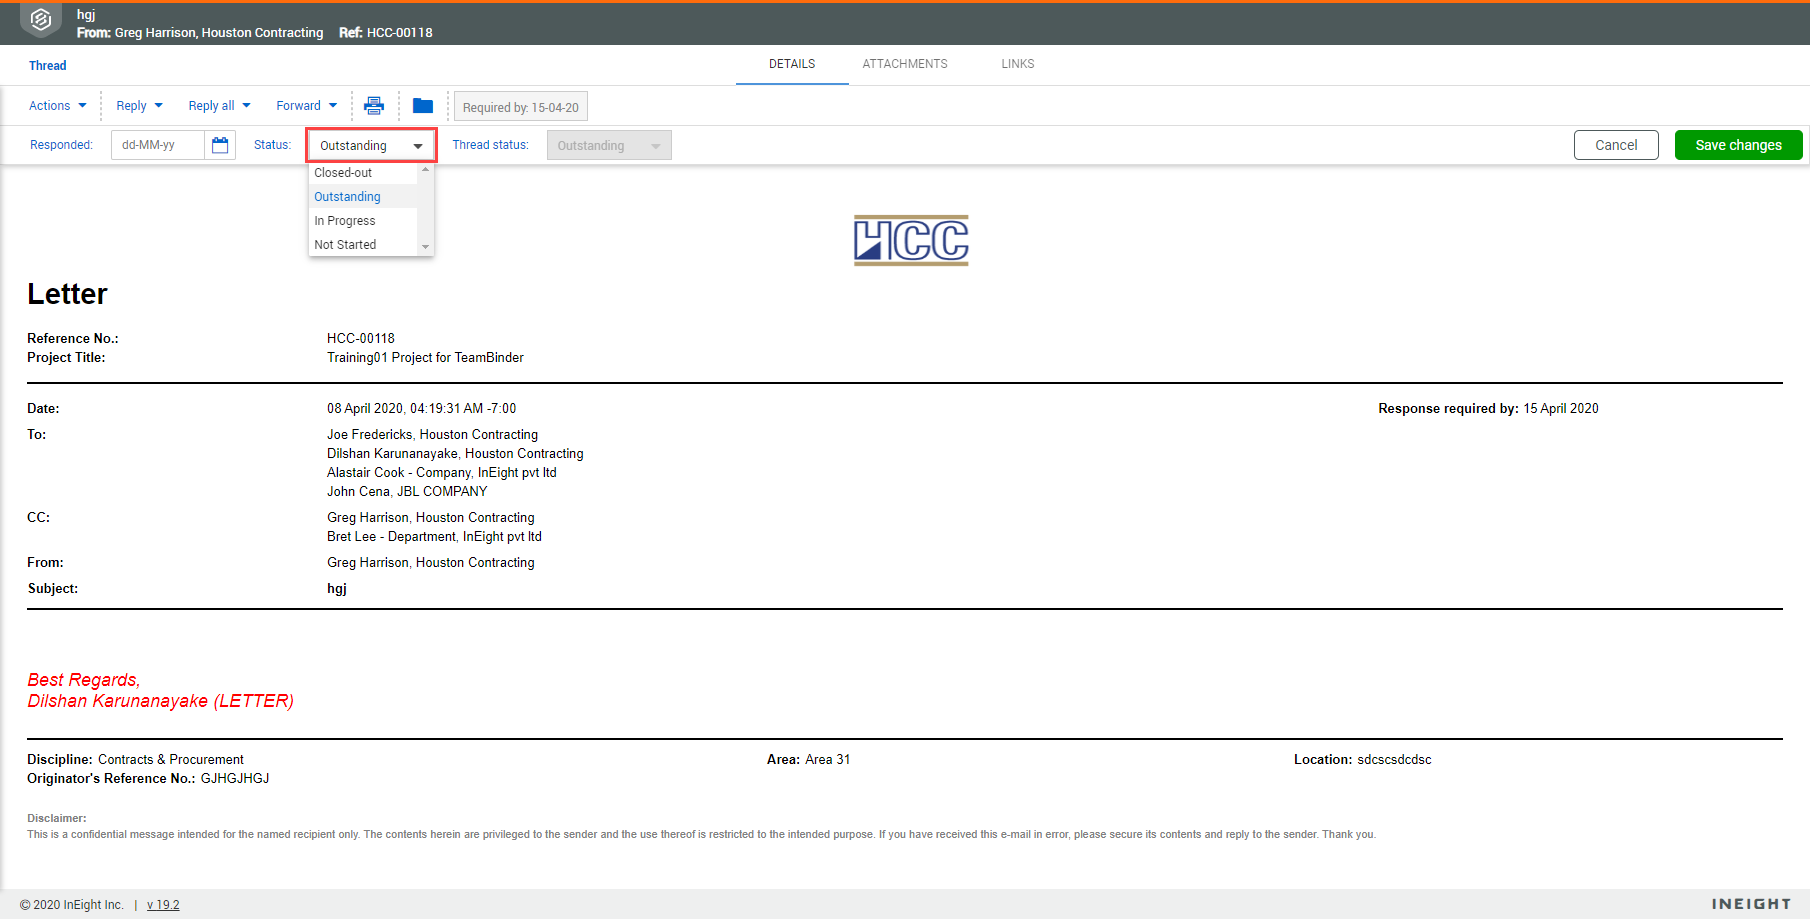
Click Save changes.
You can add contacts from different companies in the To field of mail.
Open the mail compose screen.
Click To.
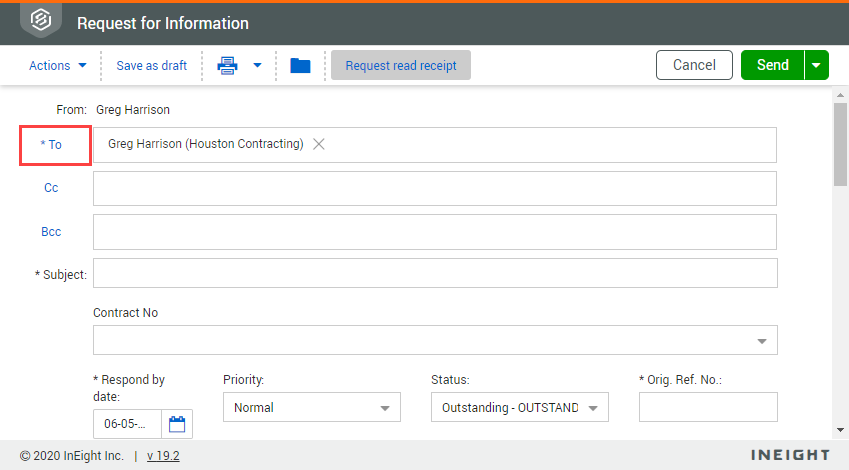
Select the company from the drop-down menu.
Select the contact and click the arrow icon.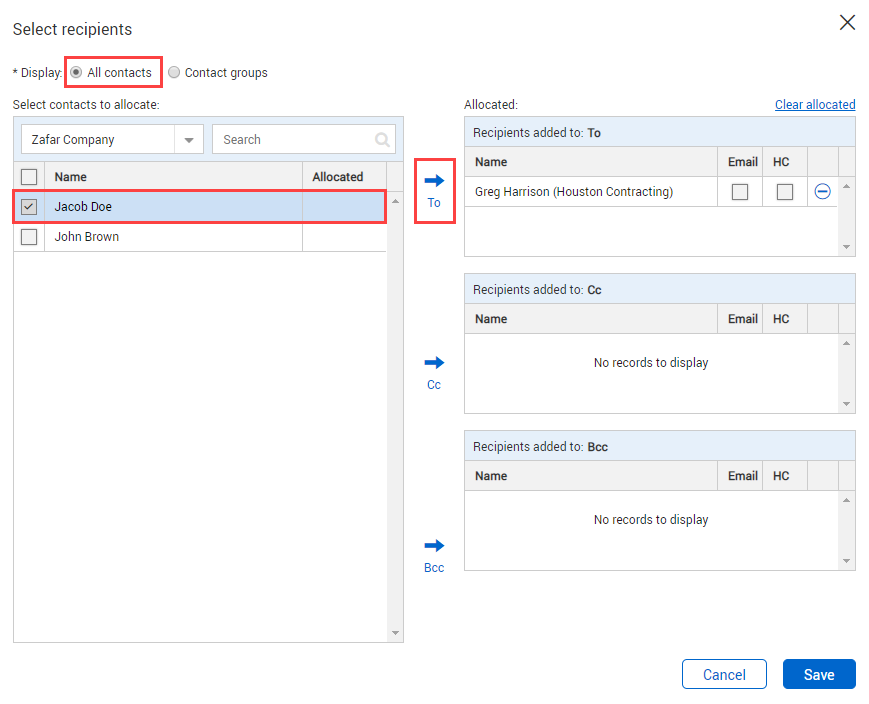
Click Save
You can also add contacts to the Cc and Bcc fields using the arrow icons.
You can use contact groups to easily send mail to all required recipients.
Open the mail compose screen.
Click To.
Select Contact groups.
Select the contact group and click the appropriate arrow icon to assign them to the To, Cc or Bcc fields.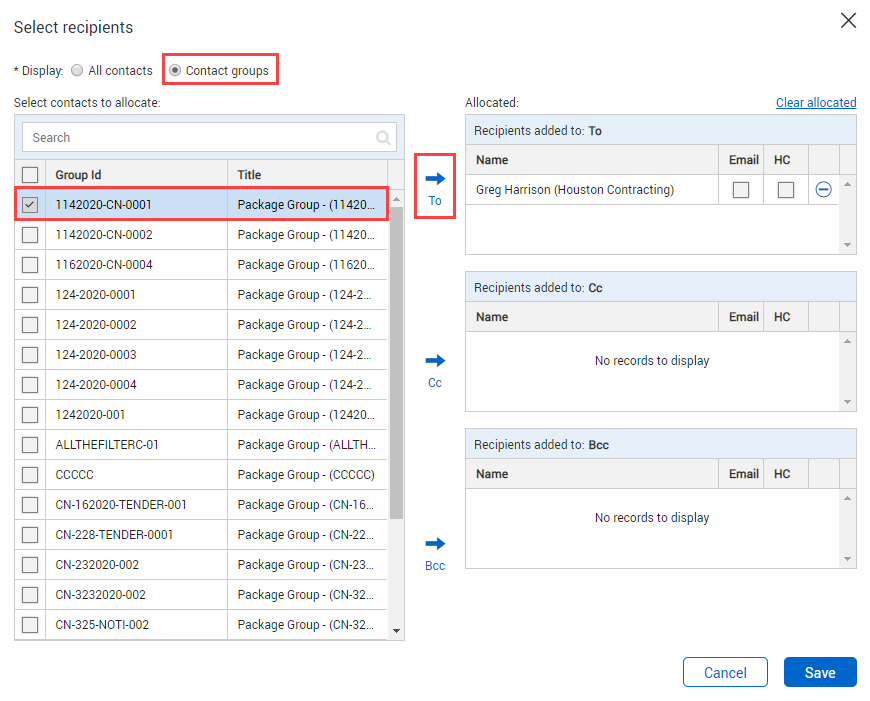
Click Save.
A hyperlink to a mail item can be sent to another user that will take them directly to that mail. The user must have access to the mail and log in to view the item.
Select the mail.
Click Actions and select Generate Mail Hyperlink.

Click Copy link.
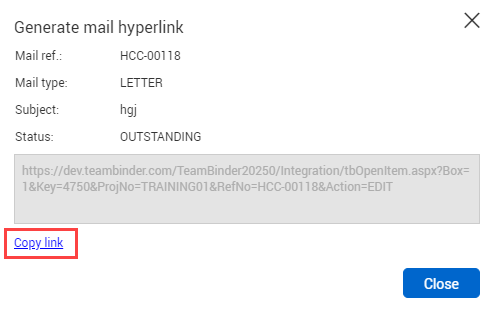
Click Close.
Generate a hyperlink for the current Register view by selecting Generate hyperlink for the Current Register.
You can send drafts from within the Drafts folder of the Mail Register.
Click the Module drop-down menu.
In the Mail menu, select Drafts.
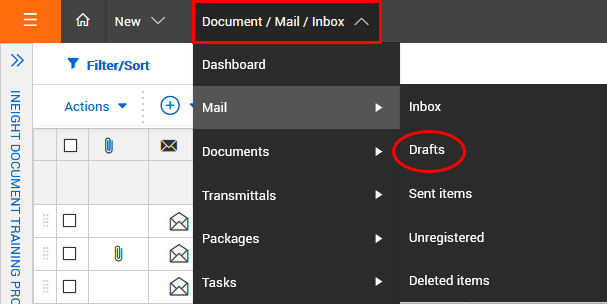
Open the draft mail and make any required updates.
Click Send.
Printed drafts are automatically stamped as DRAFT.
You can duplicate mail to copy attributes from an existing mail. You can edit the new mail as required.
Select the mail and click Actions.
In the Duplicate menu, select the type of new mail.
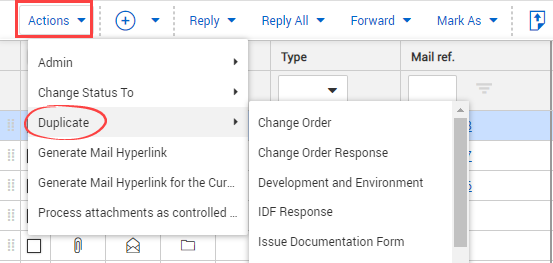
Edit the mail details.
Click Send.
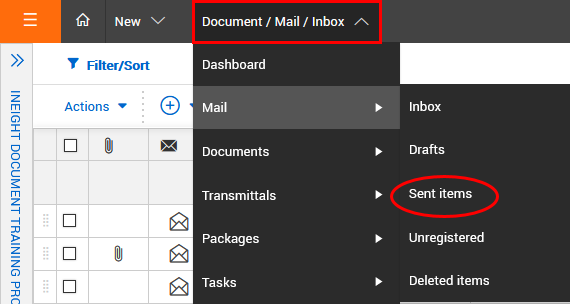
You can only cancel mail from the Sent Items folder. Mail can only be cancelled if this option is activated in the project settings.
Click the Module drop-down menu.
In the Mail tab, select Sent Items.
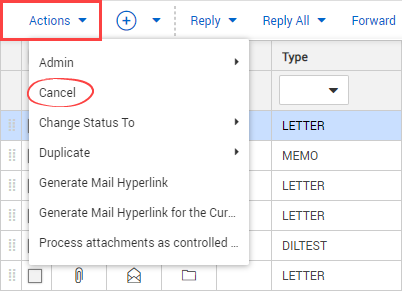
Click Actions and select Cancel.
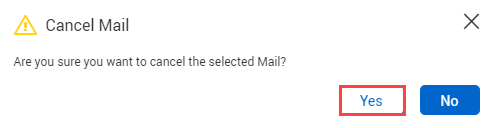
Click Yes.
Enter a reason for cancelling the mail.
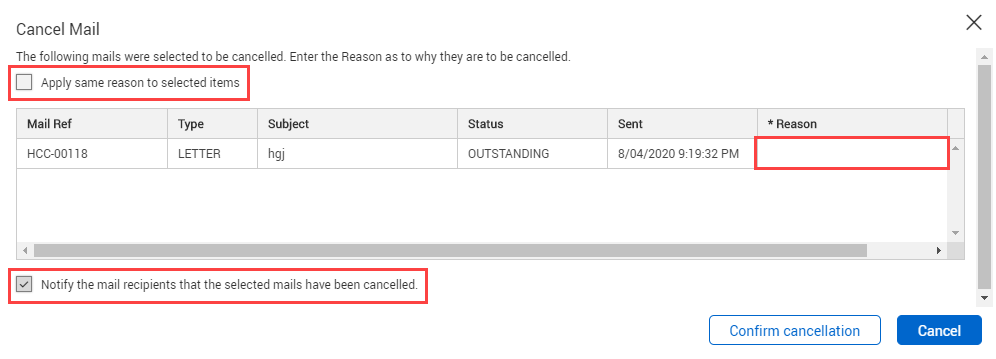
Select whether you want to apply the same reason for all items.
Select whether you want to notify the mail recipient(s).
Click Confirm cancellation.
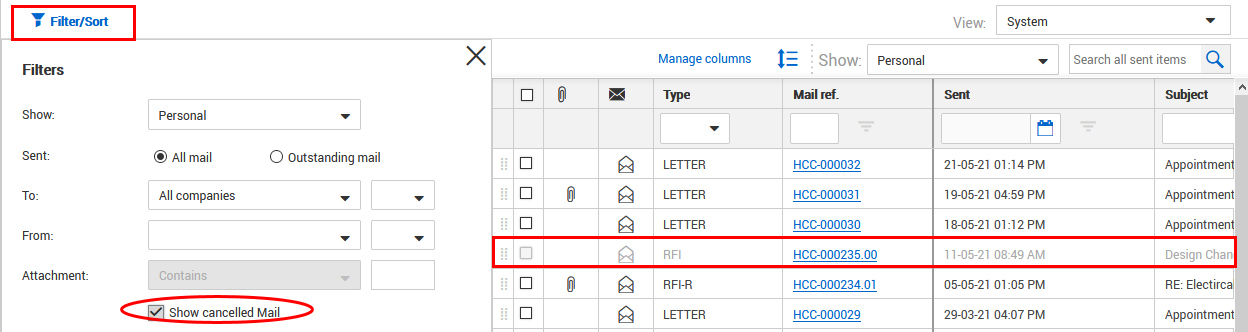
Cancelled mail will be displayed as greyed out in the Sent Items folder and in mail threads.
Cancelled mail will also be displayed with a watermark saying cancelled.
Cancelled mail will not be removed from external contacts mail system / inbox. If the file was physically attached, it cannot be removed. If it was sent as a hyperlink, the link will be invalid.
To view cancelled mail in the mail register, click Filter/Sort and check Show cancelled Mail.
You can only delete mail in the Drafts and Unregistered Mail folders. Mail items in your Inbox and Sent Items folders cannot be deleted.
All deleted mail is moved to the Deleted Items folder. From here, you can delete it permanently.
Select the mail.
Click Actions and select Delete.
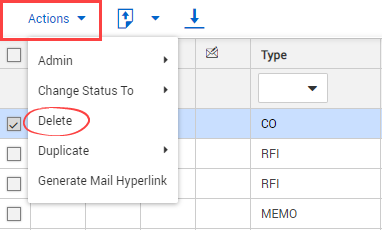
Click Yes.
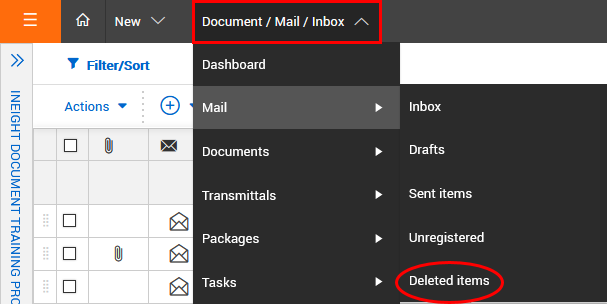
Click the Module drop-down menu.
In the Mail menu, select Deleted Items.
Click Actions and select Restore.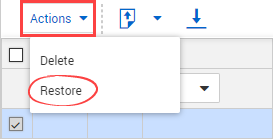
Click Yes.
To permanently delete mail from the Deleted Items folder, click Actions and select Delete.
Mail can be forwarded in bulk.
Select the mail items you would like to forward
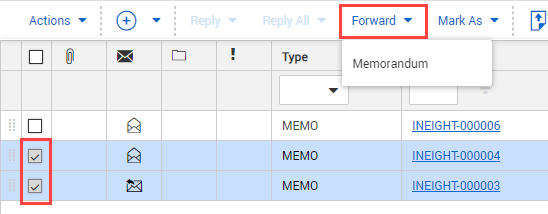
Click Forward and select the mail type.
Select the Recipients and populate the mail fields.
Click Send.
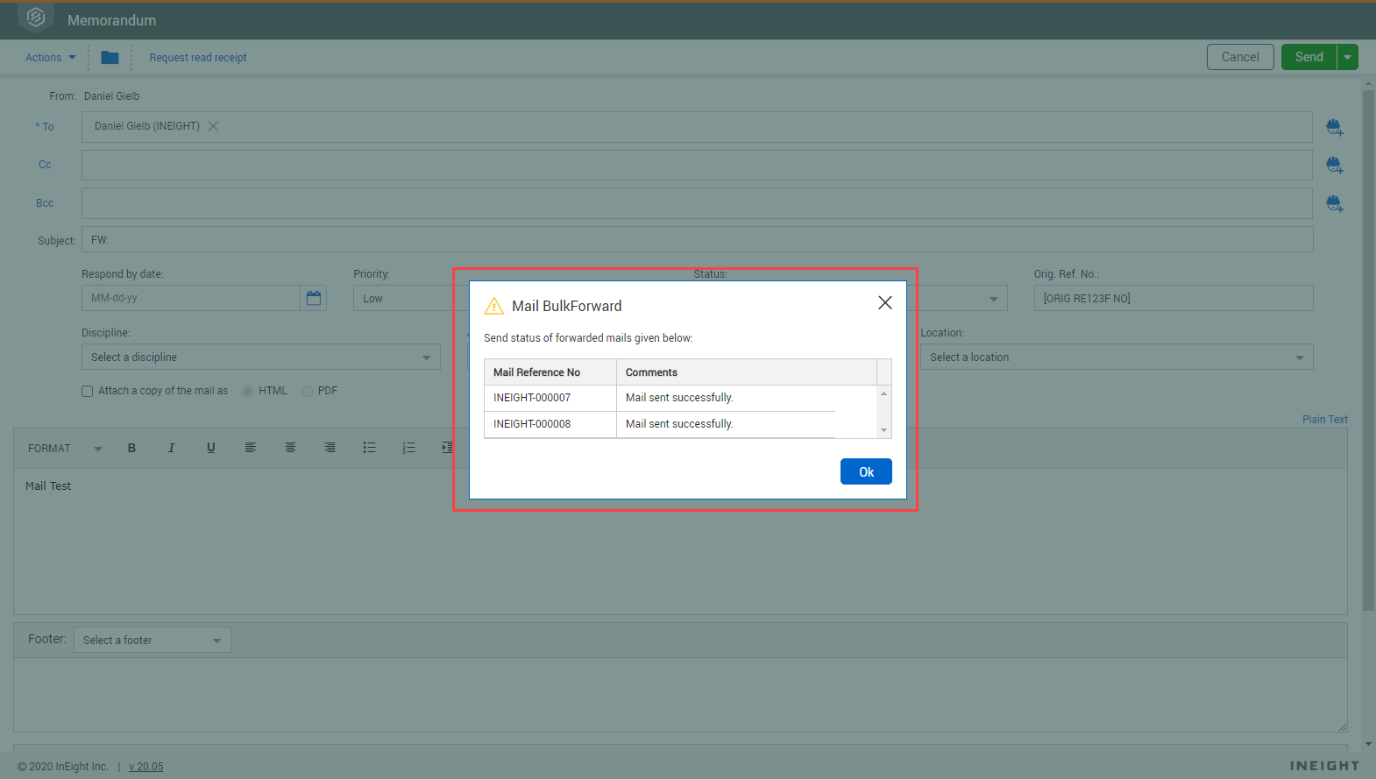
The mail items will be forwarded in Bulk, you will receive a prompt informing you of the mail reference no.
Additional Information
9977 N 90th Street, Suite 250 Scottsdale, AZ 85258 | 1-800-637-7496
© 2024 InEight, Inc. All Rights Reserved | Privacy Statement | Terms of Service | Cookie Policy | Do not sell/share my information