Products
Solutions
Resources
9977 N 90th Street, Suite 250 Scottsdale, AZ 85258 | 1-800-637-7496
© 2024 InEight, Inc. All Rights Reserved | Privacy Statement | Terms of Service | Cookie Policy | Do not sell/share my information

Open the Address Book and then select Companies.

Locate your company and then click it to open the Company Details.

Select the External Integrations tab.

Select the Document Authoring checkbox, and then click Activate Link.
When prompted, sign in using the Microsoft 365 service account created for your organization.

After you are signed in, you can go to the Document Register and author or edit documents using Office 365 Online.

Close all Microsoft Office products (Word, Excel, PowerPoint), if open.
Download the installation package using the following link: https://www.teambinder.com/download/office/TeamBinderOfficeIntegration.zip
Once the download is complete, unzip the zip files.
Double click and run the setup exe from the extracted files.
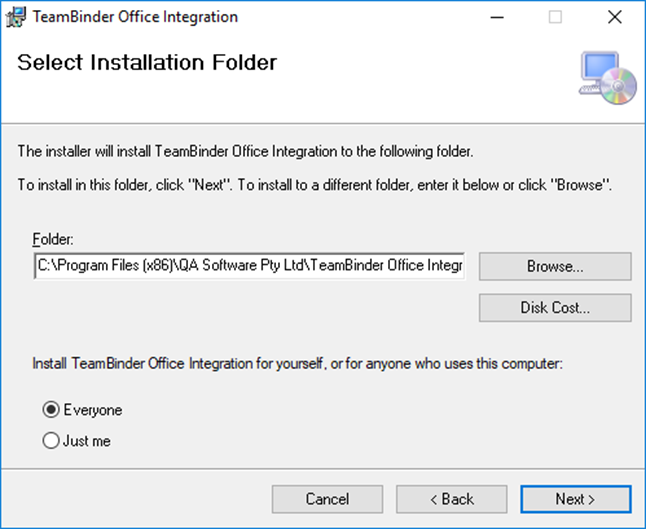
Select a folder location for file installation. Select “Just Me” for yourself or “Everyone” in order to install for all who use the computer.
Click Next.
Click Next once more to begin installation.
The default Installation installs Office Integration with pre-defined settings. Custom Installation allows you to choose you own settings when installing Office Integration.
Additional Information
9977 N 90th Street, Suite 250 Scottsdale, AZ 85258 | 1-800-637-7496
© 2024 InEight, Inc. All Rights Reserved | Privacy Statement | Terms of Service | Cookie Policy | Do not sell/share my information