Products
Solutions
Resources
9977 N 90th Street, Suite 250 Scottsdale, AZ 85258 | 1-800-637-7496
© 2024 InEight, Inc. All Rights Reserved | Privacy Statement | Terms of Service | Cookie Policy | Do not sell/share my information

Once you create a claiming scheme and it is ready to be used, the next step is to assign that claiming scheme. You can assign claiming schemes in two different ways:
Option 1: Assign to WBS cost items
Option 2: Assign to each component

To assign claiming schemes at the component level, you must assign them to each component individually. If you assign a claiming scheme at the WBS level, then every component assigned to that WBS will inherit the same claiming scheme.
To change at the level at which your claiming schemes are assigned, navigate to the Project Settings.
When choosing to assign claiming schemes at a WBS level you must have a claiming scheme assigned to a WBS before you can add components with that WBS. If you choose to assign claiming schemes at a component level, you will not be able to assign any to a WBS.
The following step by step walks you through how to assign a WBS item to a claiming scheme.
In order to be able to assign a WBS to a claiming scheme, the Allow As-Built setting for that WBS line item in Control should either be “All” or “Quantities." This makes that WBS available for Plan.
Click on the Disciplines and or Commodities. Multiple schemes can be selected.
You cannot assign a WBS or account code to the Contract discipline.
Click on the Add icon on the left toolbar.

On the resulting slide out panel on the right, search for the WBS you created while learning InEight Control.
If you can’t find your WBS use WBS 1004 to follow along with the Steel Training Job scenario.
When the WBS appears, click on the Add icon on the left.
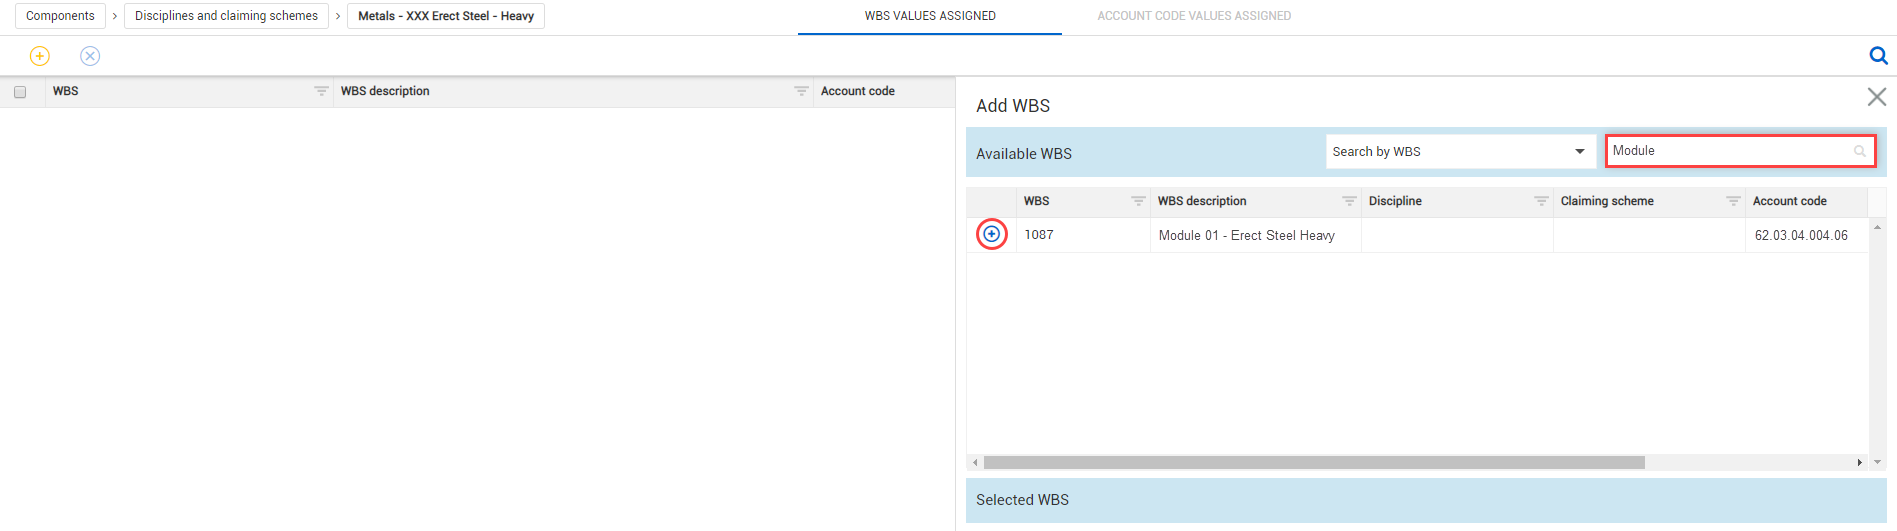
Multiple WBS items can be assigned to a single claiming scheme. Make sure to select the Module # of the computer you are using.
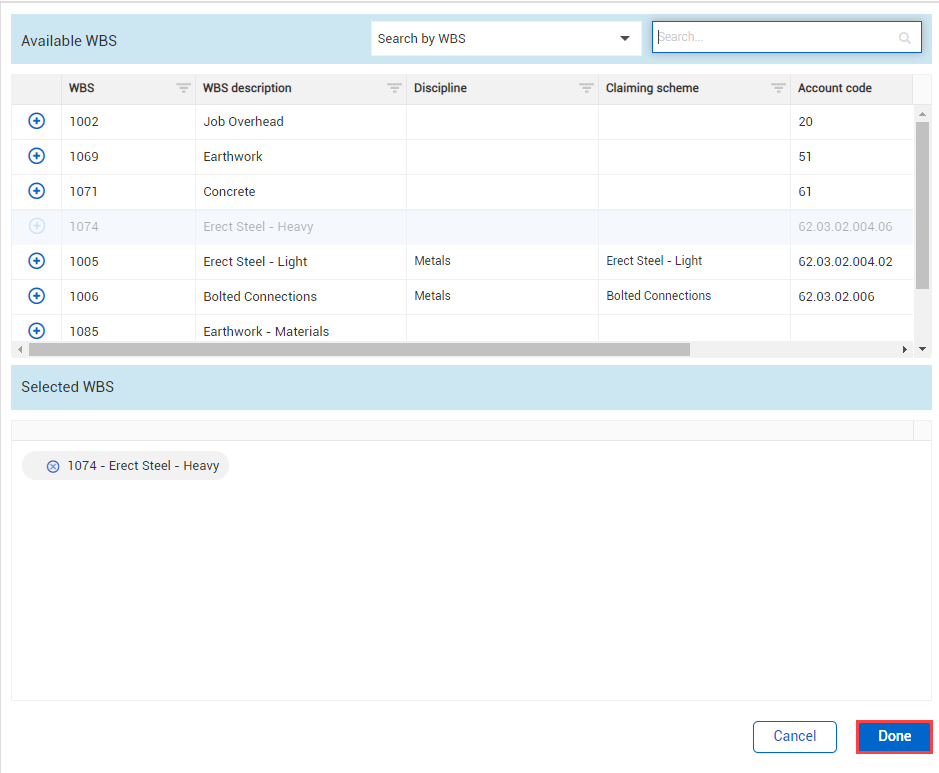
You should see your WBS has moved to the Selected WBS field below
Click Done on the bottom right of the screen.
Follow the same process for assigning an Account Code to a claiming scheme.
After you have assigned an account code to a claiming scheme, select the check box next to the claiming scheme. Then, select the Map Account Code to WBS icon in the top right of the Disciplines and Commodities tab to automatically map WBS to the associated account code. There, you can select multiple claiming schemes to map all of them at the same time.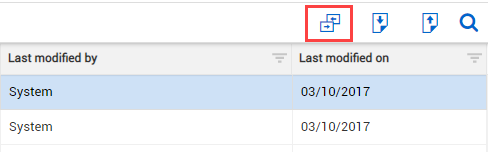
In this step by step you will add a quality verification step to the claiming scheme you created previously.
The following step by step walks you through how to edit a claiming scheme.
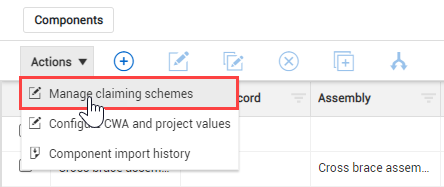
From the Quantity Tracking page, click the Action menu and then selectManage claiming schemes from the drop-down menu.
Click the arrow next to a discipline to expand its list of child-level claiming schemes.
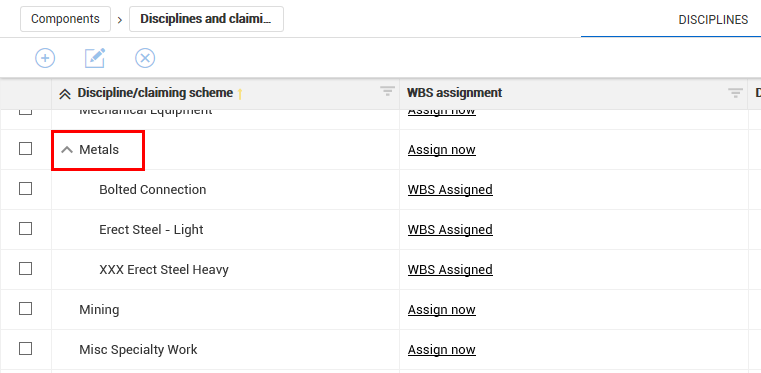
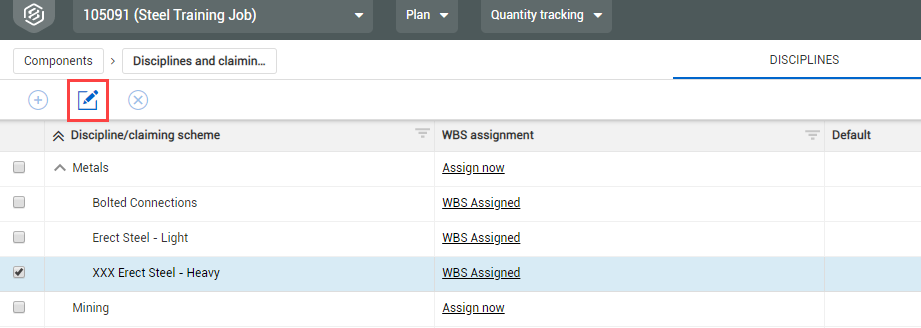
Select the check box to the left of the claiming scheme you created.
Click the Edit icon.
Click Add step.
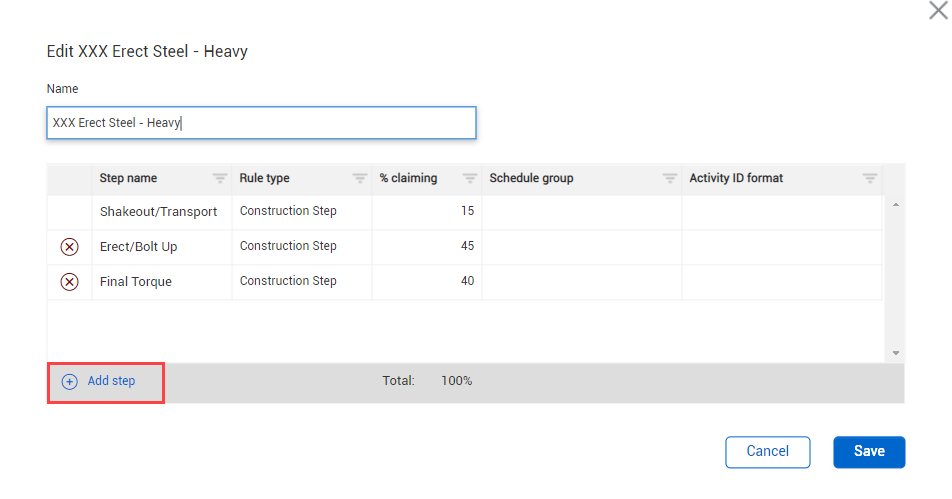
Lower the percentage for one of your existing steps.

Add a fourth step. Name it, assign it a rule type, and give it a percentage so that all steps add up to 100%.
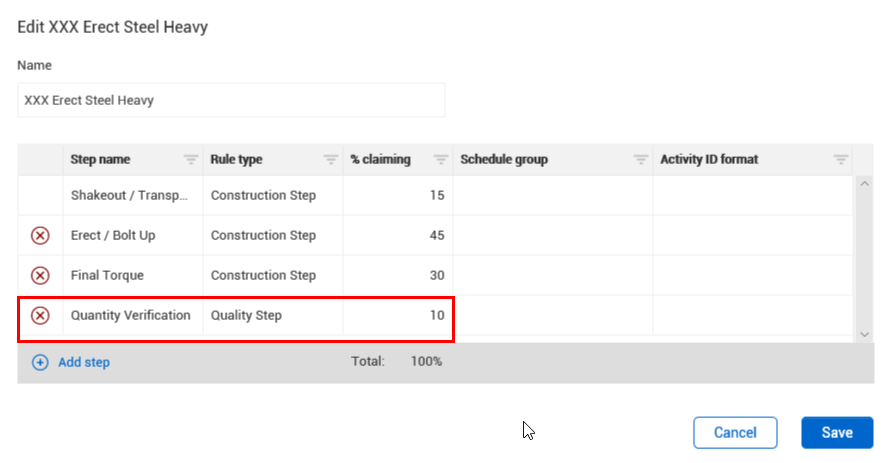
You cannot save a claiming scheme if your steps' percentages do not add up to 100%.
You cannot edit any claiming scheme that has a quantity claimed against it.
Click Save.
Additional Information
9977 N 90th Street, Suite 250 Scottsdale, AZ 85258 | 1-800-637-7496
© 2024 InEight, Inc. All Rights Reserved | Privacy Statement | Terms of Service | Cookie Policy | Do not sell/share my information