Products
Solutions
Resources
9977 N 90th Street, Suite 250 Scottsdale, AZ 85258 | 1-800-637-7496
© 2024 InEight, Inc. All Rights Reserved | Privacy Statement | Terms of Service | Cookie Policy | Do not sell/share my information

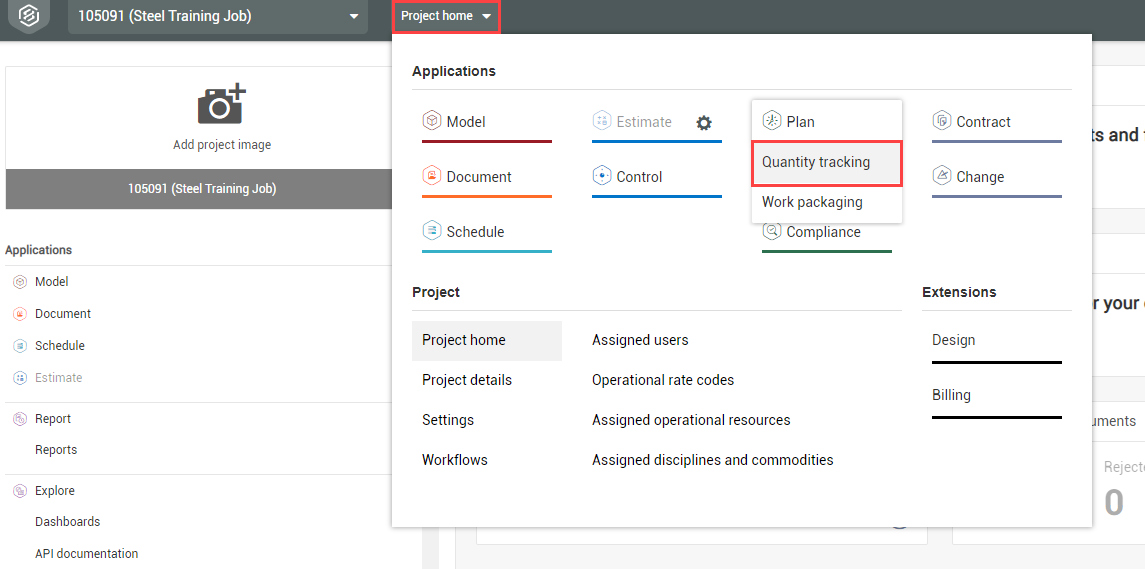
From an open project, go to the Quantity Tracking module.
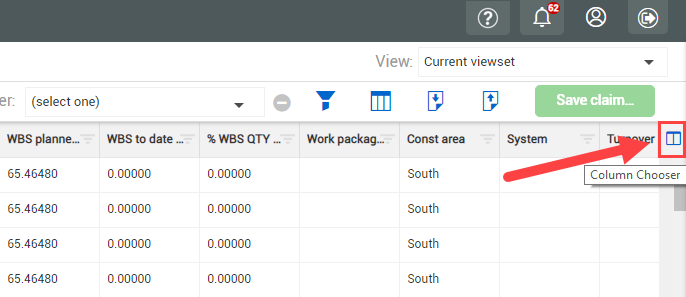
In Standard View, select the Column Chooser on the far right of the column header row.
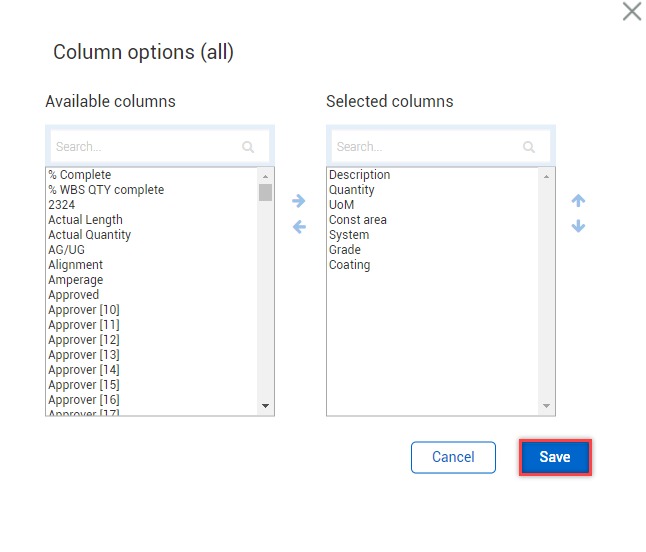
From the Column Chooser dialog box, select columns from the Available columns list, and then use the right arrow to move them into the Selected columns list. Save your columns.
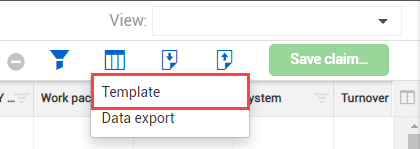
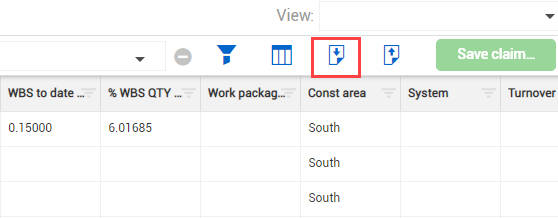
Click the Export icon on the toolbar.
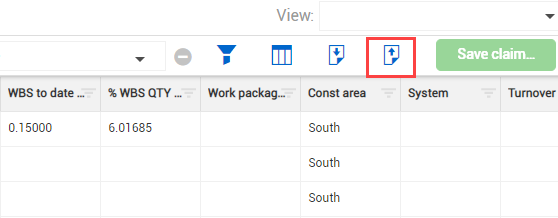
Select Template.
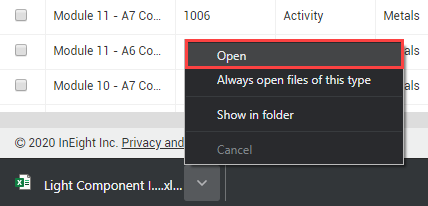
A Microsoft Excel spreadsheet automatically opens or is shown at the bottom of your screen to download
Click the drop-down arrow for the file, and then select Open.
The resulting spreadsheet is now your Import Template and contains all required columns and only the optional columns that were shown in Plan at the time of exporting

In the Name column, enter your component name.
Enter the component Name data.

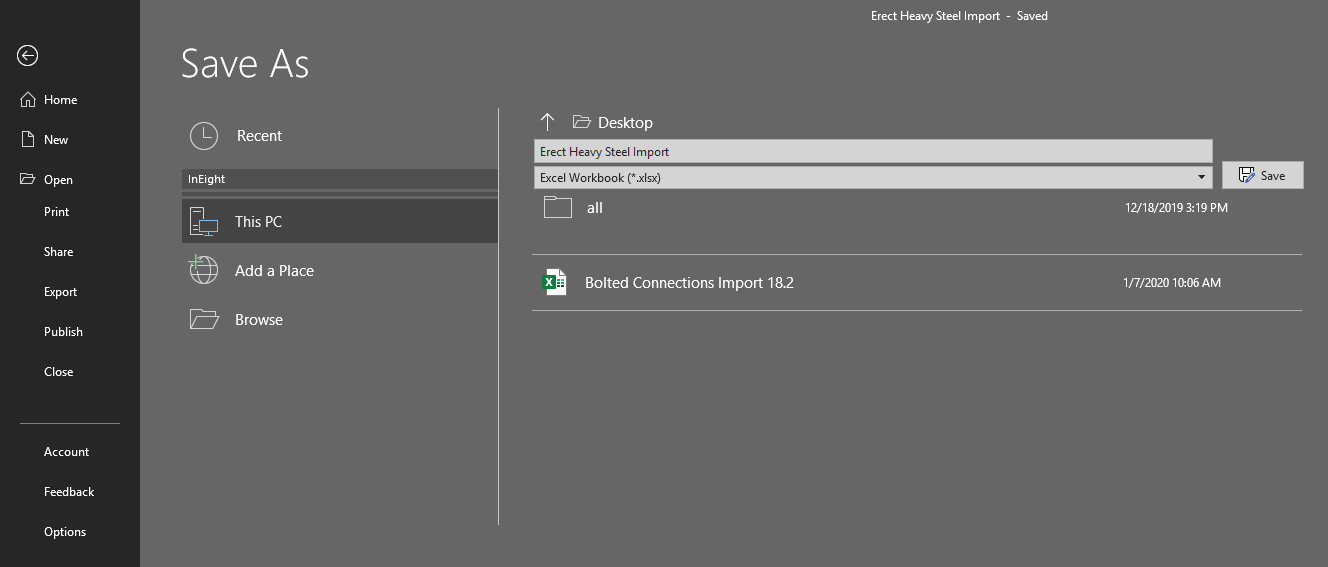
Save the file to your desktop, so you can easily find it.
Return to Plan, and then click the Import button on the right toolbar.
An Import data dialog box is shown
Select Browse.
From the resulting Open window, locate and select your file, and then select Open.
Select Add new items only.
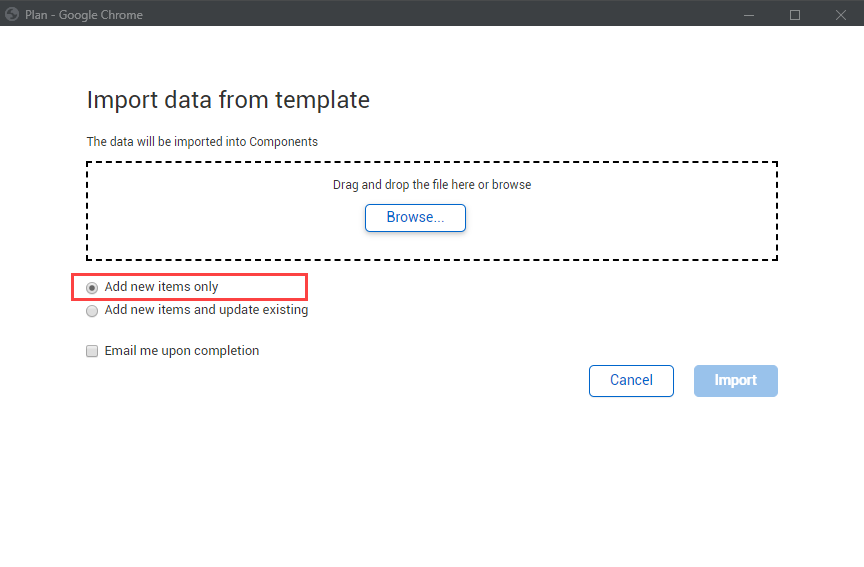
By selecting Add new items only, the system will flag an error if you’ve accidentally created a component with the same ID as a previously created component. If you select Add new items and update existing, instead of flagging an error for a component ID that already exists, the system overwrites the data for that component.
Click the check box for Email me upon completion.
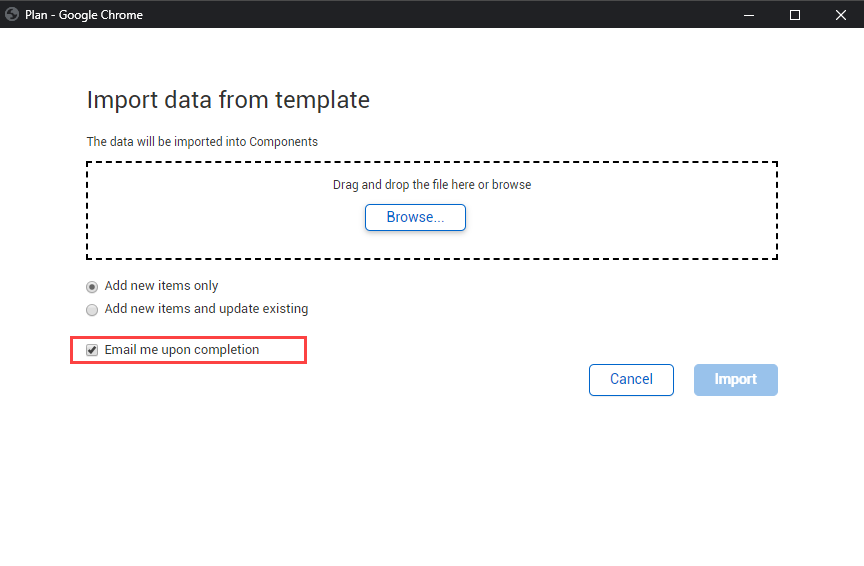
This alerts you to the completion of the upload
Click Import.
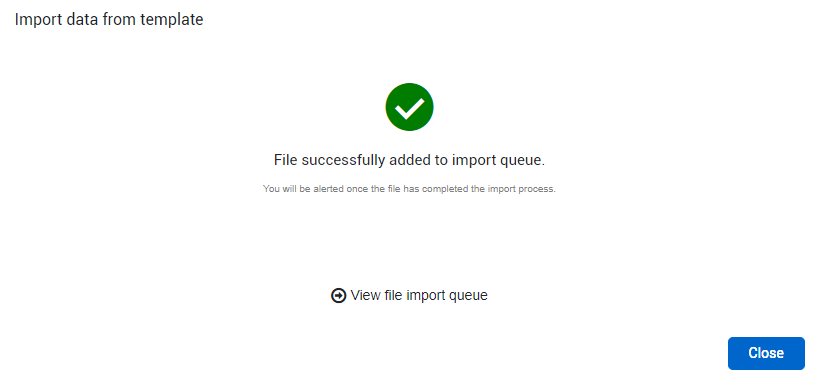
The import file is added to the import queue
To see all your import files and their statuses, click View file import queue
You can continue working in the application while your imports are processed. A notification tells you if your file is imported successfully or not.
If you have an error, check that the ID of your component is not the same as an existing component.
Click Close.
Additional Information
9977 N 90th Street, Suite 250 Scottsdale, AZ 85258 | 1-800-637-7496
© 2024 InEight, Inc. All Rights Reserved | Privacy Statement | Terms of Service | Cookie Policy | Do not sell/share my information