Products
Solutions
Resources
9977 N 90th Street, Suite 250 Scottsdale, AZ 85258 | 1-800-637-7496
© 2024 InEight, Inc. All Rights Reserved | Privacy Statement | Terms of Service | Cookie Policy | Do not sell/share my information

Customize columns according to your preferences from the Work plans/packages page. Changes you make to the placement of your columns will be retained the next time you access any page you have customized.
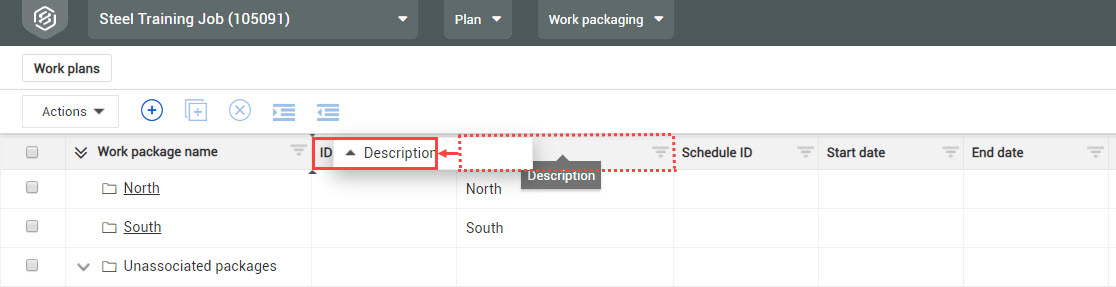
Drag and drop to move a column from one place to another to customize your view.
On the Work plans/packages page, click on and hold a column header.
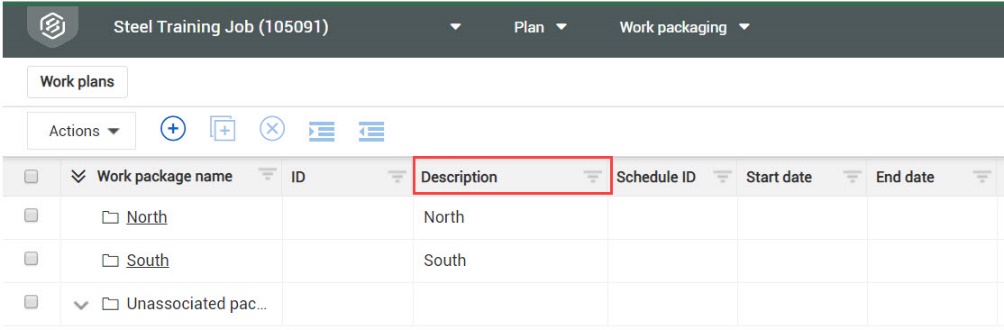
Drag and drop the column in a new location.
Sort in ascending or descending (both for alpha and numeric fields) order on any column by clicking one time on the column header.
On the Work plans/packages page, click on any column header to sort the column in ascending order.
Notice the yellow “up arrow" designating you are sorting in ascending order
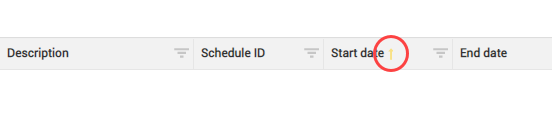
Click on a column header again (a second time) and the column will filter in descending order.
Notice the yellow arrow is now pointing down
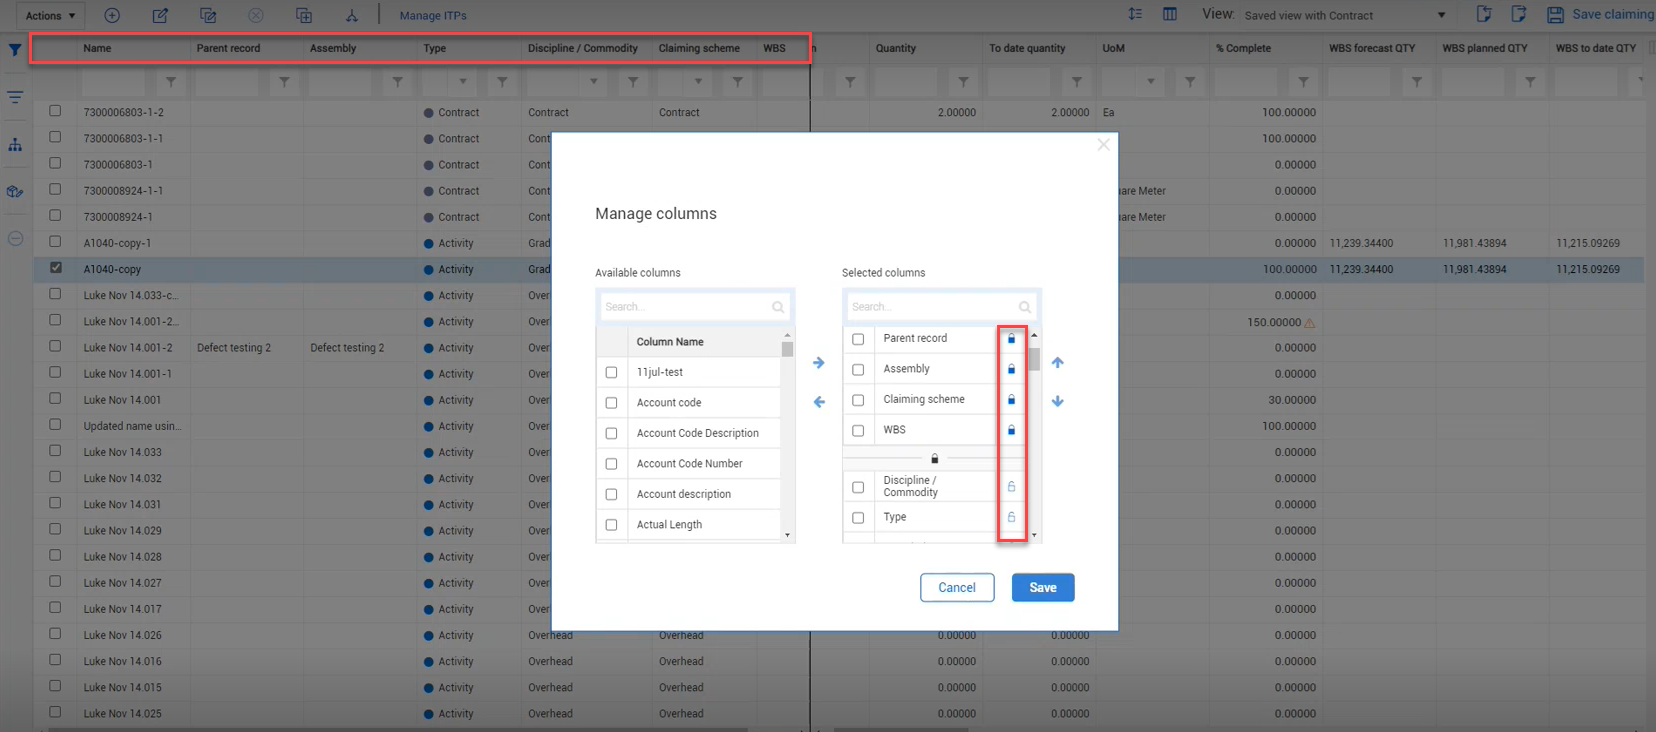
In quantity tracking, the Lock icon shows to the right of each column’s name in the Selected columns section of the dialog box. To lock a column's position, click the unlocked icon next to the column name. The unlocked icon changes to solid blue, and the column position cannot be moved.
Filter columns as a way to see relevant information pertaining to your specific needs.
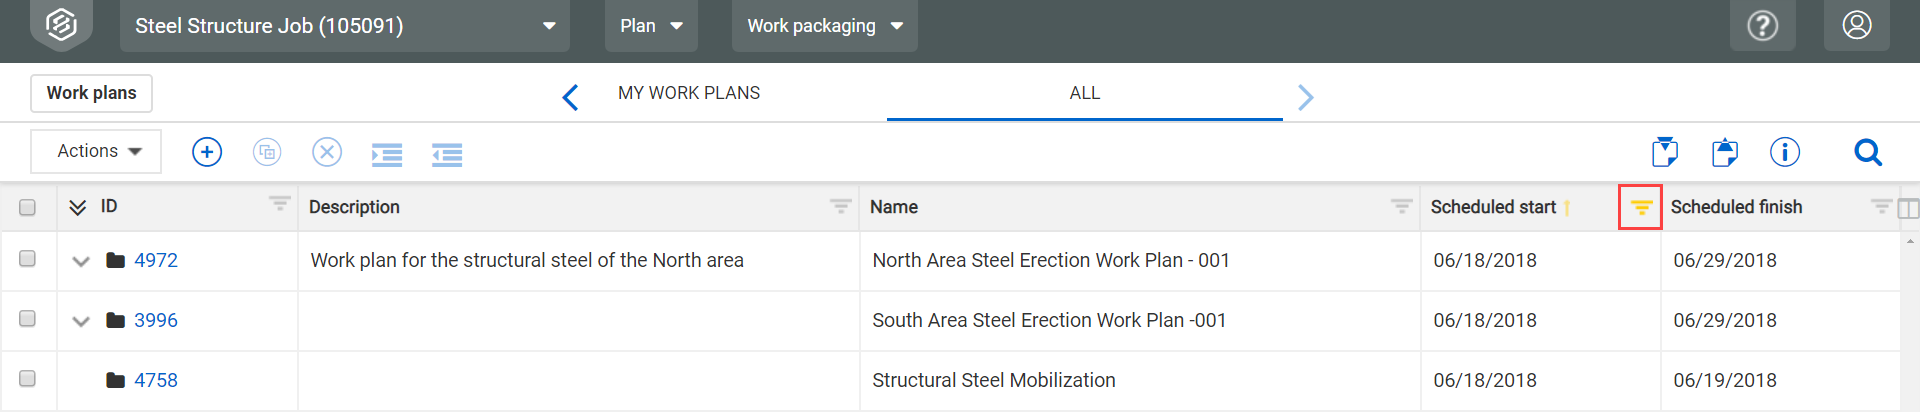
On the Work plans page, click the filter pyramid of any column header.
In the resulting drop-down list, select an operator.

In the first search box, enter a date.
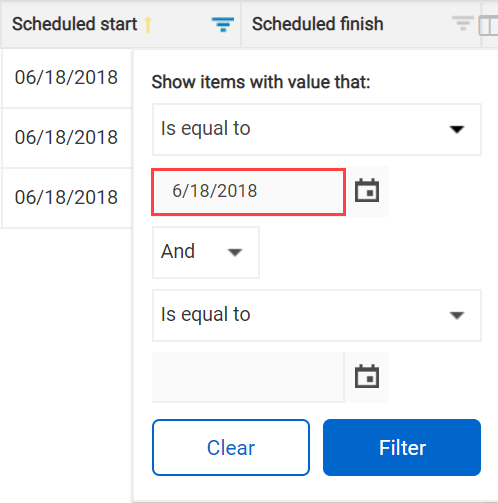
Click Filter.
The table now only shows items that qualify for your filter
Notice that the filter pyramid is now in yellow indicating that this column is filtered
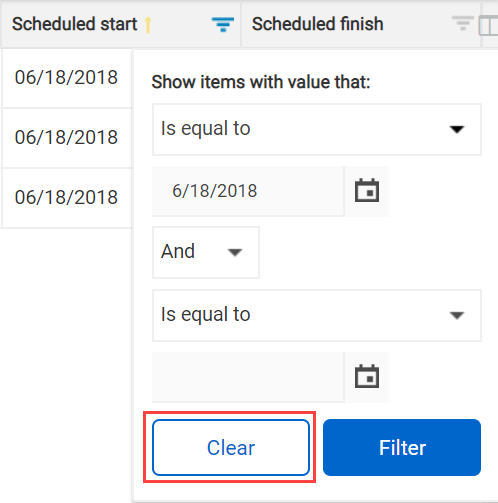
Select the filter pyramid again. Hover over Filter, then click Clear to remove your filter.
Apply multiple rules to your filter. For example, setting a “Contains” or “Is equal to” filter for your column would allow you to bring in two distinct results at once.
Additional Information
9977 N 90th Street, Suite 250 Scottsdale, AZ 85258 | 1-800-637-7496
© 2024 InEight, Inc. All Rights Reserved | Privacy Statement | Terms of Service | Cookie Policy | Do not sell/share my information