Products
Solutions
Resources
9977 N 90th Street, Suite 250 Scottsdale, AZ 85258 | 1-800-637-7496
© 2024 InEight, Inc. All Rights Reserved | Privacy Statement | Terms of Service | Cookie Policy | Do not sell/share my information

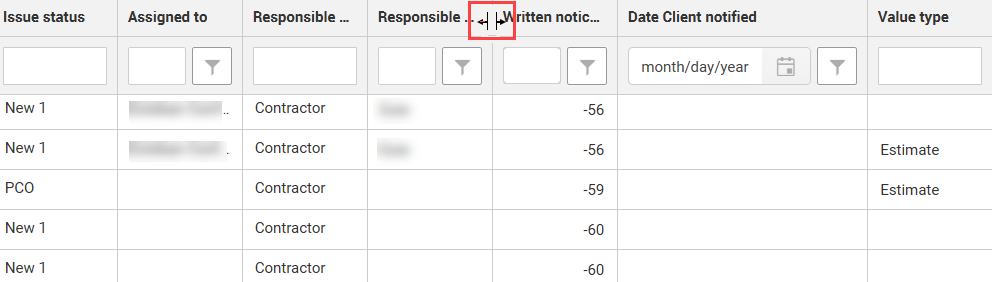
You can expand a column as needed to see the entire title of that column by using the same method that you would in Microsoft Excel. When you hover over the column, the cursor changes from the arrow to the width selector.
You can move a column from one place to another using drag and drop. If there are columns that you do not use, you can hide and unhide them from the view as needed.
Summary: You can manually move columns on a Change page to fit your business needs. If you have multiple columns to move, you can also use the enhanced column management tools. For more information, see Enhanced column management.
On a Change page, click on a column header, hold down the left mouse button, and then drag the column to the right or left. It shows raised with a shadow box. The right border of the column shows in dark blue and the icon in the shadow box changes to a plus sign to guide you to a new column location.
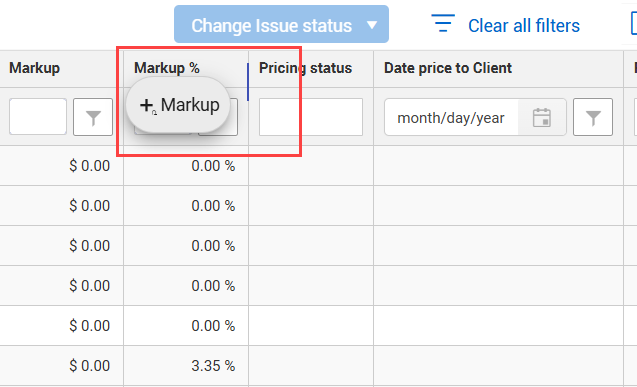
Drop the column header where you want to place the column.
You can sort any column by clicking once on the column header.
Summary: Sort columns to change the order of the information on the page.
To sort a column, click on the column header. An up arrow symbol shows on the column header indicating the column is sorted in ascending order
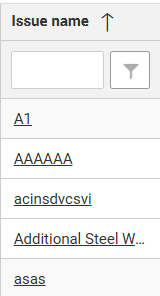
To show the column in descending order, click the column header again. The down arrow symbol shows on the column header.
Click the column header again to remove the sort.The arrow symbol no longer shows.
Summary: Filter columns to help you quickly find the information you need.
From aChange page, click the Filter icon in a column header.
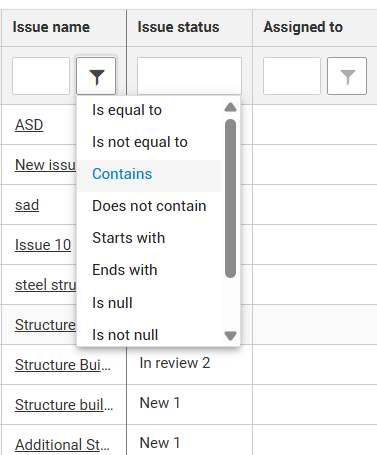
A list of filter operators shows.
Select an operator, and then enter filter criteria in the search box in the column header. For example, using the image in the previous step, you could select the operator Contains for the Issue name column, and then enter the criteria structure. Change filters the column entries based on the filter criteria.
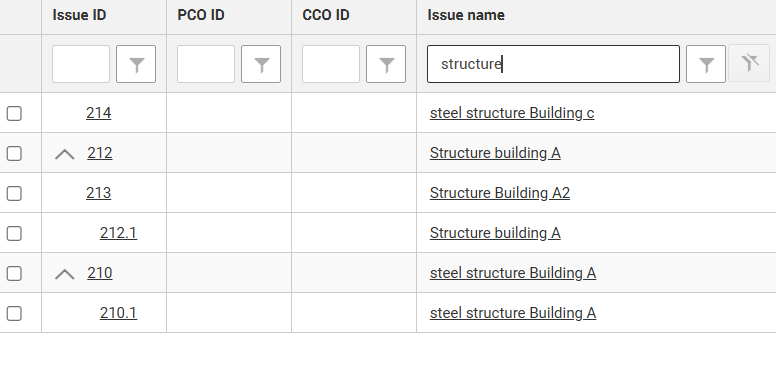
To clear a filter, click the Clear icon. If you have used multiple filters, you can click Clear all filters in the right toolbar.
![]()
You can adjust the row density on the Issue log, PCO log, and CCO log. Click the Row density icon in the toolbar to select from Relaxed, Narrow, or Tight density.

Row density settings on a grid, such as the Pricing summary, are applied to any slide-out panels or dialog boxes accessed from that page.
Additional Information
9977 N 90th Street, Suite 250 Scottsdale, AZ 85258 | 1-800-637-7496
© 2024 InEight, Inc. All Rights Reserved | Privacy Statement | Terms of Service | Cookie Policy | Do not sell/share my information