Products
Solutions
Resources
9977 N 90th Street, Suite 250 Scottsdale, AZ 85258 | 1-800-637-7496
© 2024 InEight, Inc. All Rights Reserved | Privacy Statement | Terms of Service | Cookie Policy | Do not sell/share my information

When you have tasks associated with an issue, PCO, or CCO, you can create them in InEight Compliance to take advantage of Compliance's task management features. The task is created in Compliance and is completed in the issue, PCO, or CCO.
Before you can create tasks for Change in Compliance, you must ensure that Compliance task templates are in place and permissions are set up for you in Compliance.
You must have permissions to create task in Compliance. Permissions for Change users who are allowed to create tasks include access to the following:
The project or organization
The category for the template the organization uses
The reporter role for creating and editing tasks
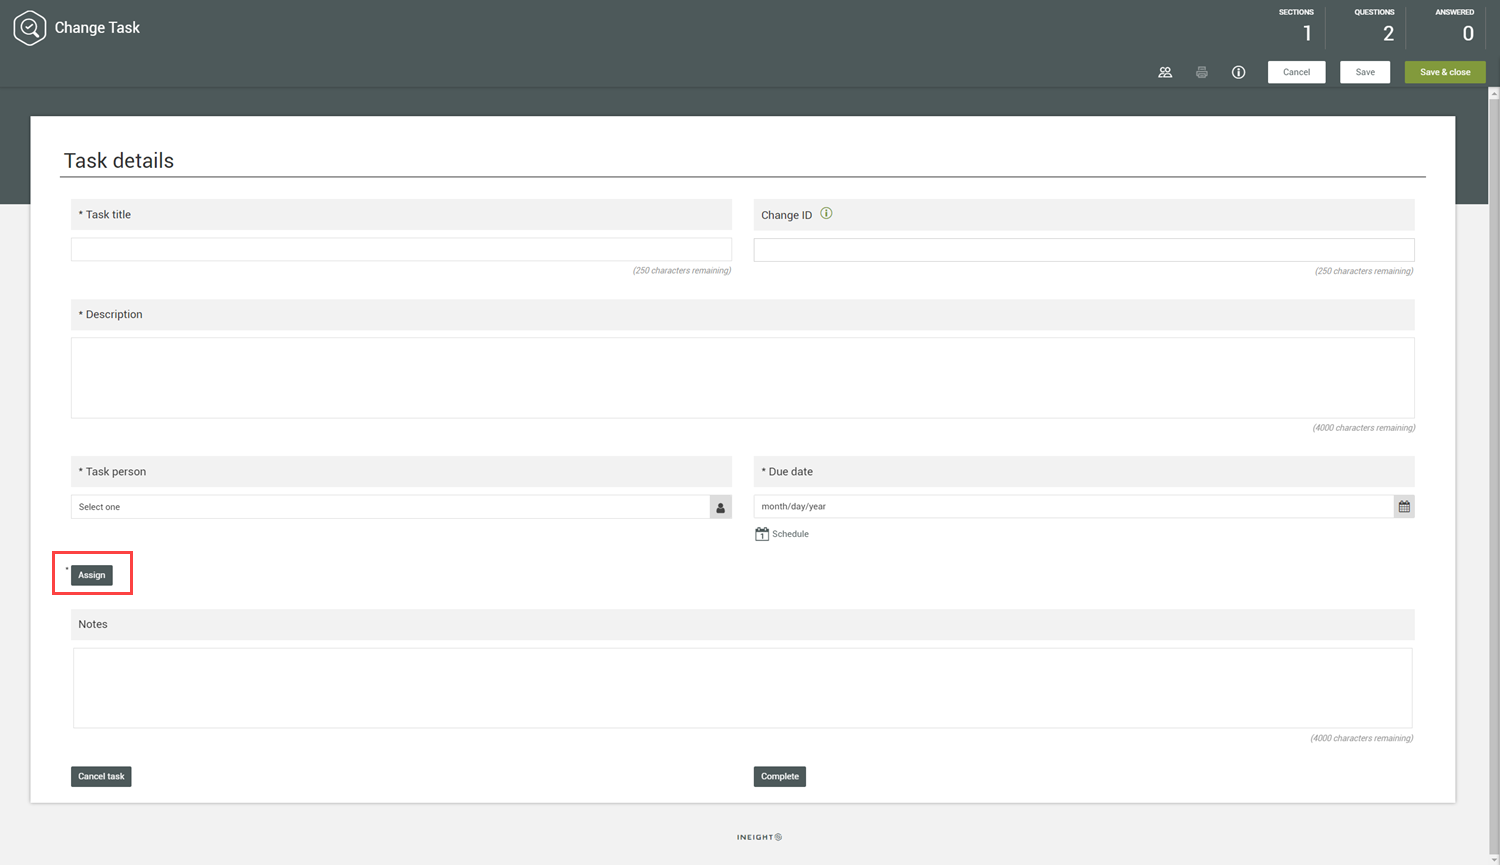
The task you create in Change follows the default task template. An administrator can create a task template in Compliance. The template must have the following:
Task title
Change ID
Description
Task person
Due date
Assign button
Notes
Complete button
Cancel button
The template must be published before it can be used in Change. Refer to the Compliance documentation for information about how to set up a standard task template.
The template must then be selected in the organization settings (organization Settings > Change > Configurations > Task type setup). The selected template is used for all projects in the organization.
You can create a task from the Details page of an issue, PCO, or CCO.
Create a task in an issue, PCO, or CCO when you have task items that you want to follow up.
A task template must be in place, and you must have permission to create tasks in Compliance.
From the Details page of an issue, PCO, or CCO, expand the Actions menu, and then select Create Task. The template opens in Compliance in a new window.
Enter information in the required fields, and then click Assign. The Task log in compliance opens, and you can see your task in the list.
The task person completes the task, and then clicks Complete. You can track the task progress in the task log and on the Details page where you originated the task.
After work has begun on a task, it becomes available on the Change Task log. The Task log (Change > Task log) shows the tasks assigned to the project. A red circle icon indicates the number of tasks in the project that are pending, scheduled, or overdue.

The task log shows all tasks that have been assigned on the project. The View drop-down menu in the upper right of the page lets you change the view to show your tasks only. You can also change the row density.
Values in the ID column are links to the originating issue, PCO, or CCO. The Task title is a link to the task in Compliance. The Due date and State columns highlight tasks that are past due in red. The Name column contains the Name of the issue, PCO, or CCO.
You can click the Export icon to export the tasks to a Microsoft Excel spreadsheet.
You also can view tasks from the issue, PCO, or CCO in the Task section of Additional details. See the Additional details for issues, PCOs, and CCOs for more information about the Tasks section.
Additional Information
9977 N 90th Street, Suite 250 Scottsdale, AZ 85258 | 1-800-637-7496
© 2024 InEight, Inc. All Rights Reserved | Privacy Statement | Terms of Service | Cookie Policy | Do not sell/share my information