Products
Solutions
Resources
9977 N 90th Street, Suite 250 Scottsdale, AZ 85258 | 1-800-637-7496
© 2024 InEight, Inc. All Rights Reserved | Privacy Statement | Terms of Service | Cookie Policy | Do not sell/share my information

During the process of managing changes, some of your issues will require additional work for either you or your subcontractors to perform. As you seek compensation from the client (owner) for issues that require additional work, you will convert those issues into Potential Change Orders (PCOs), as indicated in the below workflow.

The table below further defines each step of the change management process.
|
Term |
Description |
|---|---|
|
Issue |
Something that happens on the project that could incur costs or impact the schedule.
|
|
Potential Change Order (PCO) |
A potential change to the owner’s contract that you are pricing and getting ready to negotiate with the owner.
|
|
Client Change Order (CCO) |
A finalized change you are ready to send to the owner.
|
A PCO is generated from one or more issues that already exist within the issue log. The PCO will carry over all pertinent data from the Issue and populate the fields within the PCO. The link between Issue and PCO is one-way, upstream. Data carried over from the Issue into the PCO can be modified without any changes occurring to the original data, however, changes to the Issue can be pushed upstream to the PCO.
Any changes made to PCO pricing does not update the original issue. If an issue needs to be updated, you will need to open the issue and update it.
The following steps walk you through how to convert an issue to a PCO.
Summary: Create a PCO when you are ready to negotiate the issue with the owner.
Considerations: These steps start from the Issue log. You can also create a PCO from the Change orders section of the issue Details page. If your contract is already negotiated with the owner, you can convert an issue directly to a CCO and skip the PCO process altogether.
When converting to a change order, an issue is limited to 250 unique cost items or 100 unique pay items. If a message shows indicating that you must remove cost items or pay items, it is best practice to create a new issue. Creating a new issue lets you create another change order with the removed cost items and pay items.
Quick steps:
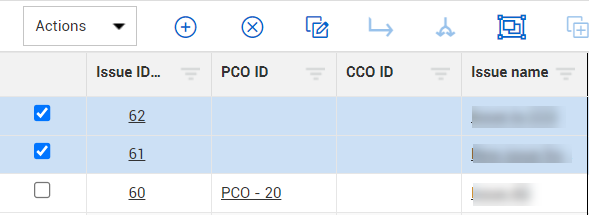
From the Issue log , select the issues you want to convert to a PCO.
Click the Associate to change order icon, and then select Assign to potential change order.
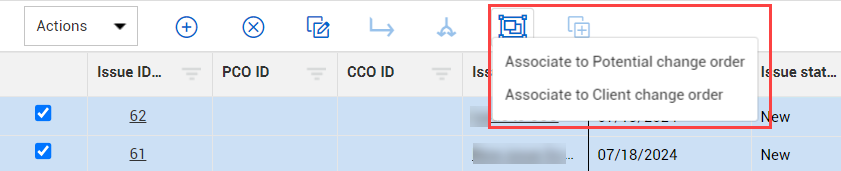
If any of the issues you selected are already part of a PCO or CCO, you will receive an error message. You can check the Issue Status column in the Issue Log to ensure the selected issues have a status other than PCO or CCO.
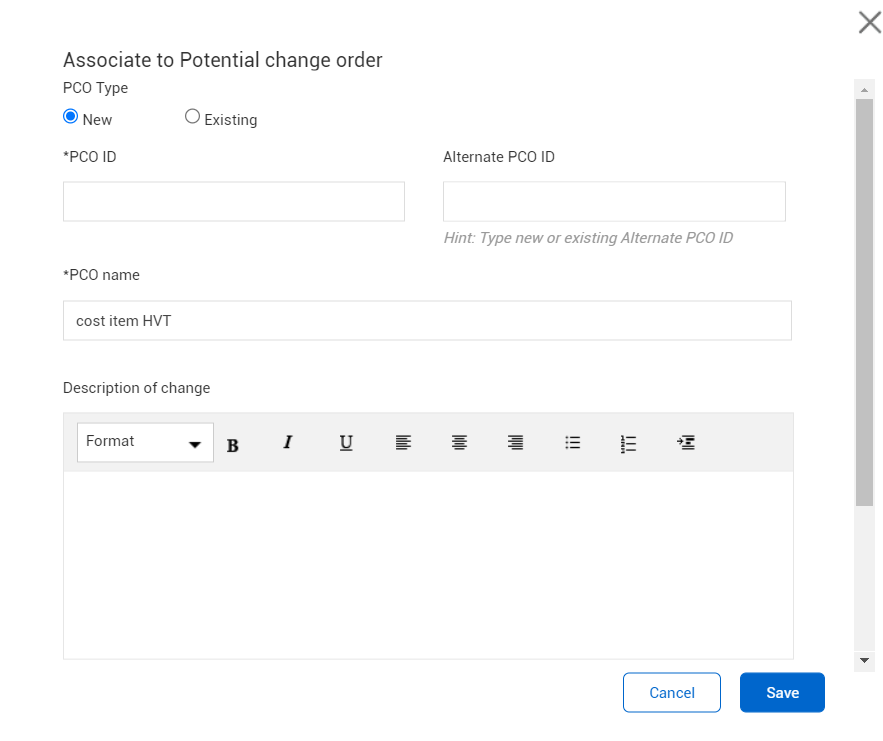
The Assign to potential change order dialog box shows.
Indicate whether the issue is to be associated to a new or existing PCO, and then enter the PCO ID and PCO name. You can also enter an alternate PCO ID and a description of the change.
Click Save. The PCO Details page opens.
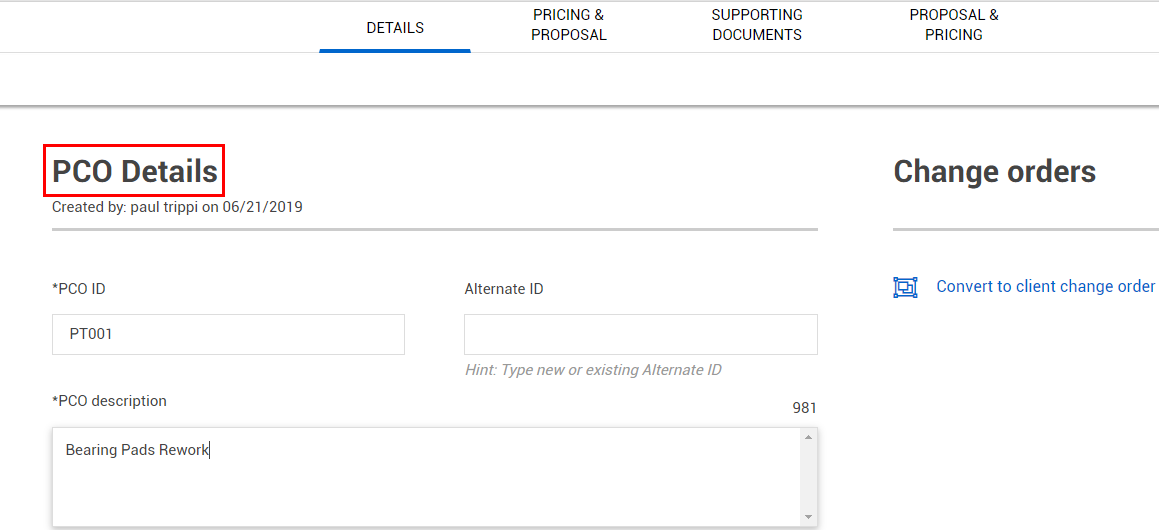
Optionally, scroll to the Associated issues section, and then add any additional issues you want to associate to the PCO.
Go back to Change > PCO Log to see the status of your newly created PCO.
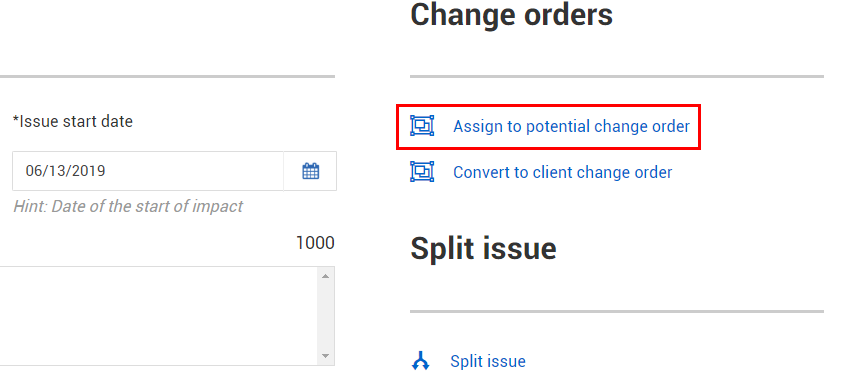
Another option for Assigning an issue to a potential change order is on the Details tab of an issue record. Clicking the Assign to potential change order link will open the window to assign the issue to a PCO.
The header at the top of your PCO record contains the same functionality as the issue header, allowing you to update the following:
PCO status
Pricing status
Proposal status

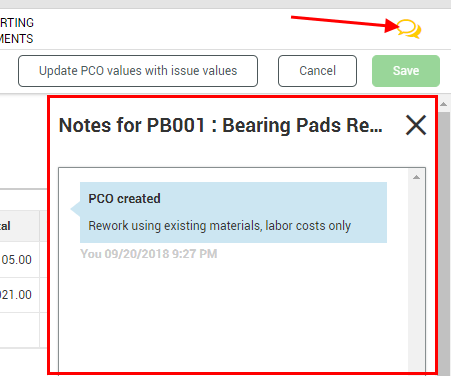
As you change the statuses, you will be prompted to enter notes. These notes are stored in the Notes slide out panel, which you can access at any time by clicking on the View notes icon.
Additional Information
9977 N 90th Street, Suite 250 Scottsdale, AZ 85258 | 1-800-637-7496
© 2024 InEight, Inc. All Rights Reserved | Privacy Statement | Terms of Service | Cookie Policy | Do not sell/share my information