Supporting documents — Change orders
In the PCO and CCO tabs you can add supporting documentation by doing the following:
-
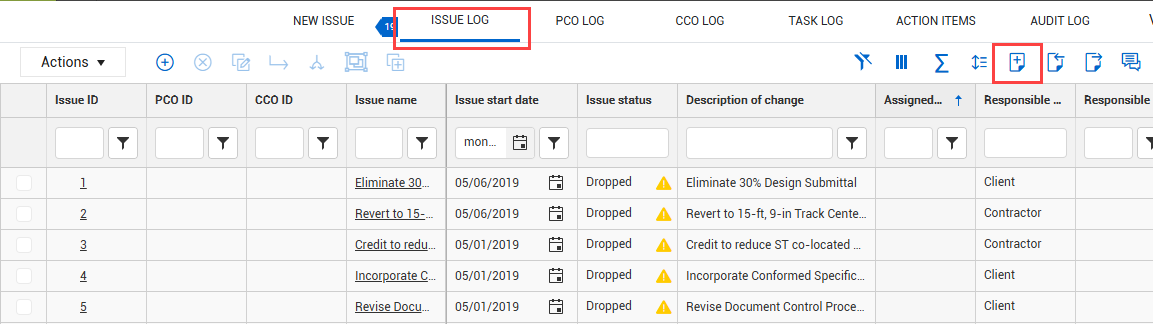
Clicking the Add supporting document icon on the PCO or CCO’s Supporting Documents tab.
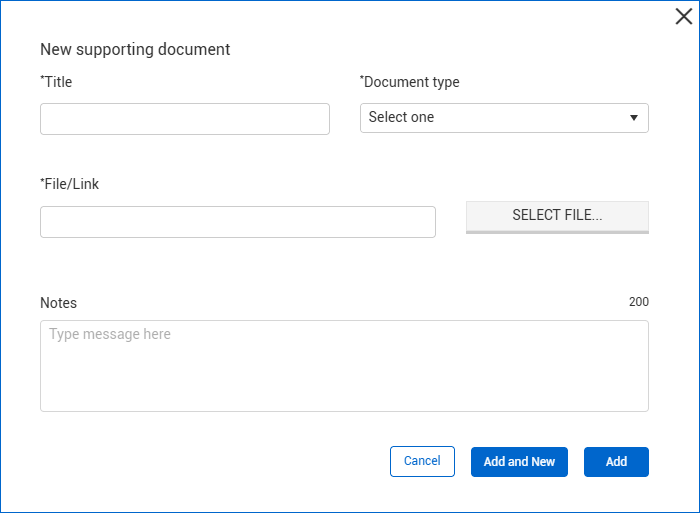
When you select the New supporting document option, in the Add supporting document dialog box, fill out the Title, select a Document type, and then browse to your document file to attach it in the File/Link field. Notes are optional.
To add the document, click Add. To add and continue adding another new document, click Add and New.
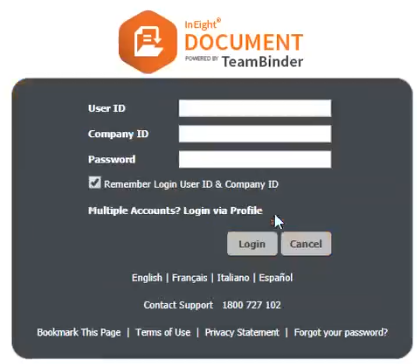
When you select the From InEight Document option, you are taken to the Document login window. If the document type in Document matches a document type in the cloud platform, that value shows as the default document type. You can edit the document type as needed.
You can upload documentation via a file, link, or using the InEight Document integration.
At the PCO level, no supporting documents are required, however it is best practice to include all documents relating to the PCO. At the CCO level, an executed change order must be attached before the CCO status can be changed to Executed.
When you add a supporting document type of Proposal and subtype From vendor, you can select a vendor from a list of all contracts on the PCO or CCO. This lets you specify which contract the supporting document is related to and gives visibility into which contract to associate the proposal to.
Upload a document to Document
Upload a supporting document to Document when you want to take advantage of Document's organization and versioning features.
Only documents with the document source My computer can be uploaded.
Single-sign on is available for Change to Document features, such as creating mail or a form. When you use one of these features, the Document sign-on page opens, and you can enter your credentials. This creates a sign-on token that lets you remain signed in until the session ends. The first time you sign in to Document, a black secondary window and the Document Home window also open. You can close these windows. Single sign-on is activated, and they are not shown again.
-
From the Supporting documents register, select a document with the document source My computer, and the click the Upload icon.
- If you are not already signed into InEight Document, use your credentials to sign in to InEight Document.
A sign-in token is created that lets you remain signed in to Document until the session ends. If this is the first time you are signing in to Document from Change, a black secondary window and the Document Home window are shown. After you close these windows, single sign-on (SSO) to Document is activated, and they are not shown again.
The Upload window in the Documents module of Document opens with the document you selected in Change already attached.
-
If you want to add more documents, you can add them at this time.
-
Click Save and Transmit. The document is now saved in the Document Documents module.
-
Close the Document window. Change shows the Edit supporting document dialog box. The file link is replaced with the document link form Document.
-
Click Save. The Supporting documents register refreshes with the file link to the Documents module. The Document source is replaced with InEight Document, and the External document type and status are now populated.
Show supporting documents in generated documents
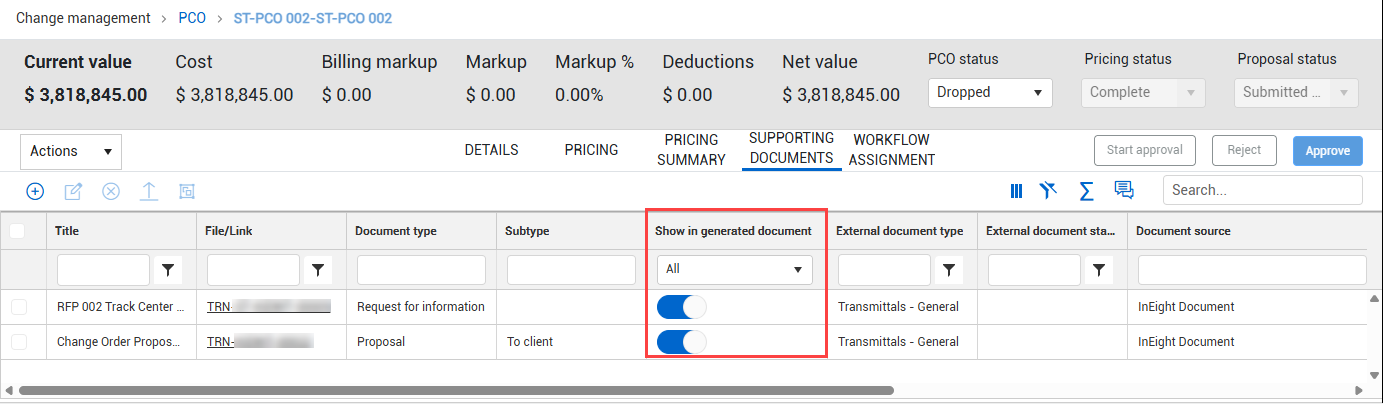
A toggle on the Supporting documents register's Show in generated document column, lets you indicate whether the document is shown in a collection table based on the collection table type. When you have a supporting document that you do not want to show in a collection table in a generated document, set the toggle to No. When a document is generated, only the documents that were set to Yes are shown.