Products
Solutions
Resources
9977 N 90th Street, Suite 250 Scottsdale, AZ 85258 | 1-800-637-7496
© 2024 InEight, Inc. All Rights Reserved | Privacy Statement | Terms of Service | Cookie Policy | Do not sell/share my information

Once the Preservation Manager assigns a task to an individual, it is that person's responsibility to complete the task and update the Checklist Questions' response.
The following steps describe how an individual identifies their assigned workload.

With a task assigned, there are a variety of possible outcomes, it is likely you can complete the task without any issue. But other options are also available:
The following steps walk you through how to complete a preservation record without an issue.
From a specific, assigned Preservation record, expand the Checklist to show unresolved questions.
(Re)Answer the Question, review the document, and/or affix your signature, as needed.
Click Edit.
Update the Edit Preservation window, adding the resolution date and time, resolved by, and a resolution note if necessary.
Click Save.
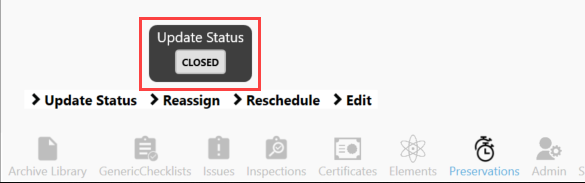
Select Closed.
Add additional resolution notes, as necessary.
Click OK.
Click Pending Updates to send information to the server.
Click Publish.
Click Pending Updates again to create a new preservation.
Click Apply Project Updates.
Clicking through the Pending Updates screen, provides an audit trail for the preservation activities completed. In the pop-up window, a series of drop-downs will provide more detail as to the pending changes waiting to be published.
Updates are listed chronologically from oldest to newest.
Three options exist at this step: Cancel, Discard, and Publish which sends the update to the Server.
If a record needs to be rescheduled, follow these steps.
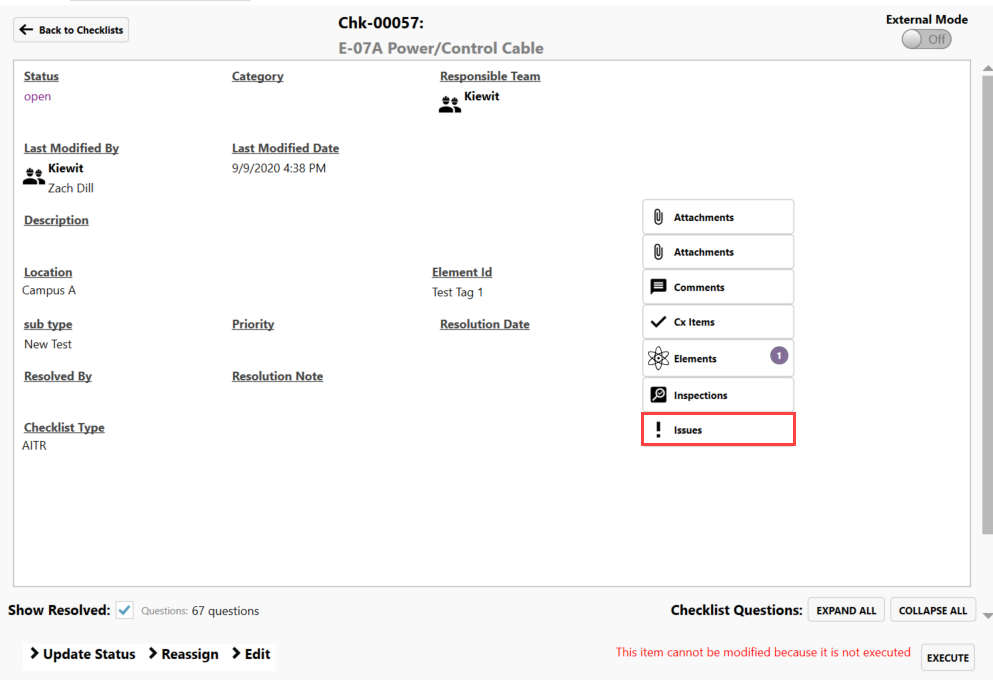
If an issue needs to be documented, follow these steps.
Alternatively, from within the Checklists tab, and having selected a checklist, an Issue can be added.
If a record needs to be re-assigned, follow these steps.
Additional Information
9977 N 90th Street, Suite 250 Scottsdale, AZ 85258 | 1-800-637-7496
© 2024 InEight, Inc. All Rights Reserved | Privacy Statement | Terms of Service | Cookie Policy | Do not sell/share my information