Products
Solutions
Resources
9977 N 90th Street, Suite 250 Scottsdale, AZ 85258 | 1-800-637-7496
© 2024 InEight, Inc. All Rights Reserved | Privacy Statement | Terms of Service | Cookie Policy | Do not sell/share my information

Online completion of a checklist housed in Completions, might not be an option for you and your organization if:
Your organization or market do not have the ability, access or funds to deploy iPads at all locations
It might not be physically safe (exposure risk)
Wet signatures are still needed on some documents
If any of these is the case, a paper checklist fills the gap. The existing checklist in Completions is downloaded and saved, manually completed, and then imported back into Completions as processed and closed.
The system is designed to hand-off a stack of Checklists to the admin, who orders them, and scan in all the paper into a PDF document. After all is scanned in, the above process would be completed and many checklists would be completed.
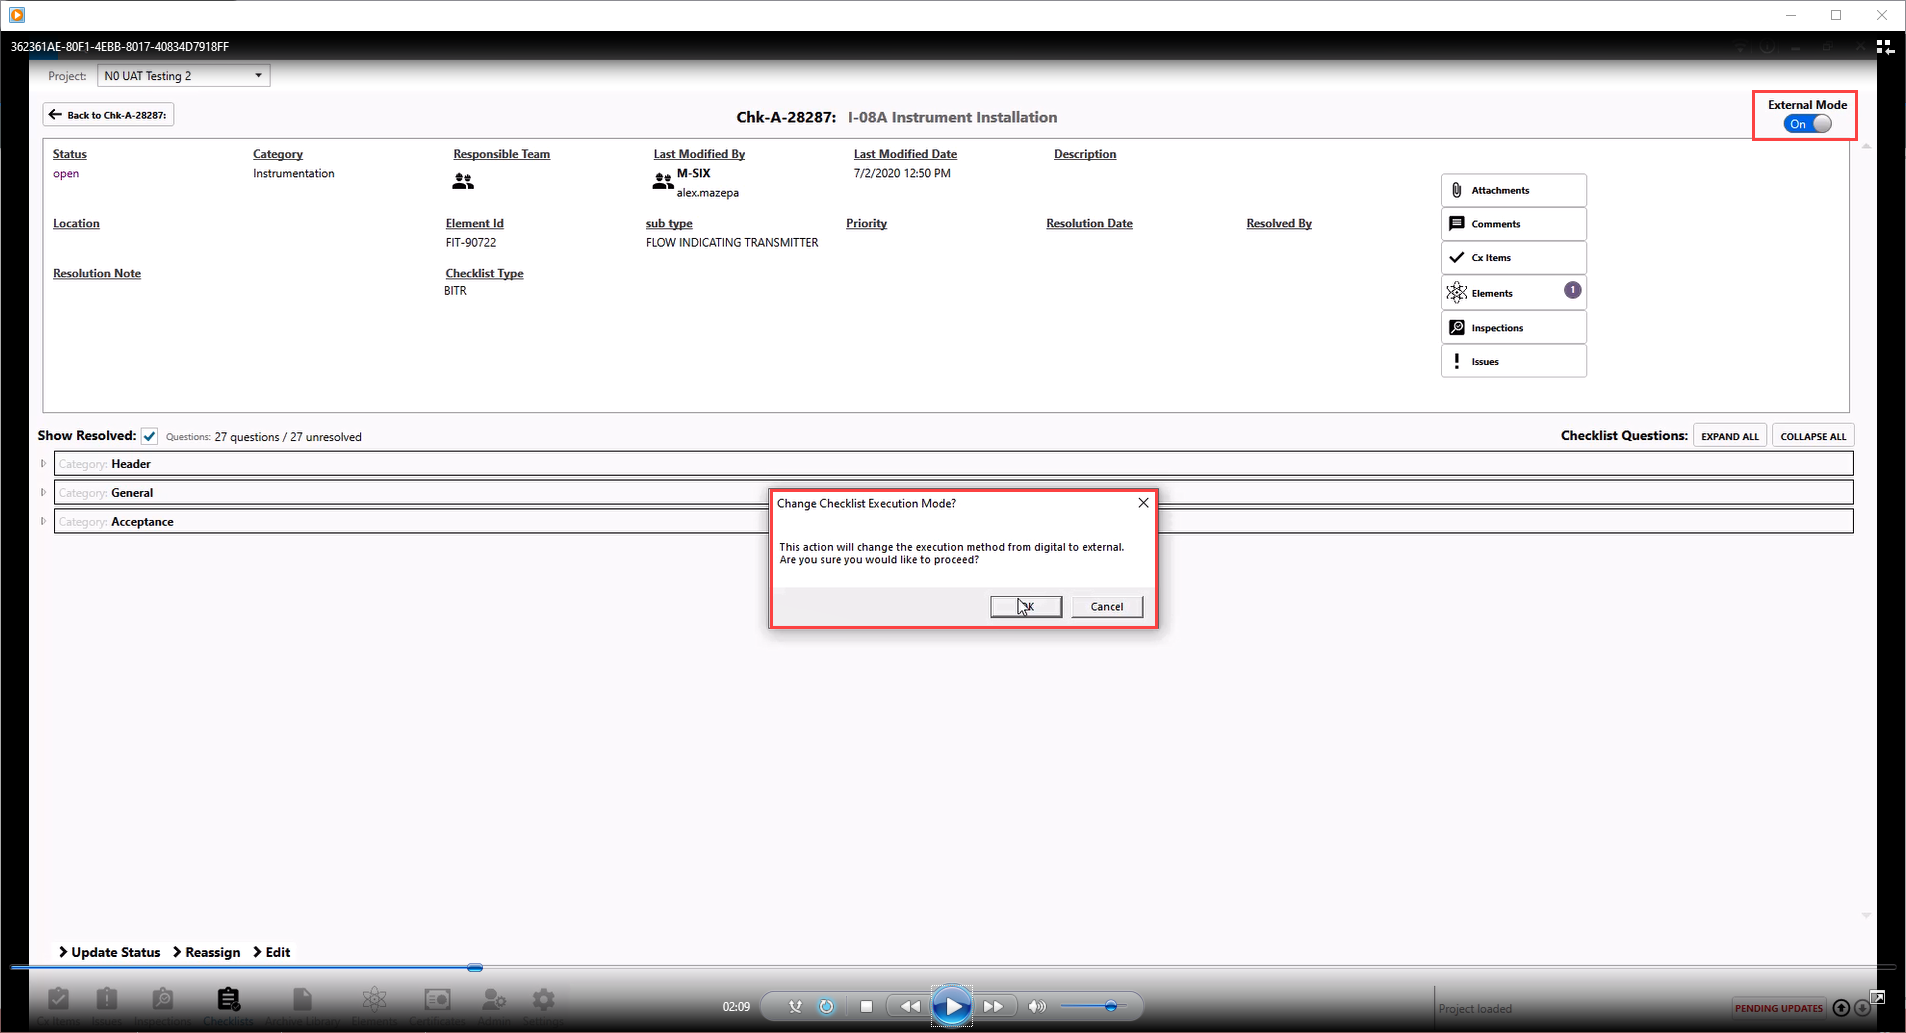
The following steps walk you through creating a PDF, or paper version, of a checklist.

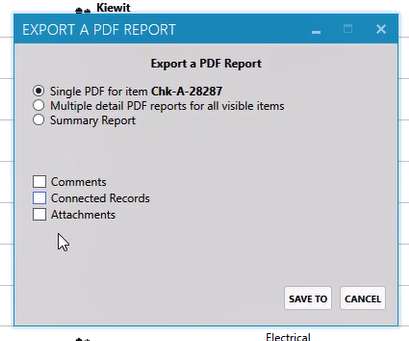
Navigate to where you want to save your PDF, and then click Save.
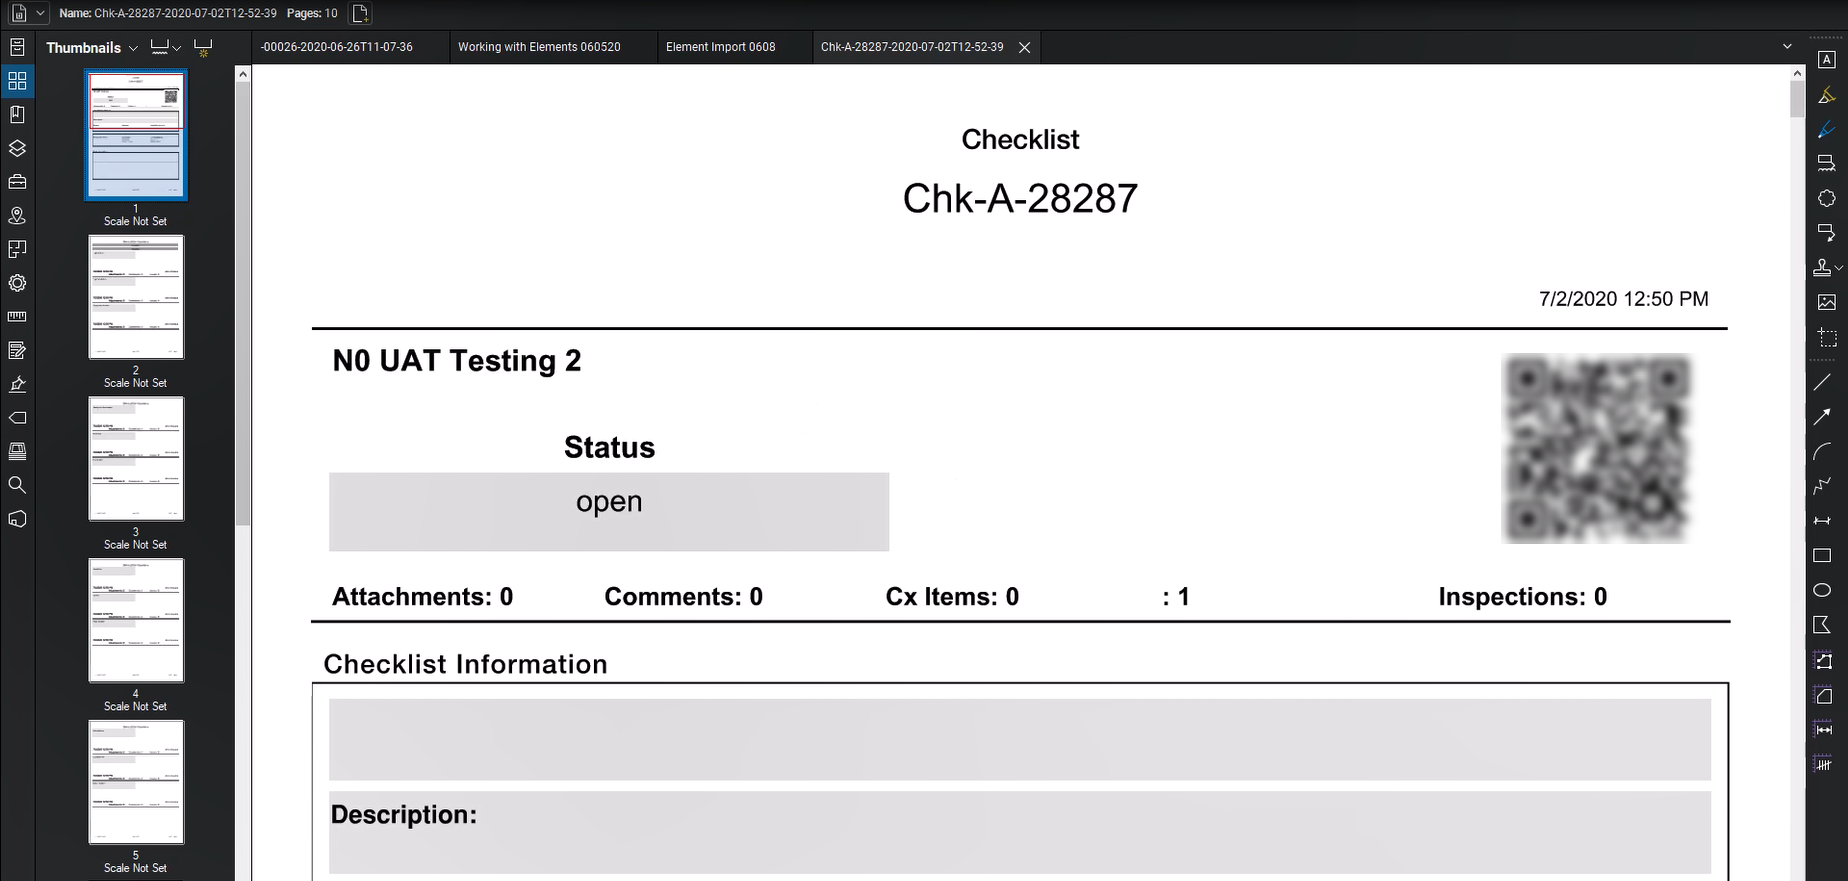
The resulting PDF paper checklist shows with the bar code on the top and all checklist questions beneath it.
The following steps walk you through how to import the completed paper checklist into Completions. This requires the project admin role assignment.
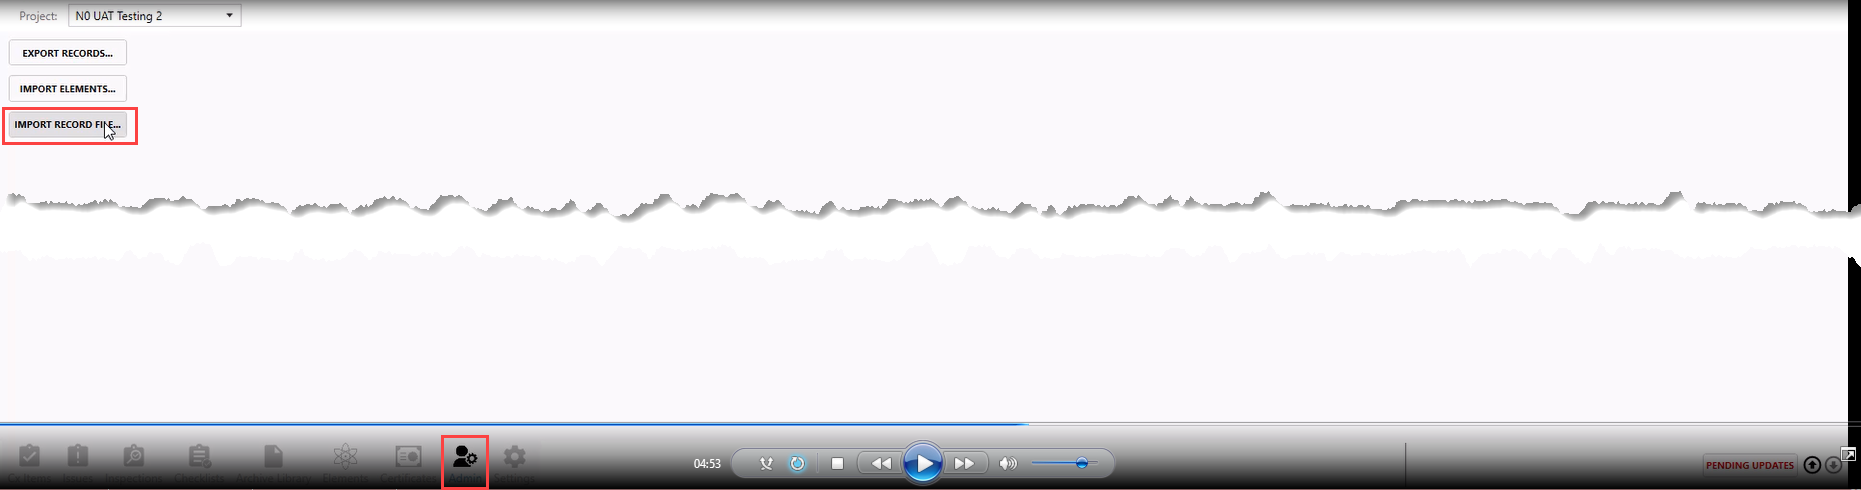
Click ADMIN tab, and then select Import Record File.
Pull up the completed checklist.
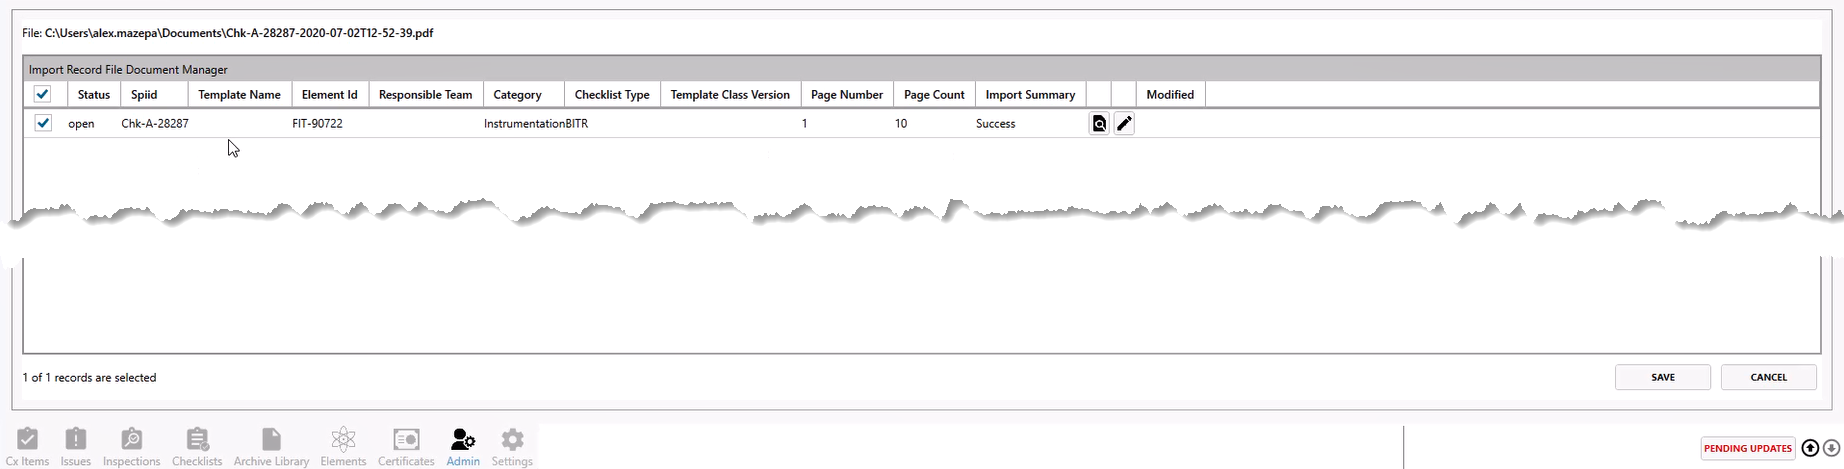
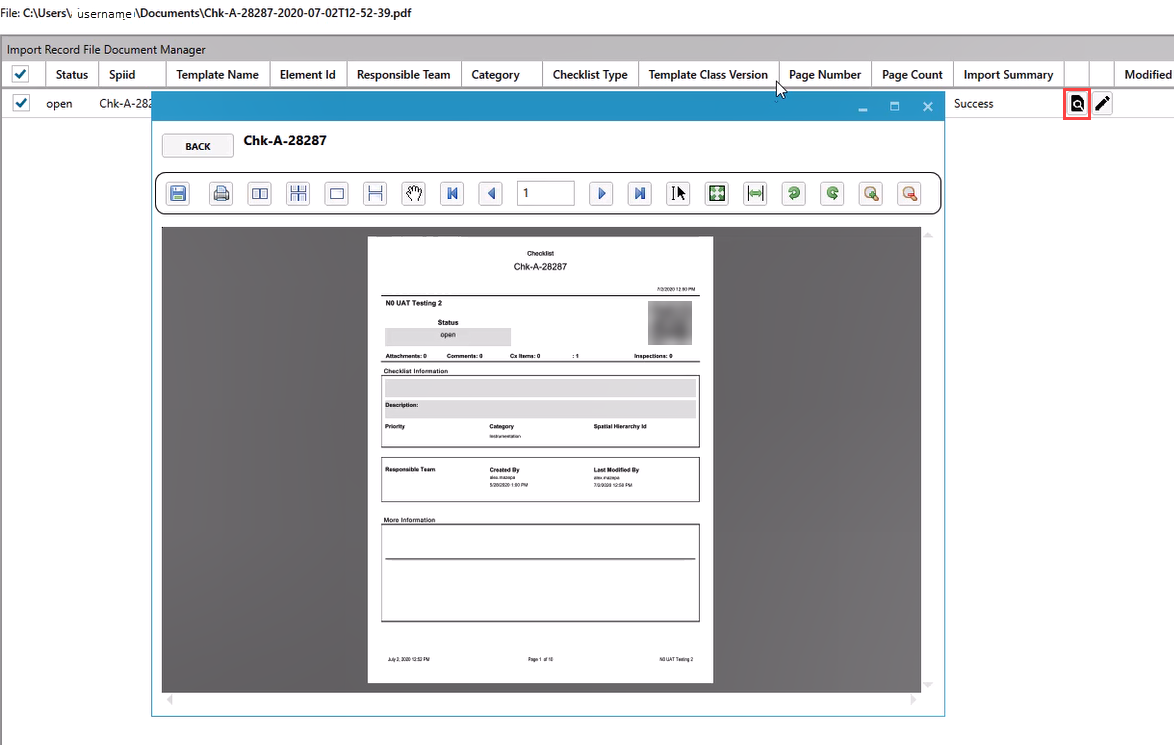
Preview the PDF.
There can be more than one checklist in a PDF. The system reads the first page QR Code and scans subsequent pages looking for other QR Codes. If located, it separates the PDFs from each other.
The following steps outline how to preview and edit checklist record information before completing the record. The Admin who is completing importing the paper checklists is automatically assigned as the individual who Resolved the Checklist on the date and time that the admin imported the checklist. Since this is not accurate to the checklist contents, the admin can use the edit feature to call out the individual who did execute the checklist and change the date in the system to reflect the executed paper document.
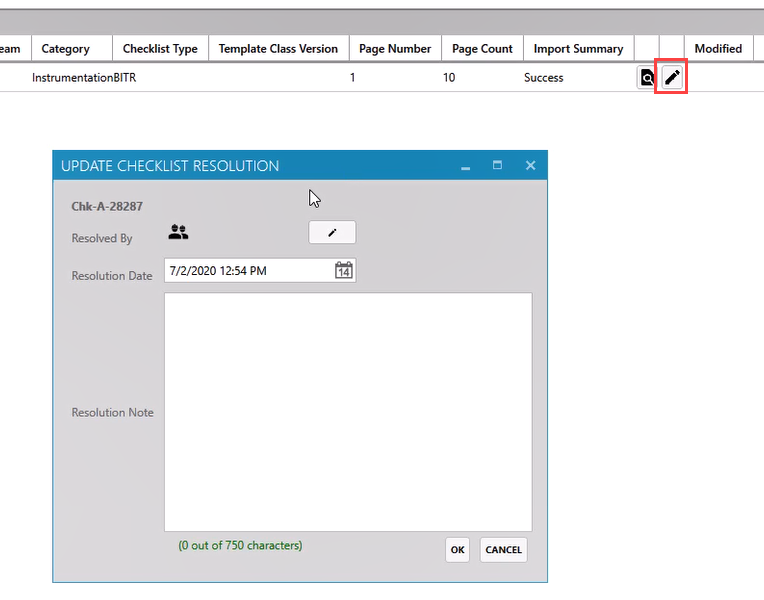
2. Update the following three items in the dialog box, if necessary:
Resolved By name
Resolution Date and time
Resolution Note (freeform)

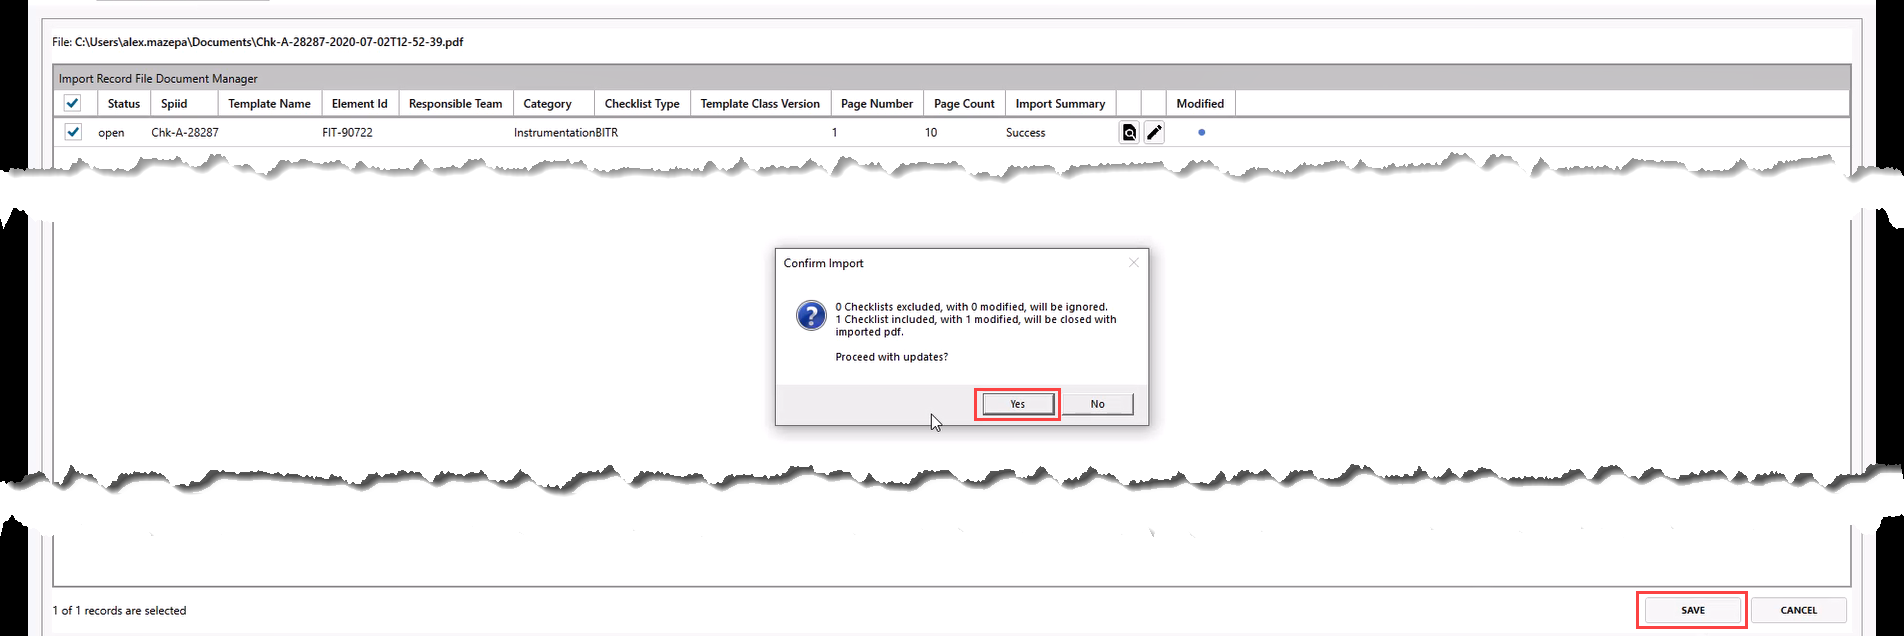
Return to your Checklist record, and the checklist shows as Closed.

If the checklist is re-opened and Attachments is selected, the Attachment can be viewed and the Resolution Note is shown.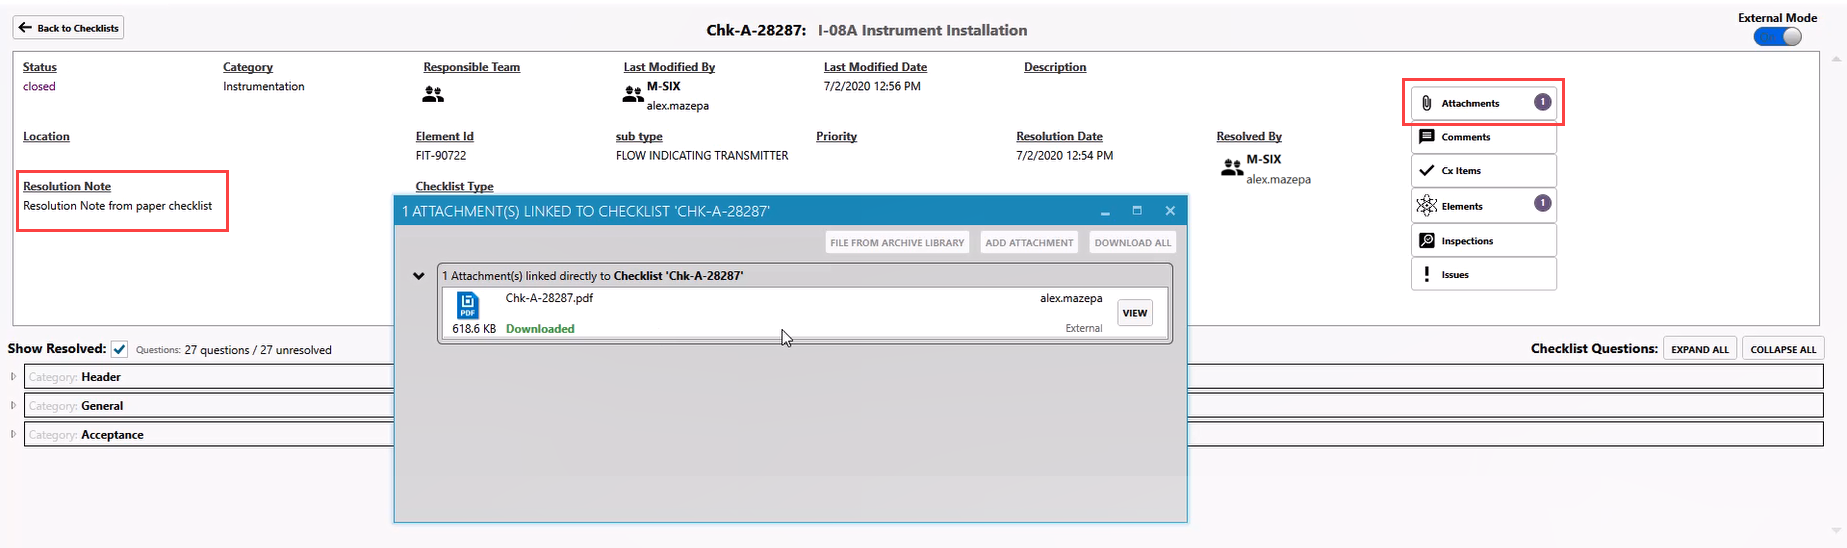
Now the checklist is completed.
Additional Information
9977 N 90th Street, Suite 250 Scottsdale, AZ 85258 | 1-800-637-7496
© 2024 InEight, Inc. All Rights Reserved | Privacy Statement | Terms of Service | Cookie Policy | Do not sell/share my information