Products
Solutions
Resources
9977 N 90th Street, Suite 250 Scottsdale, AZ 85258 | 1-800-637-7496
© 2024 InEight, Inc. All Rights Reserved | Privacy Statement | Terms of Service | Cookie Policy | Do not sell/share my information

The InEight Completions product is highly customizable per your specific project requirements. Tab order and its functionality may differ than what is shown.
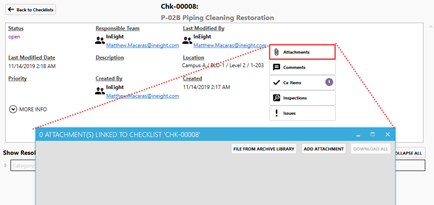
Aside from signing phases, answering checklists, and creating/updating issues, users working in the Completions application can also add and link attachments.
Attachments can be added to a specific Cx Item as shown below. They can be added in the same manner to a Phase, an Issue, Inspection and a Checklist.
.
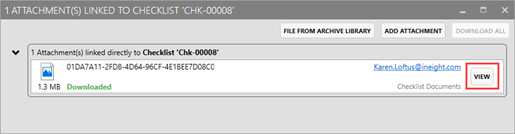
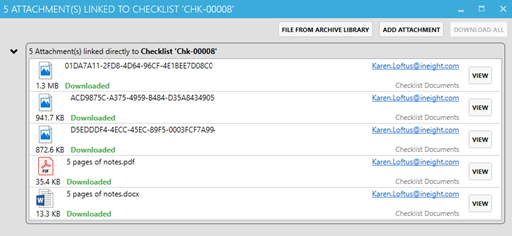
To remove an image, right-click on the attachment record within the Attachment(s) Linked to Checklist pop-up window.
Additional Information
9977 N 90th Street, Suite 250 Scottsdale, AZ 85258 | 1-800-637-7496
© 2024 InEight, Inc. All Rights Reserved | Privacy Statement | Terms of Service | Cookie Policy | Do not sell/share my information