Products
Solutions
Resources
9977 N 90th Street, Suite 250 Scottsdale, AZ 85258 | 1-800-637-7496
© 2024 InEight, Inc. All Rights Reserved | Privacy Statement | Terms of Service | Cookie Policy | Do not sell/share my information

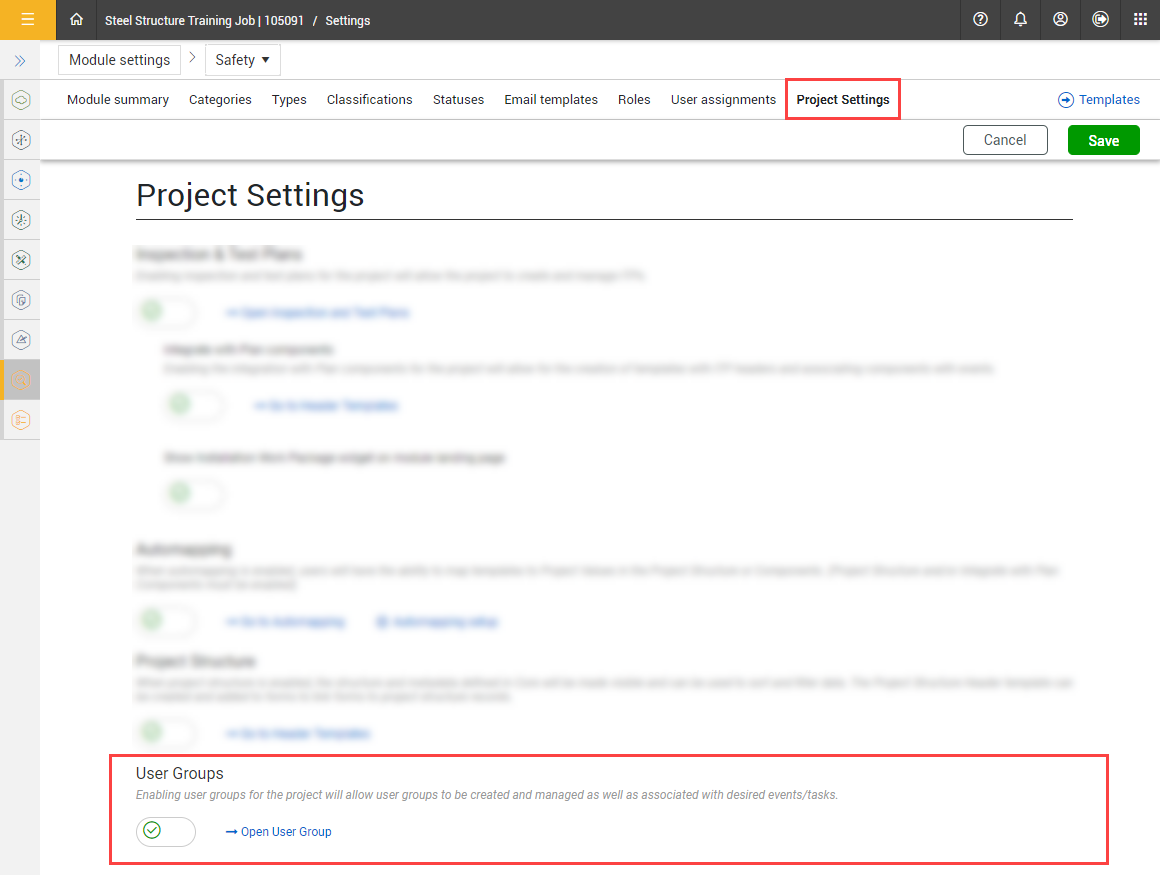
You can enable user groups to be created and managed for your project in either the individual Compliance modules or in Completions. The settings are applied throughout the project.
User groups provide access to events and tasks that may be beyond the usual permissions.
You can use a user group to give access to events and tasks to members of that group, even if they would normally not have permission to view events or tasks in selected categories. User groups can also be used in a template’s From Flow option as responsible parties.
After you create a user group, you can assign the user group to individual forms or tasks when you fill them out or when you open an event or task after it has been started.
For example, when a subcontractor is performing work on a project, and another entity is doing quality assurance, the subcontractor will not be part of the project’s NCR process and will not be assigned the category for the form. However, if a piece of the subcontractor’s work was non-conforming, users from the subcontractor can be associated to a specific user group, and the user group associated with the events (NCRs) to address them.
Click Open User Group to open the User groups page tab. In User Groups you can create, edit, copy, deactivate, and delete user groups.
You must have Level 3 – Account Admin permissions in InEight Platform or a Compliance or Completions role with the applicable permissions.
To delete a user group, you must deactivate it first, and then remove all users from the group.
Only users with assignments to the project are shown on the list of Available users. For more information, see User assignments.
To navigate to User Groups, follow the instructions to access project level settings in Settings overview, and then click Open User Group.
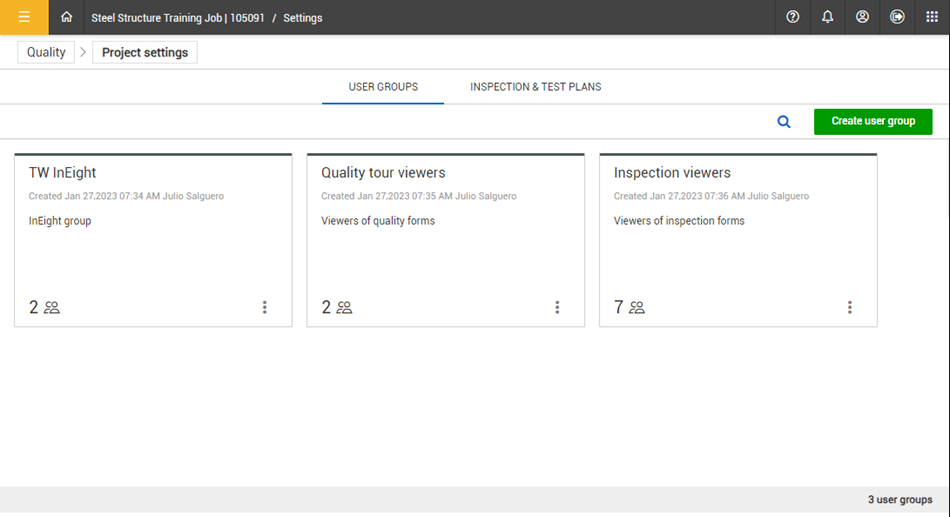
Click the Create user group button, and then fill in the User group name, Description, and select users from Available users to include in the group. You can use the search box and select users or use the Select all option.
Click Save. The new group tile will show. The tile will show the group name, date and creator name, description, and number of users in the group.
Click a group tile. The group opens and shows the Detail and History tab. In the history tab, you can view the history of changes, names, change dates, and changed by information.
In the Details tab, make your changes, and then click Save. Select the Show selected users only toggle to view the selected users only.
To copy, click the ellipses in the group tile, and then select Copy. A copy of the group is created.
Click the ellipses in the group tile, and then select Deactivate. The group tile will turn gray when deactivated.
Click the ellipses in the group tile, and then select Activate to activate the group.
You must first deactivate the group, and then remove all users from the group by editing the group.
Click the ellipses, and then select Delete.
Additional Information
9977 N 90th Street, Suite 250 Scottsdale, AZ 85258 | 1-800-637-7496
© 2024 InEight, Inc. All Rights Reserved | Privacy Statement | Terms of Service | Cookie Policy | Do not sell/share my information