Products
Solutions
Resources
9977 N 90th Street, Suite 250 Scottsdale, AZ 85258 | 1-800-637-7496
© 2024 InEight, Inc. All Rights Reserved | Privacy Statement | Terms of Service | Cookie Policy | Do not sell/share my information

The PDF viewer has toolbars for managing annotations, viewing, markups, and measuring. Refer to the topics below for more information about each toolbar tab.
If you have a set of frequently used tools, you can save them to a customized toolbar, so you can access them quickly when marking up a document.
Summary: Add frequently used tools to the toolbar to the PDF viewer.
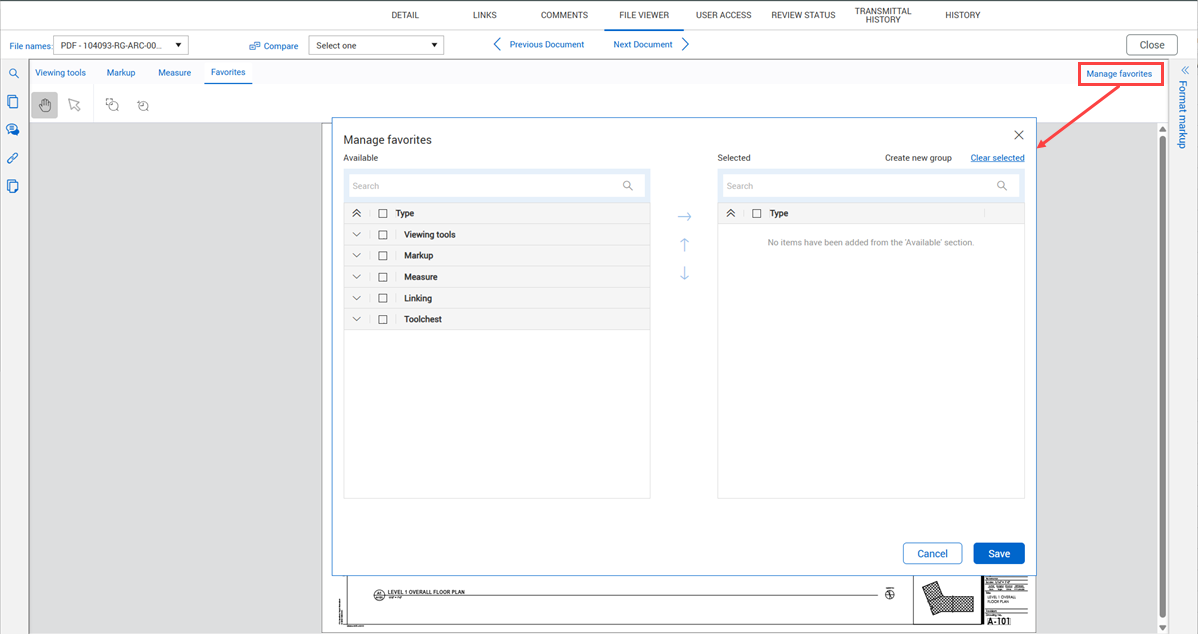
To add a tool to the Favorites toolbar, go to the Favorites tab, and then click Manage favorites. The Manage favorites dialog box opens.
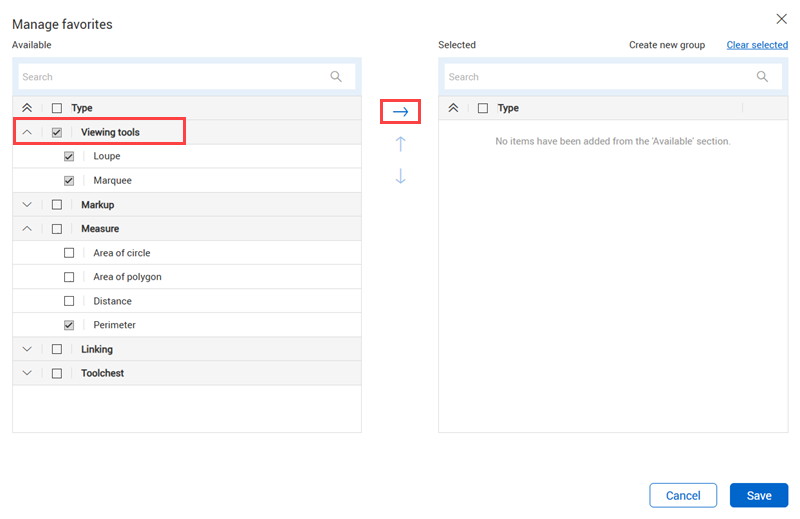
Select the viewing tools you want to add to your favorites. You can expand the sections for each type of tool. To select all tools of a type, select the Type name. For example, to select all Viewing tools, select the Viewing tools type.
Select the search criteria type, and then enter the search criteria.
Click Search.
Select one or more items from the search results, and then use the move right arrow to move the items to the Selected work items to link section of the page.
Repeat steps 3–5 until you have the links you want. Click Save.
Click Save in the PDF viewer.
The items are linked to the text. You can see them when you use the Links tool.
Additional Information
9977 N 90th Street, Suite 250 Scottsdale, AZ 85258 | 1-800-637-7496
© 2024 InEight, Inc. All Rights Reserved | Privacy Statement | Terms of Service | Cookie Policy | Do not sell/share my information