Products
Solutions
Resources
9977 N 90th Street, Suite 250 Scottsdale, AZ 85258 | 1-800-637-7496
© 2024 InEight, Inc. All Rights Reserved | Privacy Statement | Terms of Service | Cookie Policy | Do not sell/share my information

Assign custom created tags to model objects to enrich the model with actionable metadata.
Use the Tags hot key Ctrl + T, or right click to view the Selection Menu.

From the Tags dialog box, select a tag category and value(s) you wish to apply to your selection.
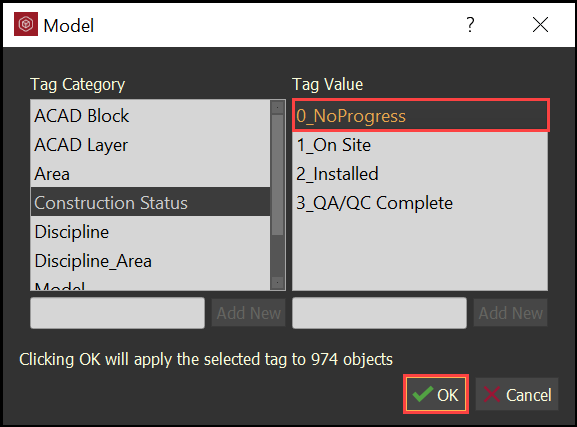
Clicking OK will apply the selected tag to the actively selected objects.
If the desired tag category or value is not available, then simply create it, then select OK.
Quickly remove tags from model objects.
Right click to view the Selection Menu.

Additional Information
9977 N 90th Street, Suite 250 Scottsdale, AZ 85258 | 1-800-637-7496
© 2024 InEight, Inc. All Rights Reserved | Privacy Statement | Terms of Service | Cookie Policy | Do not sell/share my information