Products
Solutions
Resources
9977 N 90th Street, Suite 250 Scottsdale, AZ 85258 | 1-800-637-7496
© 2024 InEight, Inc. All Rights Reserved | Privacy Statement | Terms of Service | Cookie Policy | Do not sell/share my information

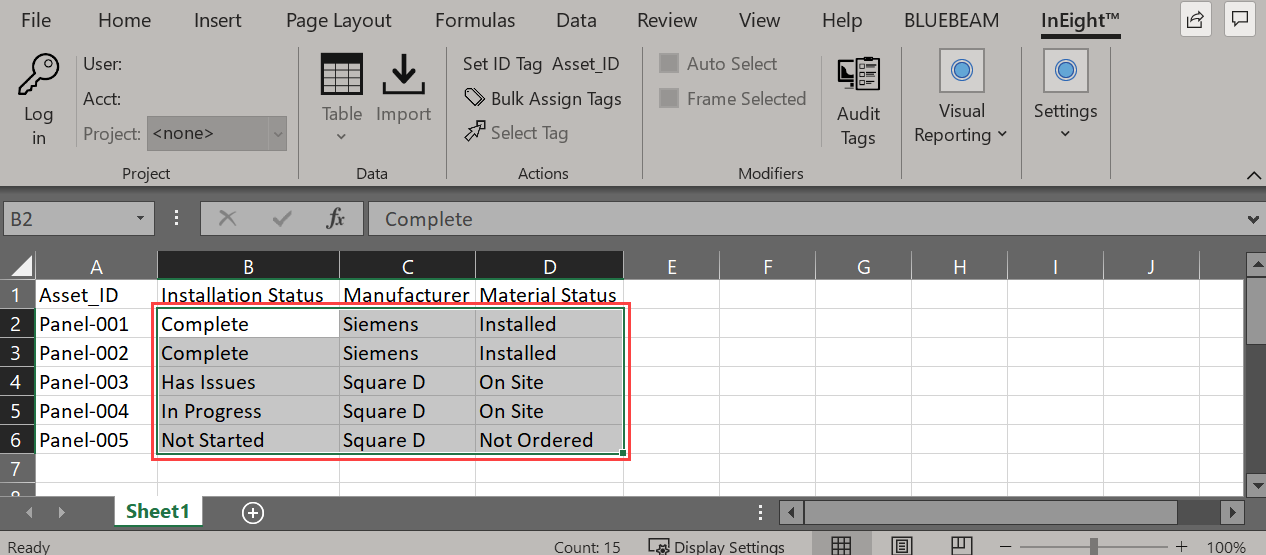
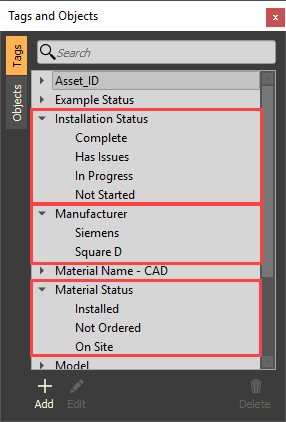
Custom Tags can be imported from Excel into the model.
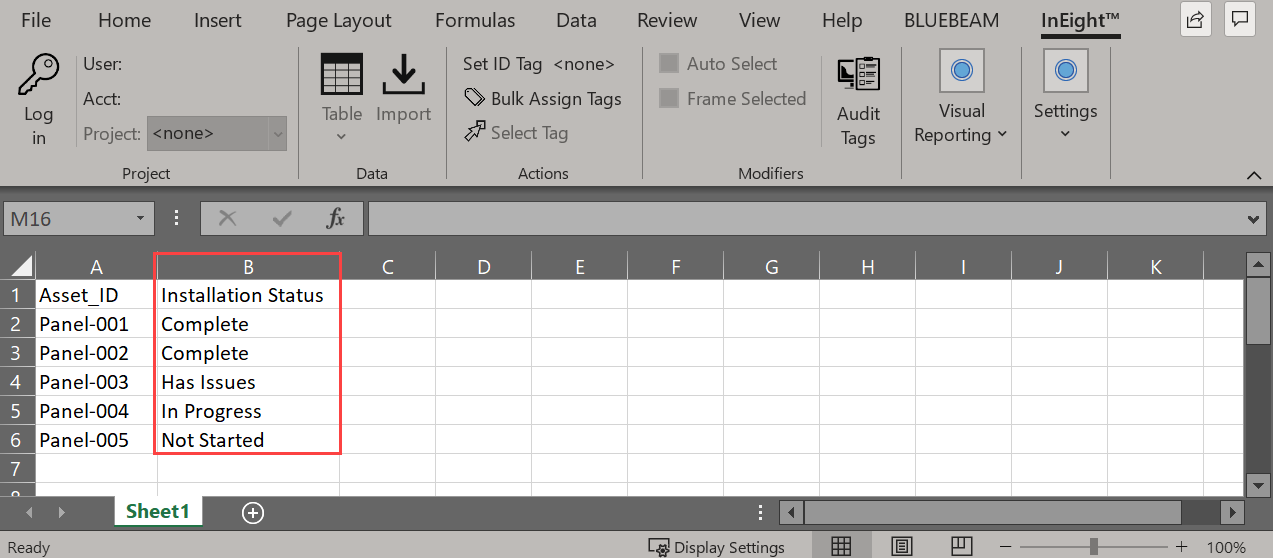
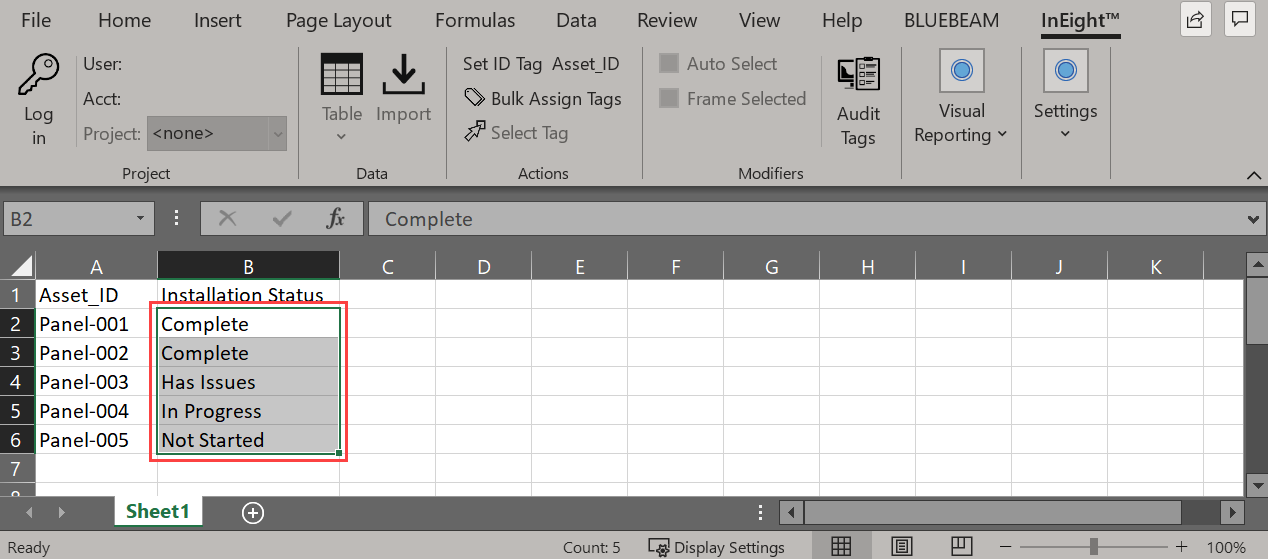
Within Excel, one column needs to contain a unique tag for the Category Tag / Category Values that exist within the model.
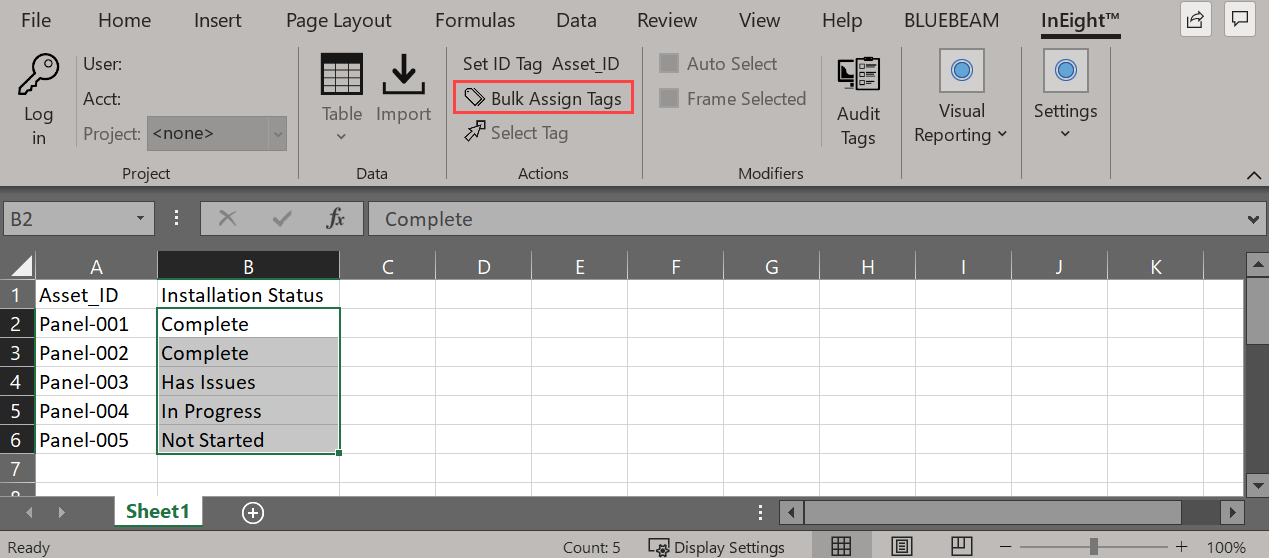
Assign custom created tags to model objects to enrich the model with actionable metadata.
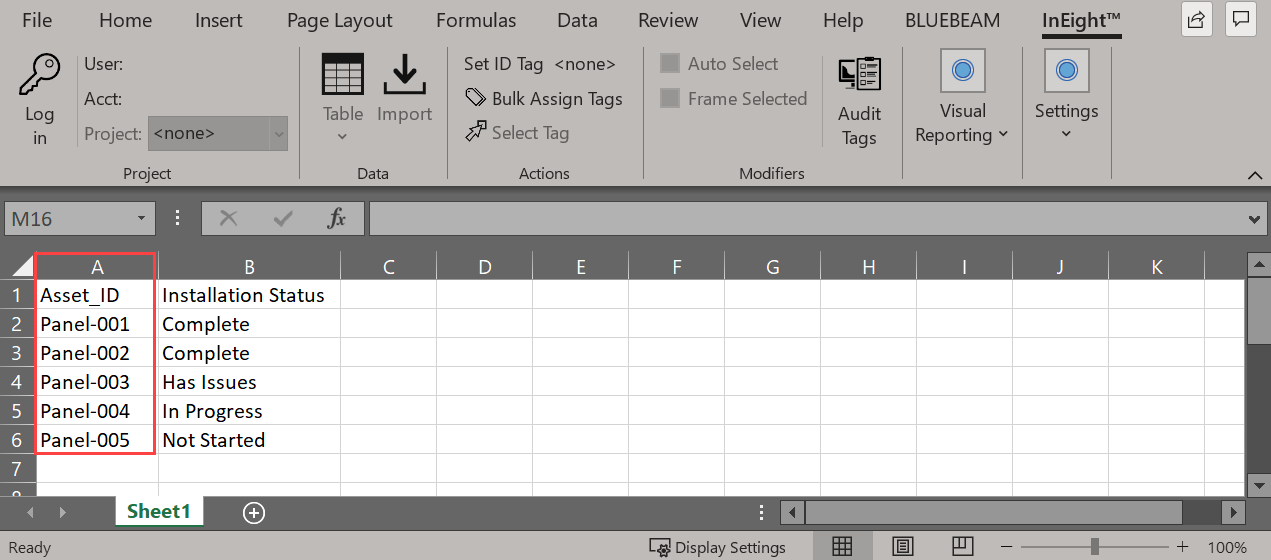
Asset_ID has to be an existing Tag Category along with the information in cells A2 thru A20 must be existing Tag Values within the model.
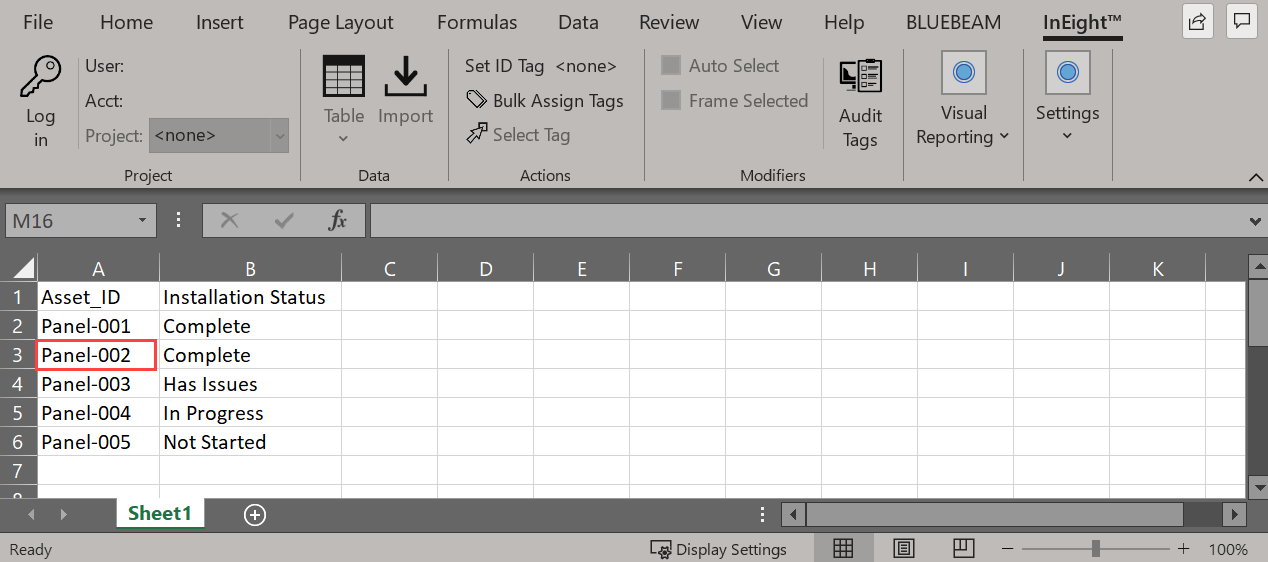
Asset_ID cannot have any duplicates.
Model Objects must be assigned to the Unique ID.

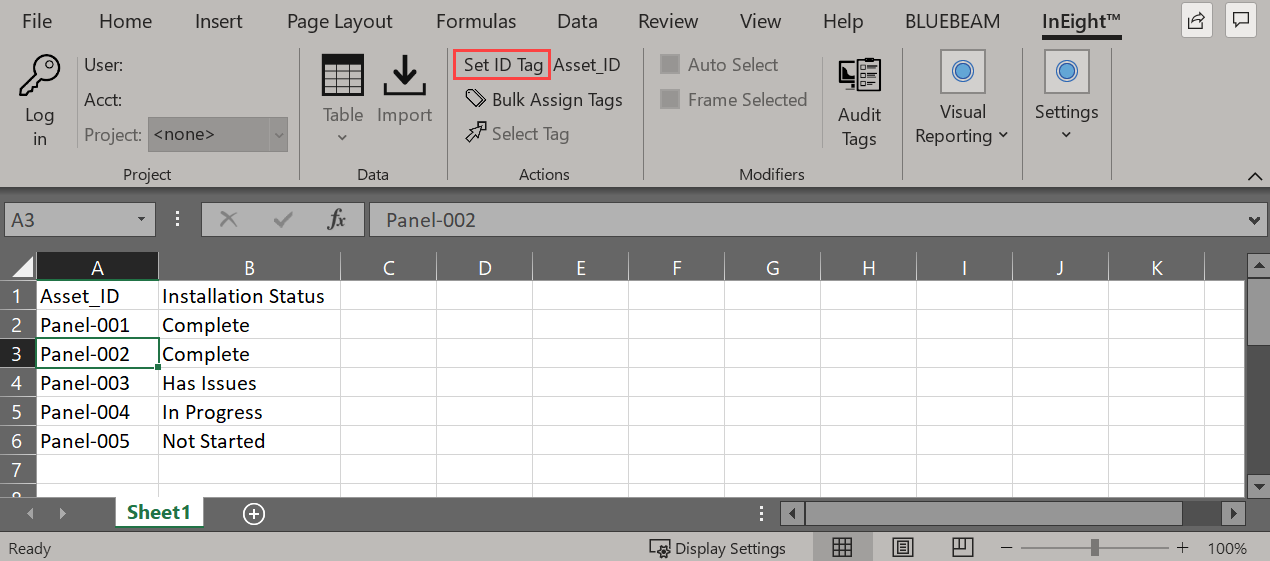
The Set ID Tag will change from <none> to the column header. (i.e. Asset_ID)
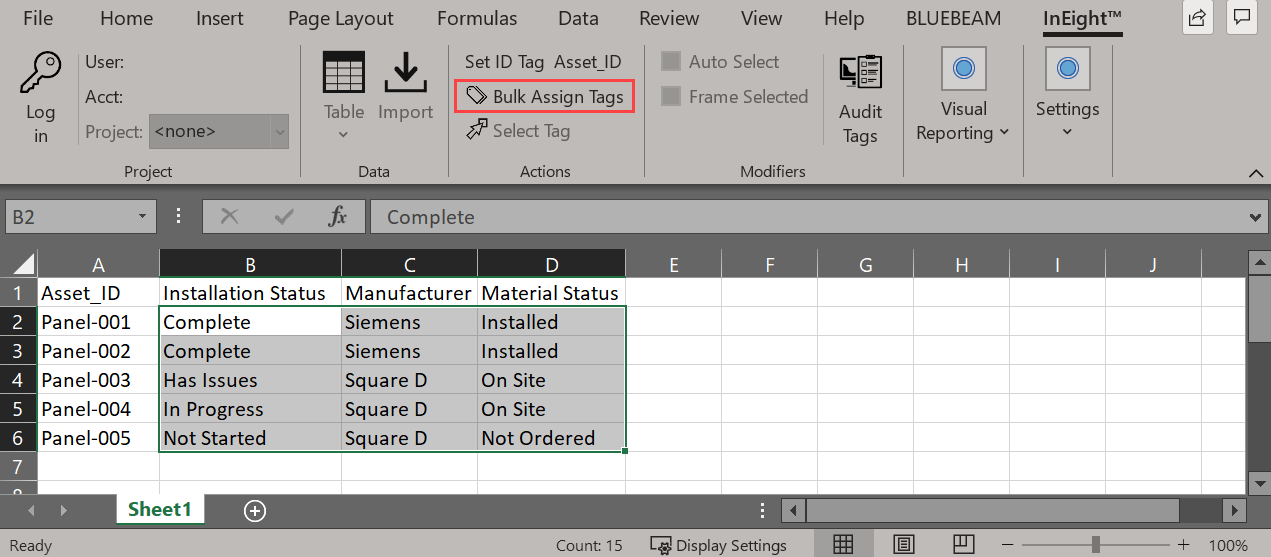
There will be NO indication notice that the data has been imported.
Additional Information
9977 N 90th Street, Suite 250 Scottsdale, AZ 85258 | 1-800-637-7496
© 2024 InEight, Inc. All Rights Reserved | Privacy Statement | Terms of Service | Cookie Policy | Do not sell/share my information