Manage Documents
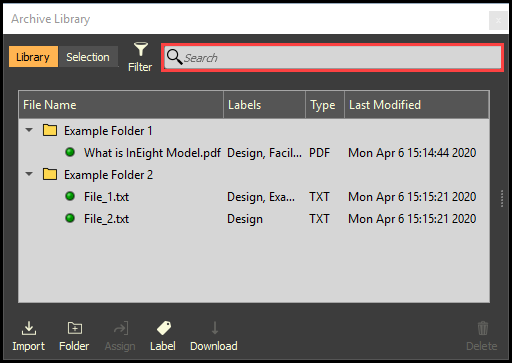
Documents can be grouped in a folder structure, have permissions set at the folder level, have labels assigned, and access document information.
Step by Step — Import Documents
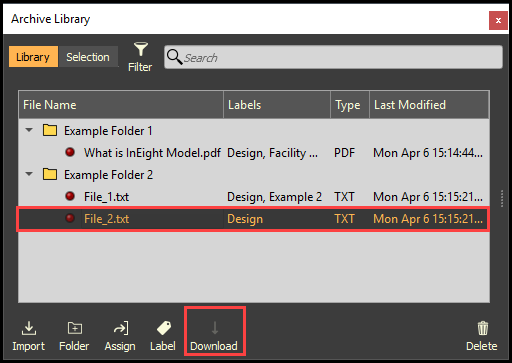
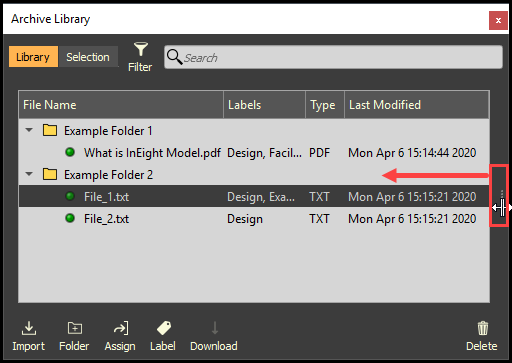
Documents in the Archive Library are either cached locally or only indexed from the online database. Any document uploaded is automatically cached locally on the computer that uploaded it and is represented by a green dot.
- Select the Import icon.
- Then select either File or Directory from the drop-down menu.
• Windows Explorer opens
Drag and drop files and/or file folders into the Archive Library panel.
- Browse to the File or Directory location.
- If File was selected, select one or multiple documents to be imported, then click Open.
If Directory was selected, select on the directory folder to be imported, then click Open.
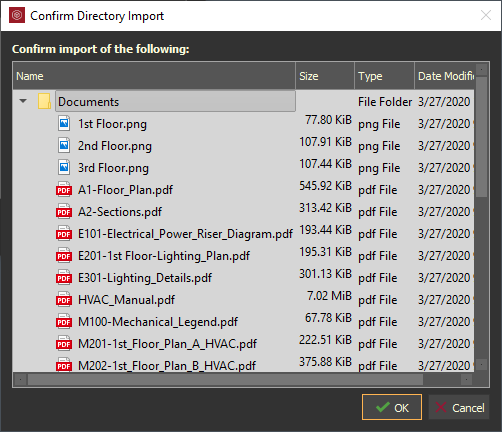
• The Confirm Directory Import dialog box opens
- Click OK.
Step by Step — Download Documents
Any document within the Library represented with a red dot is only indexed from the online database and needs to be downloaded to access it.
- Within the Archive Library panel, select one or multiple documents.
- Then select the Download icon.
- Or right click and select Download Selected
- The Download dialog box opens
- Click Download Selected.
- Download Entire Library: downloads and caches the entire library. Warning: this can take a long time and use a lot of disk space with large libraries
- Download Selected to External App: downloads the file directory to the local computer without caching it locally to VEO_Cache
- Save to…: saves selected to a specific location
Step by Step — Organize Documents
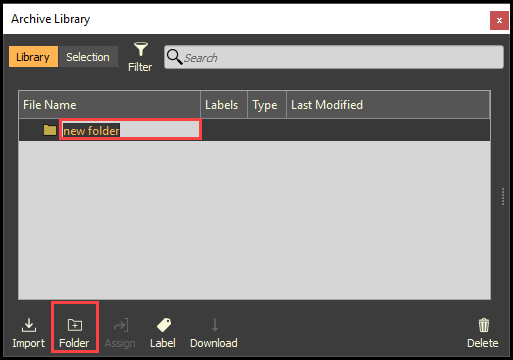
Organize and group documents by creating folders. Drag and drop folders and documents to rearrange them as desired. Right click on the document or folder to rename it.
- Within the Archive Library panel, click the Folder icon.
- Name the folder.
Step by Step — Delete Documents or Folders
- Select one or multiple document(s) or folder(s), then click the Delete icon.
- Answer the validation response(s).
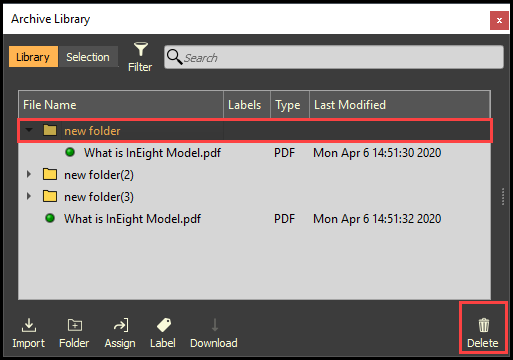
Deleting a folder will delete all documents within the folder. The deleted document/folder is not deleted from the local cache.
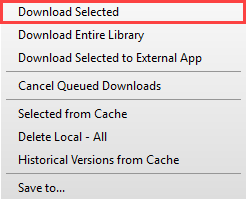
There are additional options for removing documents/folders within the Right Click menu under Delete:
- Delete > From Archive Library: removes document/folder from library (same as Delete icon)
- Delete > Selected from Cache: removes only the local cache copy of a document
- Delete > Historical Versions from Cache: removes previous versions of document/folder from local cache
- Delete > Upload Data from Cache: removes all locally uploaded document/folders from local cache Warning: this can take a long time and InEight Model will be unresponsive while it is in progress
Step by Step — Accessing Document Information
Additional document information is maintained within the document information window within the Archive Library panel.
- Select a document.
- With the mouse on top of the slider bar, click and slide open.
- Or right click on a document and select Show Document Information
- The Document Information window opens
- History: displays the historical information of the document
- Labels: displays the list of available labels and which labels are associated to the document
- Objects: displays objects linked to the document
- Tags: display tags linked to the document
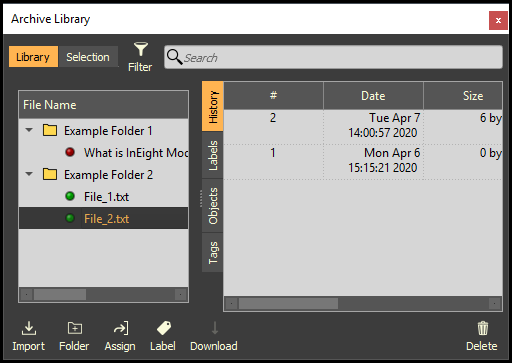
Right click on a document and select Copy Selected File Information to Clipboard to paste document information to an external application (i.e. MS Excel, Word, Email, etc.).
Step by Step — Apply Permissions to Folders
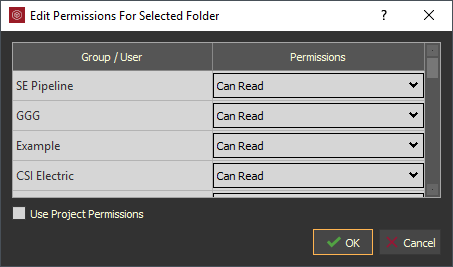
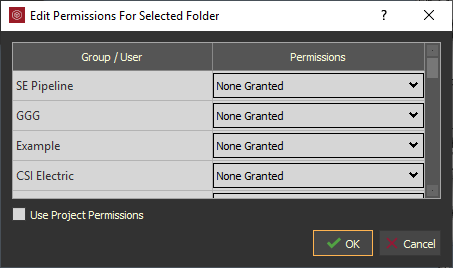
Only Admin users can apply specific folder permissions. By default, folder permissions are inherited by project level permissions.
Permissions can be set at the folder level. Nested folders inherit parent folder permissions. By default, folder permissions inherit project permission for users.
- Select a folder, then right click and select Edit Folder Permissions.
- The Set Archive permissions dialog box will open
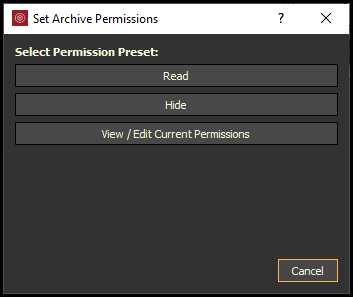
There are three permission levels:
- None Granted: folder is hidden
- Can Read: read-only permissions
- Can Read and Write: has read, write, and edit permissions
- Select a Read permission.
- Can Read permissions are auto assigned to all groups within the system and all users assigned to the project
- Make any changes as desired, then click OK.
- Select a Hide permission.
- None Granted permissions are auto assigned to all groups within the system and all users assigned to the project
- Make any changes as desired, then click OK.
- Select View / Edit Current Permissions.
- Displays all Current Permissions for the folder with applying any changes as it opens
Step by Step — Search Documents
Search filters the library list to the criteria in the search bar and only searches on the File Name of the Document and/or Folder.
When using Filters in conjunction with Search, only visible content is searched.
- Type in criteria within the Search bar.