Products
Solutions
Resources
9977 N 90th Street, Suite 250 Scottsdale, AZ 85258 | 1-800-637-7496
© 2024 InEight, Inc. All Rights Reserved | Privacy Statement | Terms of Service | Cookie Policy | Do not sell/share my information

Documents can be linked directly to model object tags. Linking documents provides a convenient way to quickly access applicable documents by selecting model content within the 3D Viewer window.
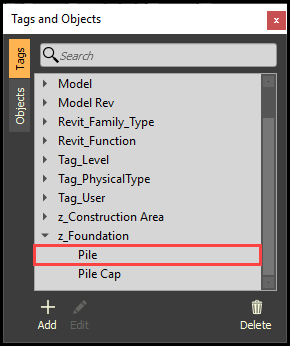
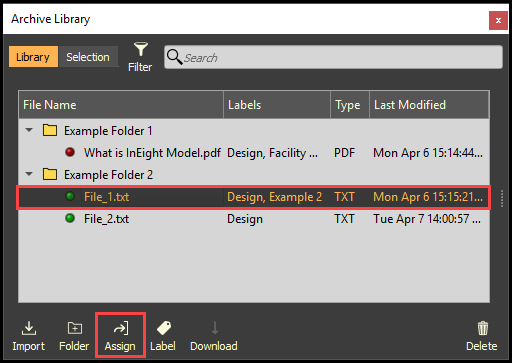
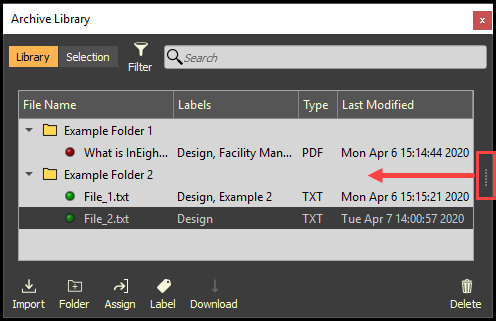
Drag and drop a document onto a Tag Value within the Tags and Objects panel.
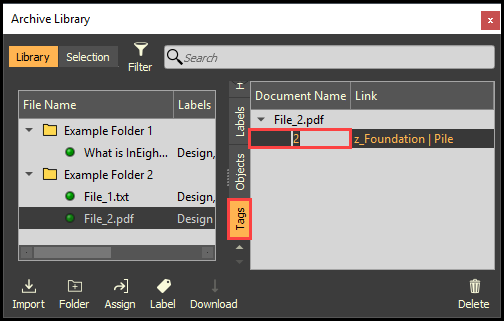
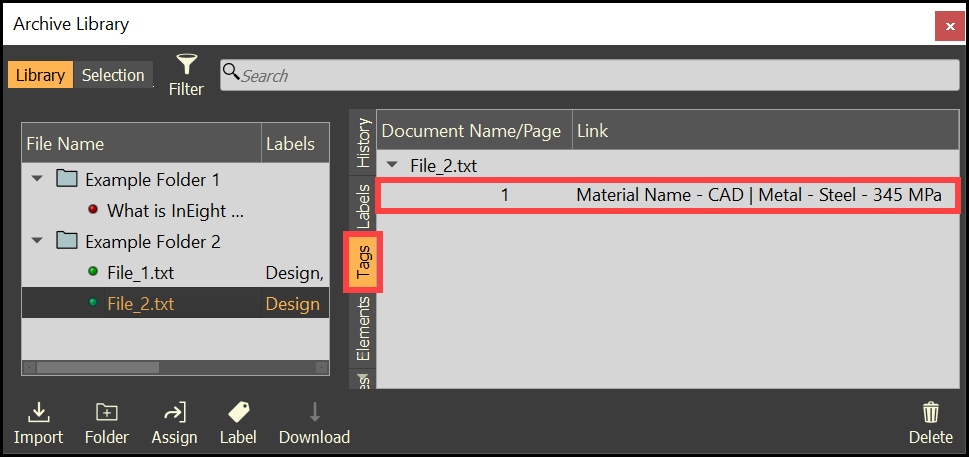
After a PDF document has been linked to one or more model object tags, a specific page within the PDF can be associated to the link, so that, when the document is opened via the link, it will open to the associated page.

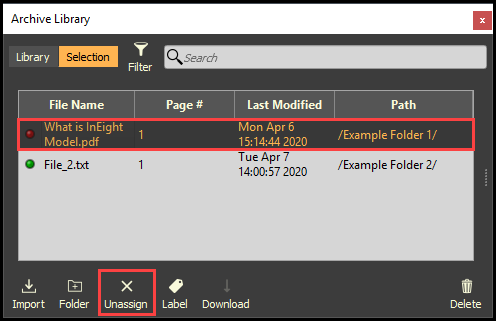
The Selection tab within the Archive Library displays all documents linked to the Actively Selected Model Objects.
Additional Information
9977 N 90th Street, Suite 250 Scottsdale, AZ 85258 | 1-800-637-7496
© 2024 InEight, Inc. All Rights Reserved | Privacy Statement | Terms of Service | Cookie Policy | Do not sell/share my information