Products
Solutions
Resources
9977 N 90th Street, Suite 250 Scottsdale, AZ 85258 | 1-800-637-7496
© 2024 InEight, Inc. All Rights Reserved | Privacy Statement | Terms of Service | Cookie Policy | Do not sell/share my information

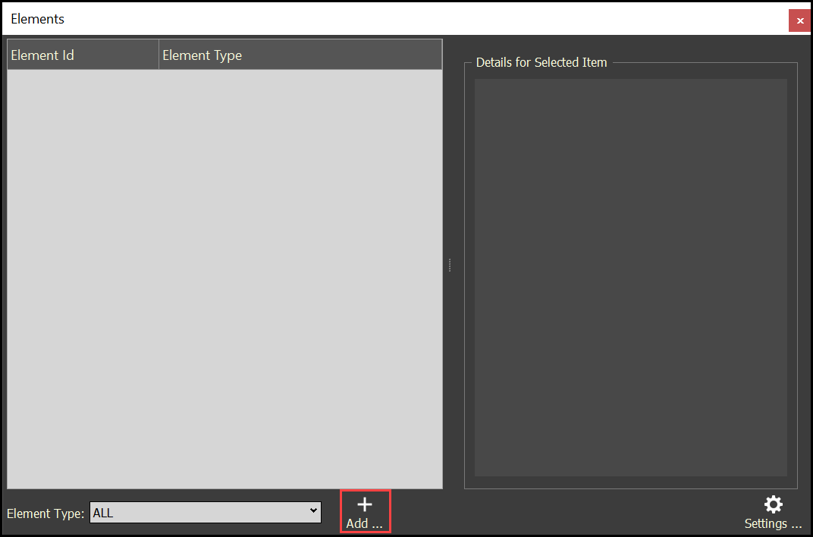
You can create elements and link tags or objects to those elements by clicking the Add icon or moving tags and objects to the Elements panel.
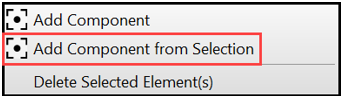
Click the Add icon.
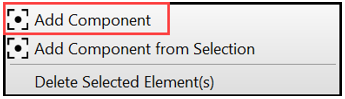
Select Add Component.
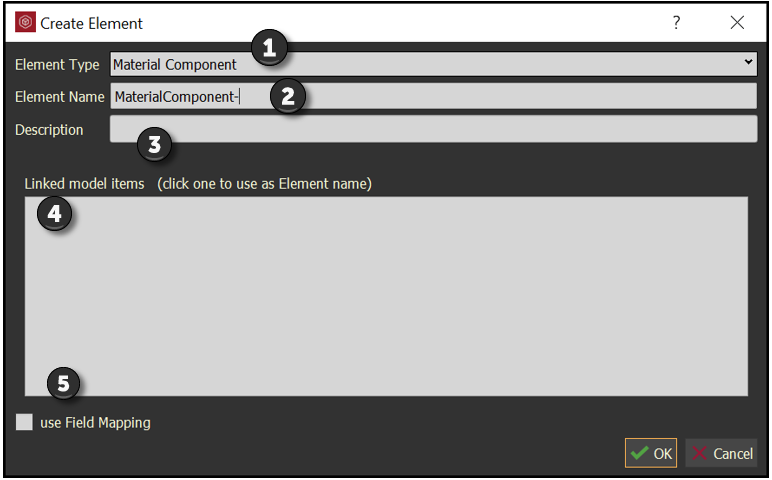
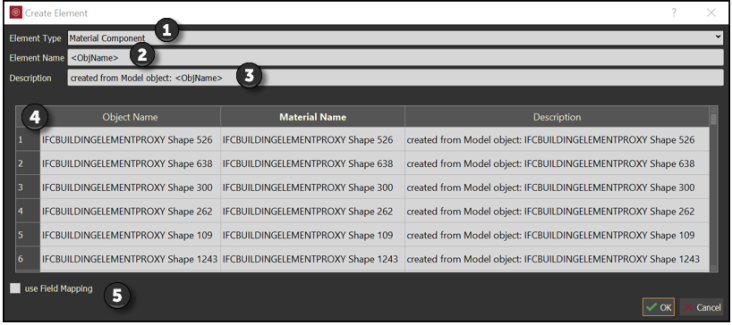
Fill in the component fields.
| Field name | Value | |
|---|---|---|
| 1 | Element Type |
Select Material Component. |
| 2 | Element Name | Type in a name that represents the material component to be created. |
| 3 | Description | Enter a description for the material component. |
| 4 | Linked model item | This is used only when Add Component from Selection option is selected. |
| 5 | use Field Mapping | N/A |
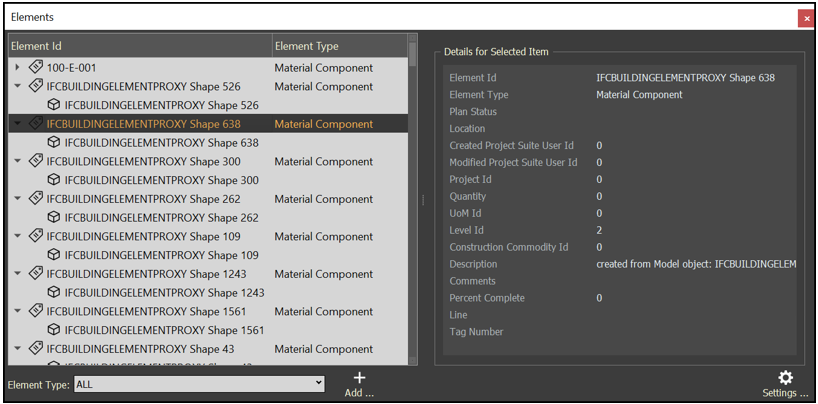
You can see the new completed component in the Create Element dialog box.

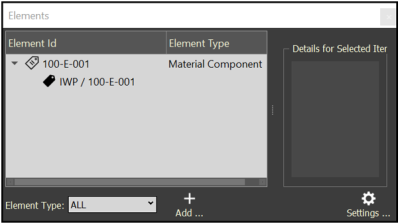
Click OK, and then the new Material Component shows in the Elements panel.
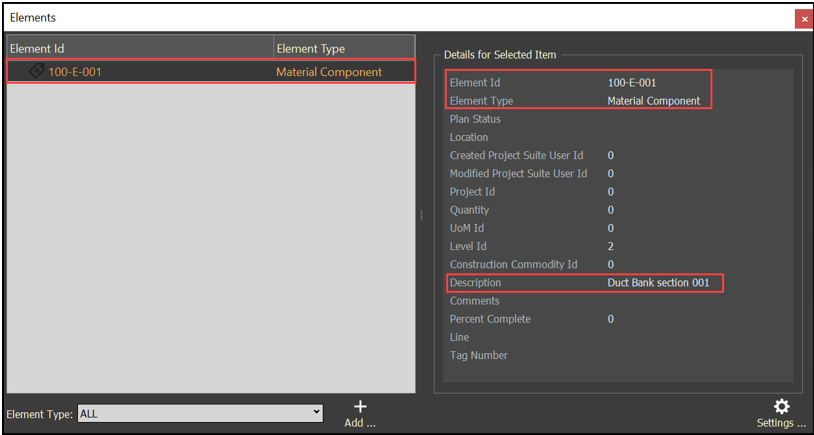
The Element ID, Element Type, and Description cannot be changed. You must delete and recreate a new element.
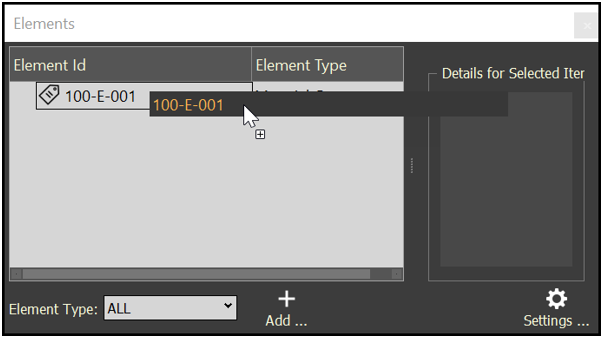
You can add a model object to the element two different ways:
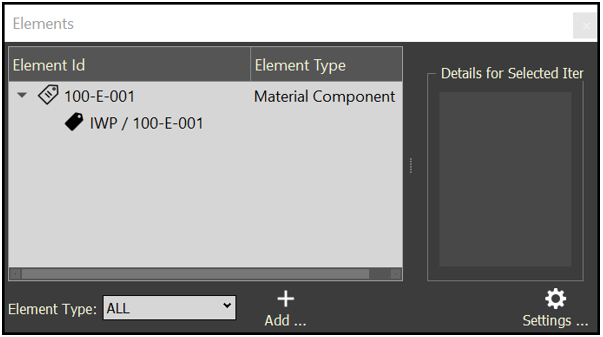
Drag one or more tags into the element from the Tags tab.
The tags show below the element.
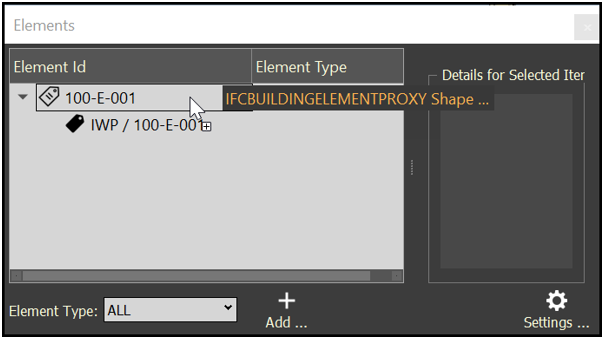
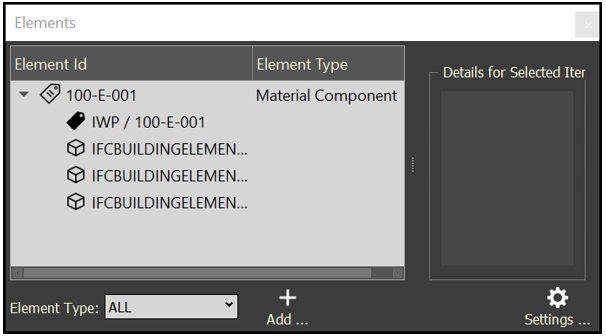
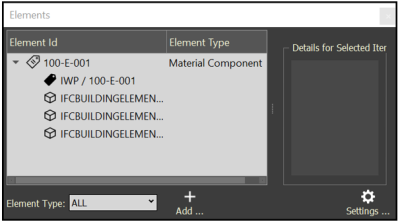
Drag objects into the element by selecting one or more model objects from the Objects tab.

The objects show below the element.
The object values or tag values are linked to the element. When selecting values in the Elements panel, those values are also selected in the Tags and Objects tree.

Click Add Components from Selection.
The Create Element dialog box is populated.
| Field name | Value | |
|---|---|---|
| 1 | Element Type | Select Material Component. |
| 2 | Element Name | Do not delete <ObjName>. This ensures that all the added objects are unique. You can add any text after the <ObjName> if needed. |
| 3 | Description | Optionally type a description for the material component. |
| 4 | Linked model items | This is used only when Add Component from Selection option is selected. |
| 5 | use Field Mapping | N/A |
Click OK, and then the new Elements show in the Elements panel.
Each model object will have an element created with the individual model object linked to that element.
To create elements from tags, in the Tags tab, drag one or more tags into the Elements panel.

The tags show below the element.
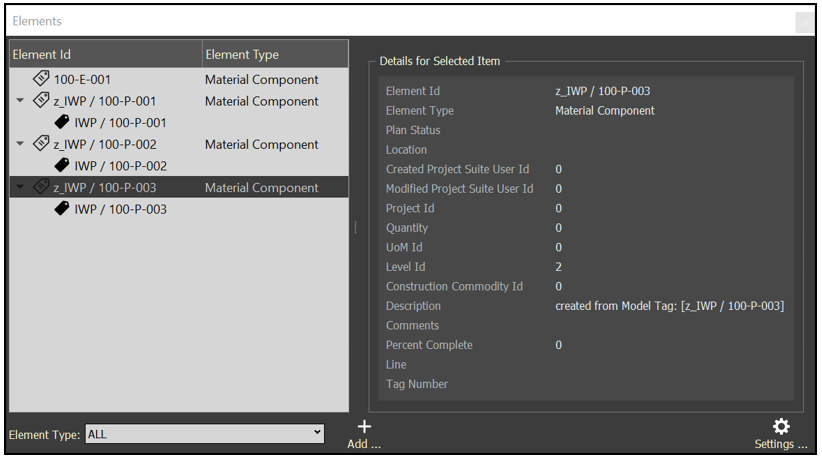
The element name will be derived from the tag, and the tag value is linked to the respective element.
In the Elements panel, right-click an element, and then select Edit Element.
The Edit Element panel opens and shows the associated element data.
Edit the element as needed.
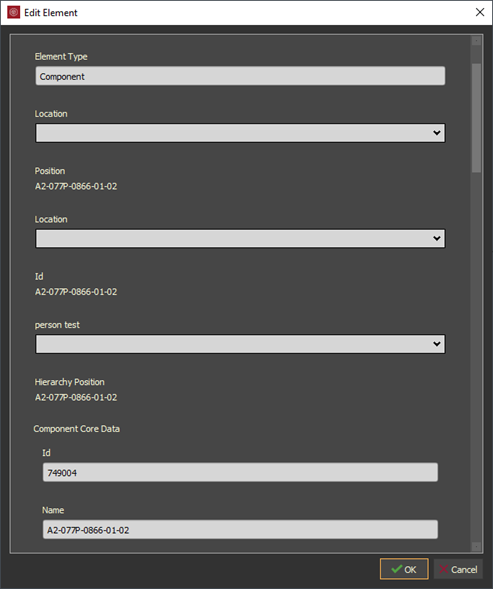
Click OK to save your changes. Fields that cannot be edited show in a solid color.
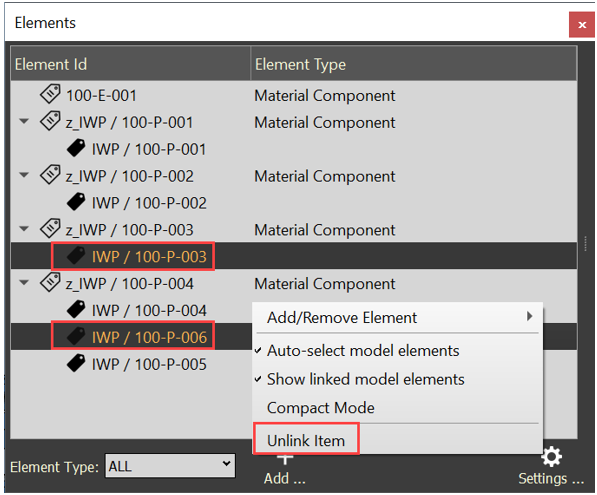
Select an object or objects in one or more elements.
Right-click on the selected items, and then select Unlink item.
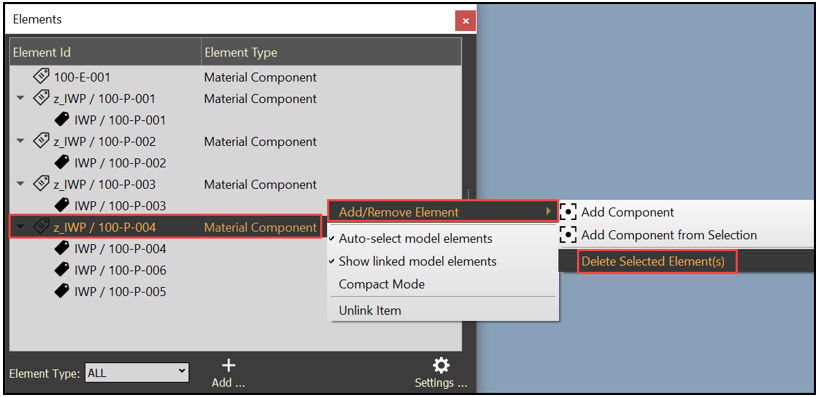
Select one or more elements.
Right-click on the selected items, and then select Add/Remove Element > Delete Selected Elements.
Additional Information
9977 N 90th Street, Suite 250 Scottsdale, AZ 85258 | 1-800-637-7496
© 2024 InEight, Inc. All Rights Reserved | Privacy Statement | Terms of Service | Cookie Policy | Do not sell/share my information