Products
Solutions
Resources
9977 N 90th Street, Suite 250 Scottsdale, AZ 85258 | 1-800-637-7496
© 2024 InEight, Inc. All Rights Reserved | Privacy Statement | Terms of Service | Cookie Policy | Do not sell/share my information

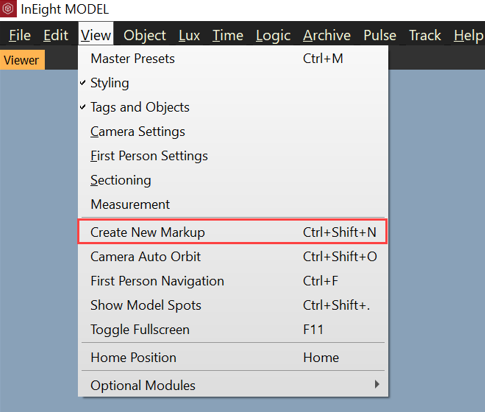
A new markup can be created within the viewer and saved to a PDF file. Access it through View -> Create New Markup. Once Create New Markup is selected, a snapshot of the current 3D Viewer is captured and ready for a markup.
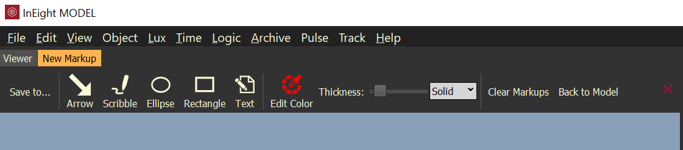
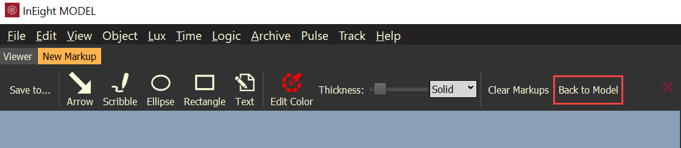
The markup capabilities allow the user to place Arrows, Scribble, Ellipse, Rectangles, and Text.
The text size can be adjusted with the Thickness bar.
Select Save to… to save the markup as a PDF file.
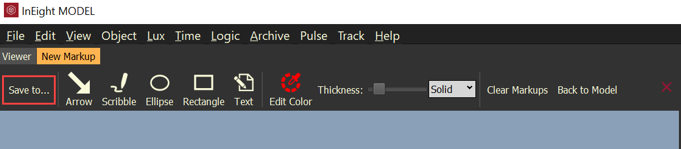
Once the new PDF file is saved, the existing markup is still active.
Select Clear Markups to clear all markups.
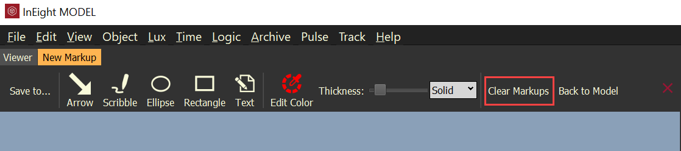
Select Back to Model to toggle from the New Markup to the 3D Viewer
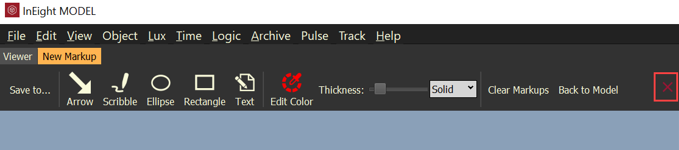
Select the red X to close the Markup tool.
Additional Information
9977 N 90th Street, Suite 250 Scottsdale, AZ 85258 | 1-800-637-7496
© 2024 InEight, Inc. All Rights Reserved | Privacy Statement | Terms of Service | Cookie Policy | Do not sell/share my information