Products
Solutions
Resources
9977 N 90th Street, Suite 250 Scottsdale, AZ 85258 | 1-800-637-7496
© 2024 InEight, Inc. All Rights Reserved | Privacy Statement | Terms of Service | Cookie Policy | Do not sell/share my information

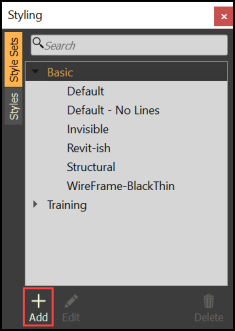
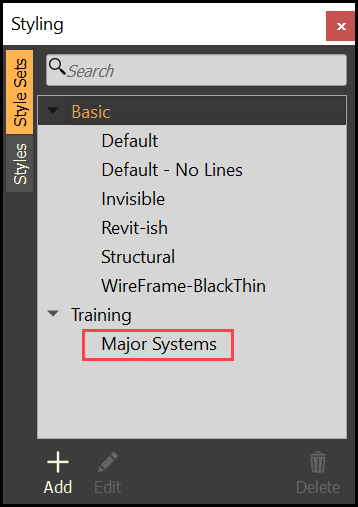
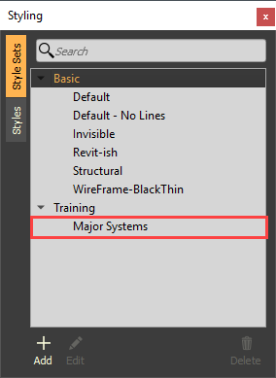
There are predefined style sets grouped under Basic when a project is created. New style sets can be created to represent real-world material characters such as glass and steel, or simple colors, to represent different disciplines or systems.
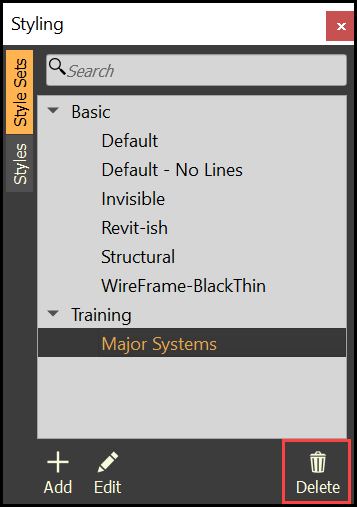
The predefined style sets cannot be edited. They can be duplicated to create new, custom style sets.
Once one or more styles have been applied to a style set, the style set can be managed.
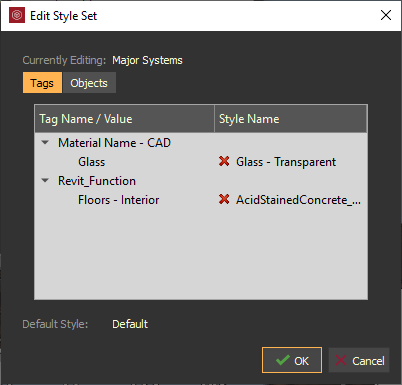
When multiple style assignments apply to an object or tag, those higher in the list take precedence.
Additional Information
9977 N 90th Street, Suite 250 Scottsdale, AZ 85258 | 1-800-637-7496
© 2024 InEight, Inc. All Rights Reserved | Privacy Statement | Terms of Service | Cookie Policy | Do not sell/share my information