Products
Solutions
Resources
9977 N 90th Street, Suite 250 Scottsdale, AZ 85258 | 1-800-637-7496
© 2024 InEight, Inc. All Rights Reserved | Privacy Statement | Terms of Service | Cookie Policy | Do not sell/share my information

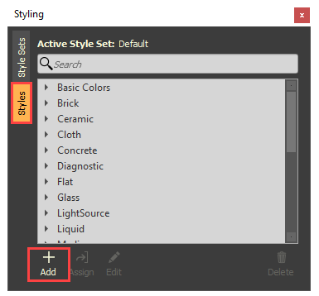
There are predefined styles, which cannot be modified, but can be duplicated to create a new style. All newly created styles will be grouped under the project name.

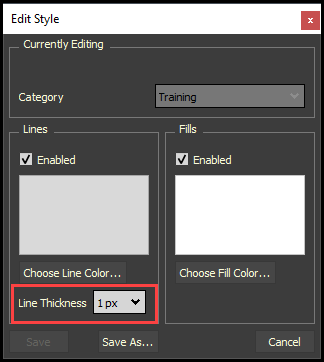
Change the line thickness as desired.
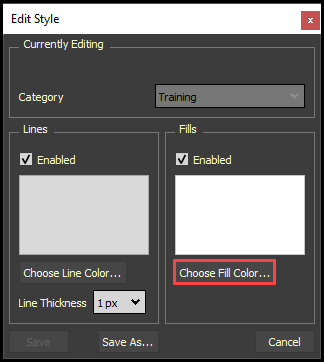
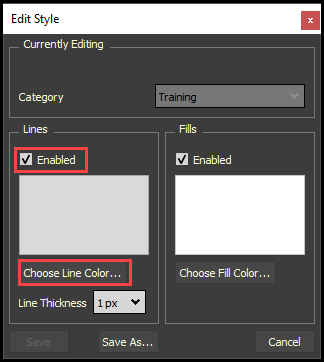
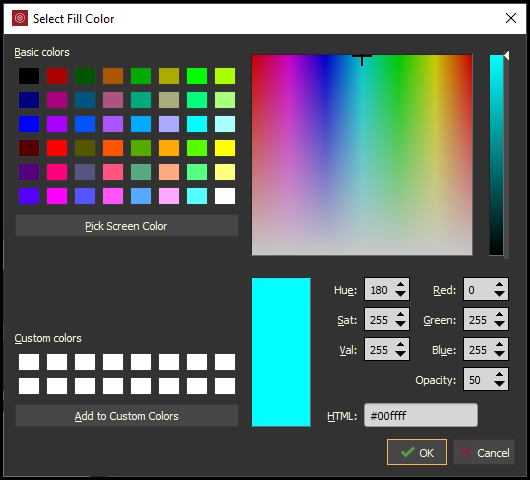
Select you desired color and set an opacity if desired, then click OK.
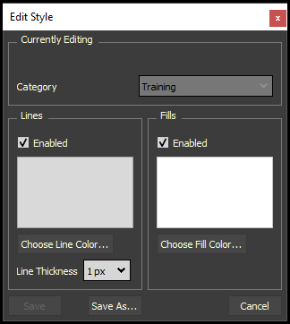
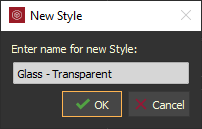
Select Save As… to save as a new style (i.e. Glass – Transparent).


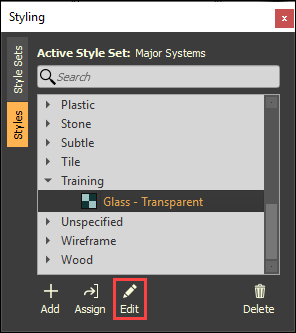
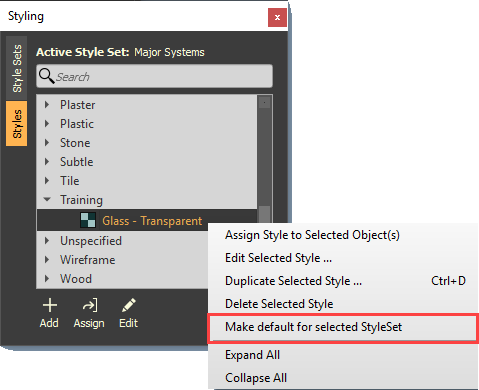
Once Styles are assigned, then any style can be identified as the default (i.e. Transparancy).
Additional Information
9977 N 90th Street, Suite 250 Scottsdale, AZ 85258 | 1-800-637-7496
© 2024 InEight, Inc. All Rights Reserved | Privacy Statement | Terms of Service | Cookie Policy | Do not sell/share my information