Products
Solutions
Resources
9977 N 90th Street, Suite 250 Scottsdale, AZ 85258 | 1-800-637-7496
© 2024 InEight, Inc. All Rights Reserved | Privacy Statement | Terms of Service | Cookie Policy | Do not sell/share my information

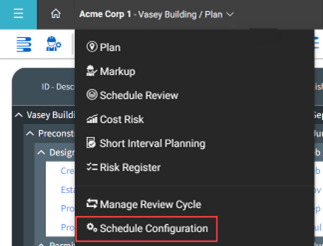
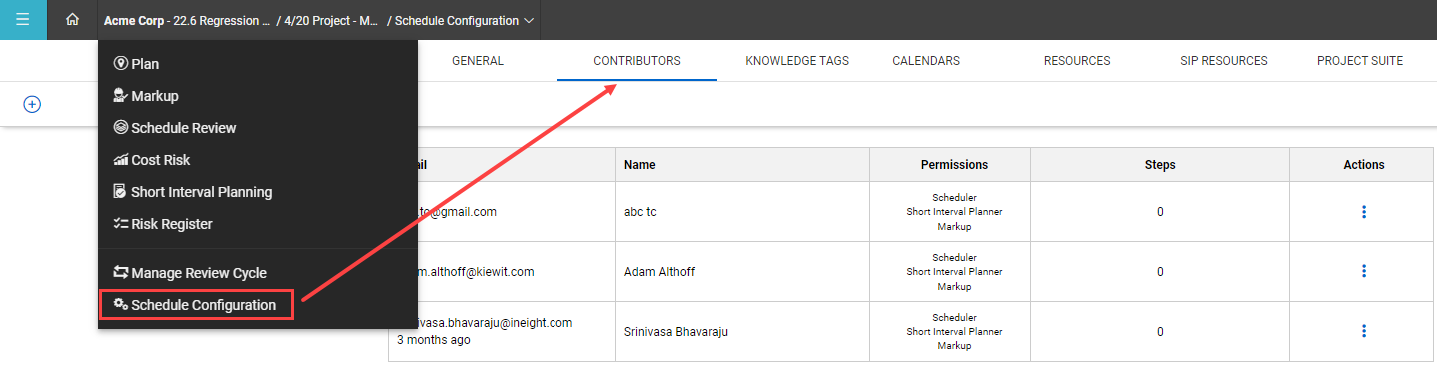
Schedule contributors are users assigned to the schedule. The contributors and their roles on a schedule are managed from the Schedule Configuration register.
Project contributor role types refer to the user and are specific to the project. Users can be assigned different contributor roles for each project.
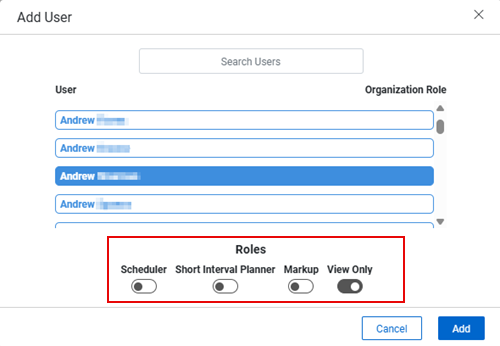
The Scheduler role has all access and privileges of the Markup and Field Execution Planner roles. Additionally, schedulers can adjust items in the Planning view, such as details in the Iris, logic in the Gantt chart, and resources.
This role allows access to the Short Interval Planning (SIP) section of Schedule. Users with this role can be assigned to activities for field execution planning. For details on how to use the SIP functionality, see SIP overview.
The Markup role allows access to markup and review cycles on a schedule. With this role, the user can be assigned to activities for markup.
The new View Only role allows access to all the views and much of the functionality for the selected schedule but with read-only permissions. The View Only role can be selected in combination with Short Interval Planner and Markup roles to extend user access in addition to their primary role.
A banner shows across the top of the page, which lets the user know it is view only. Functions that are normally available in the views such as builder, change view options, and exporting a schedule are also available with the View Only role. All options that would allow a user to make changes are disabled.

Schedule and Non-Schedule options are at the top of the window. Select Schedule to list all users currently registered in Schedule.
Switching to Non-Schedule changes the window to a registration form which lets guest user to be added to the project. A white toggle indicates it is Off (not selected) and a dark toggle indicates it is turned On (selected).
Additional Information
9977 N 90th Street, Suite 250 Scottsdale, AZ 85258 | 1-800-637-7496
© 2024 InEight, Inc. All Rights Reserved | Privacy Statement | Terms of Service | Cookie Policy | Do not sell/share my information