Products
Solutions
Resources
9977 N 90th Street, Suite 250 Scottsdale, AZ 85258 | 1-800-637-7496
© 2024 InEight, Inc. All Rights Reserved | Privacy Statement | Terms of Service | Cookie Policy | Do not sell/share my information

Open the Training Job and from the Estimate tab, open the CBS Register.
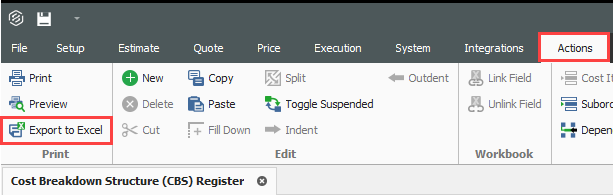
From the Actions tab, select Export to Excel.
On the Export spreadsheet to... dialog, browse to the location (folder) in your system where you want to save the workbook, enter CBS Export in the File name field, and click Save.
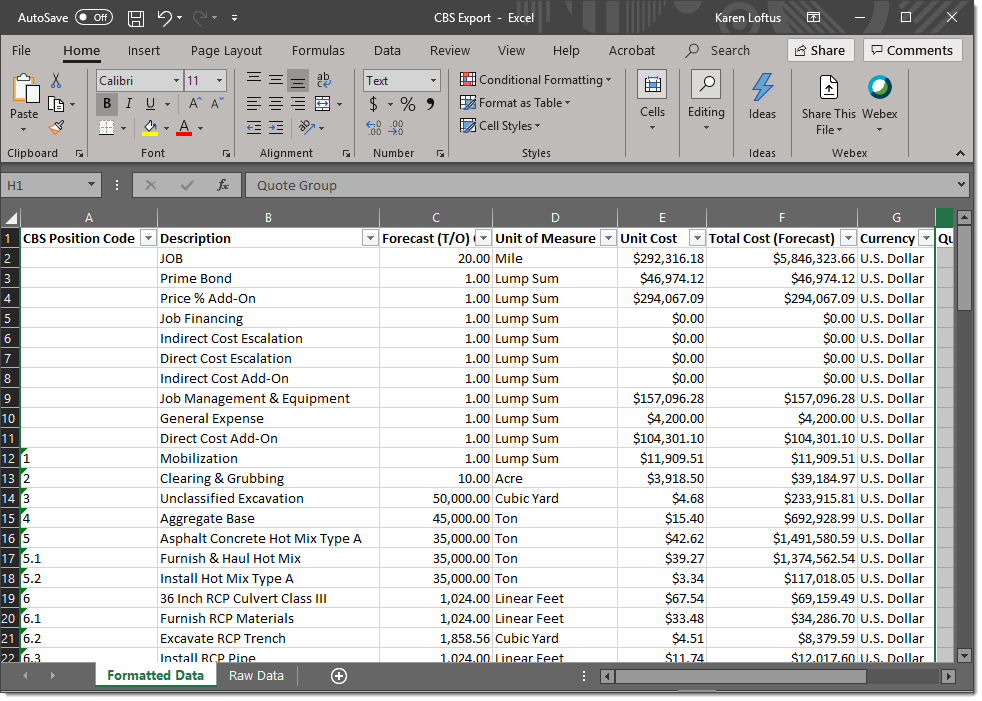
The workbook is saved to that location with the specified file name, and Excel automatically launches and displays the workbook
Notice that the columns are formatted, with column headers and filtering turned on
Open the Training Job and from the Setup tab, open the Resource Rate Register.
Select the Labor tab.
Select Print View for Summary from your Saved Views drop-down menu.
From the top-right corner, select the Cell Select icon, (next to the Help icon). This puts you in Cell Select mode, so you can select cells to copy in the same way you would in Excel.
With the Cell Select icon active, highlight all information in the Description, Utilization Count and Unit of Measurecolumns for all Labor resources.
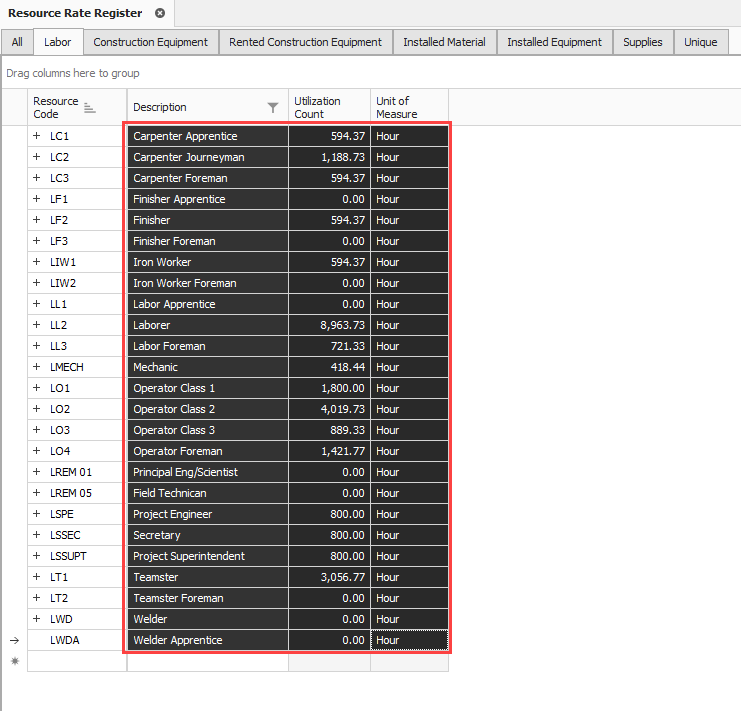
Right click on the selection and select Copy.
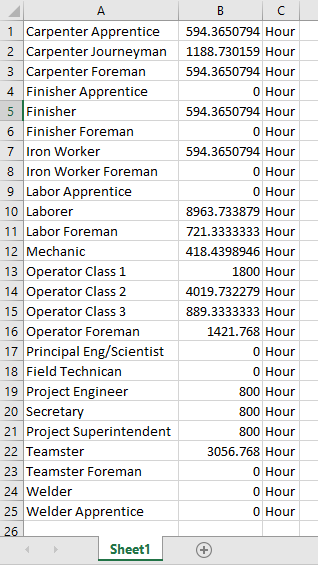
Open an Excel spreadsheet, right click in the A1 field and select Paste Special, choosing CSV as the Source.
Click OK. The fields you copied from InEight Estimate paste into the spreadsheet.
To turn off the Cell Select, simply click the Cell Select Icon again and it deselects
Open the register you want to link to. For example, if you want to link a take-off calculation, open the CBS Register.
Create a new item at the bottom of the register. Continuing the example from the previous step, you would create a new cost item in the blank row at the bottom of the CBS register and name it Concrete Foundation.

Click the Workbook icon in the Estimate tab to open the job’s workbook.
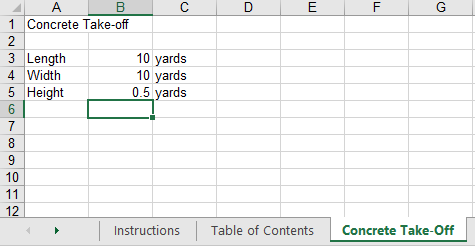
In the job's embedded workbook, create a new worksheet, and then enter basic data. The image below shows a worksheet named Concrete Take-off and the applicable information:
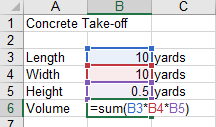
Create a new row for calculations (for example, to calculate the total cubic yards by factoring the length, width, and height quantities).
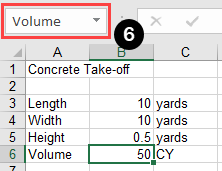
Estimate only links to named fields in the worksheet. Click in the field you want to name , as shown in the image below, and then click in the Field Name field and enter the name.
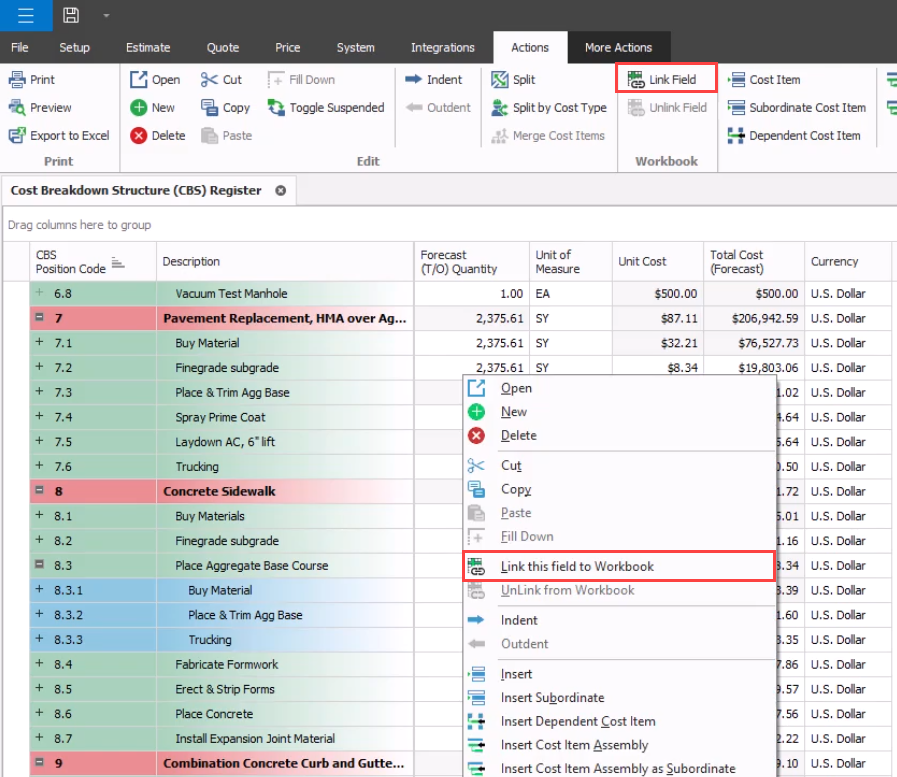
Go back to the register, and then right-click the field you want to link to. For this example, right-click the Concrete Foundation cost item Forecast (T/O) Quantity field, and then select Link this field to Workbook.
You can also link the field by selecting the field and then selecting Link Field from the Actions tab.
In the Link to Workbook dialog box, select the Update Estimate Field from Workbook button.
In the Field to link window, select the new field. (you might need to click the Refresh button for the field name to show).
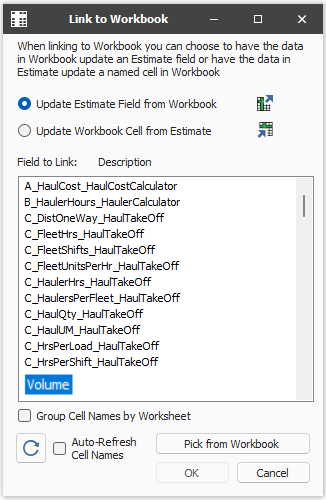
Click OK. The Forecast Quantity field for Concrete now is linked to the Volume field in the worksheet and populates with the take-off quantity (50)

Additional Information
9977 N 90th Street, Suite 250 Scottsdale, AZ 85258 | 1-800-637-7496
© 2024 InEight, Inc. All Rights Reserved | Privacy Statement | Terms of Service | Cookie Policy | Do not sell/share my information