Products
Solutions
Resources
9977 N 90th Street, Suite 250 Scottsdale, AZ 85258 | 1-800-637-7496
© 2024 InEight, Inc. All Rights Reserved | Privacy Statement | Terms of Service | Cookie Policy | Do not sell/share my information

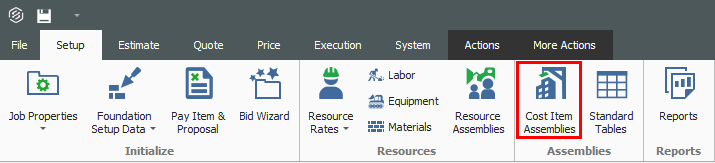
From the Setup tab, click on Cost Item Assemblies.
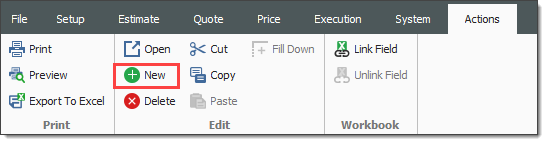
From the Actions tab, click on New.
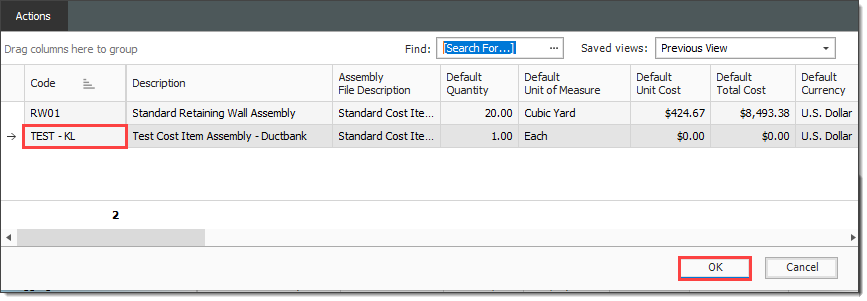
In the Code field, type TEST – Your Initials.
In the Description field, type Test Cost Item Assembly - Ductbank.

In the bottom right corner, click OK.

Notice that your Cost Item Assembly now shows up in the Cost Item Assembly Register

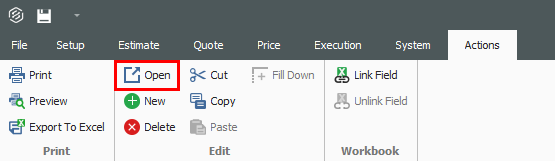
Select your assembly from the list and click Open from the ribbon.
In the bottom right corner, click on the Setup tab.
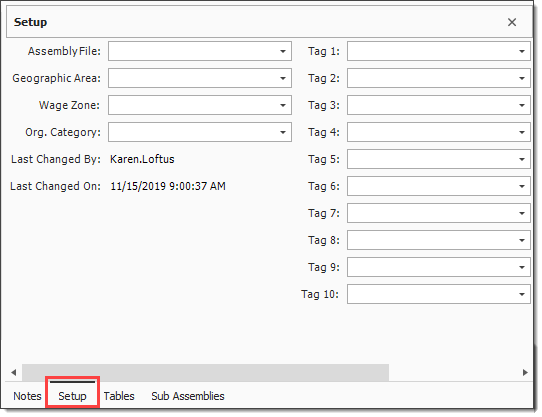
In the Assembly File drop-down, select Standard Cost Item Assembly File.

Select a Geographic Area and Org. Category.

In the Tag 1 drop-down, select Concrete.
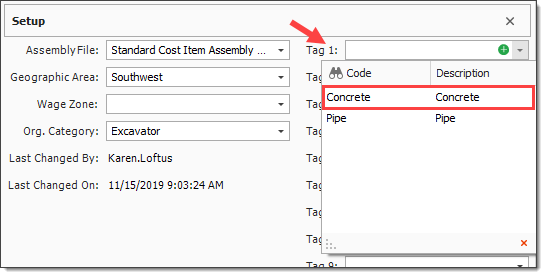

Enter the following, then click OK.

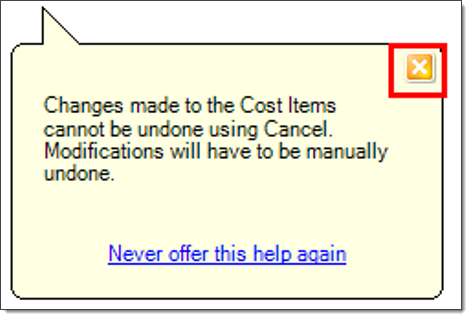
Click X on the pop up.
From the Cost Items data block, right click on your cost item and select Insert Subordinate.
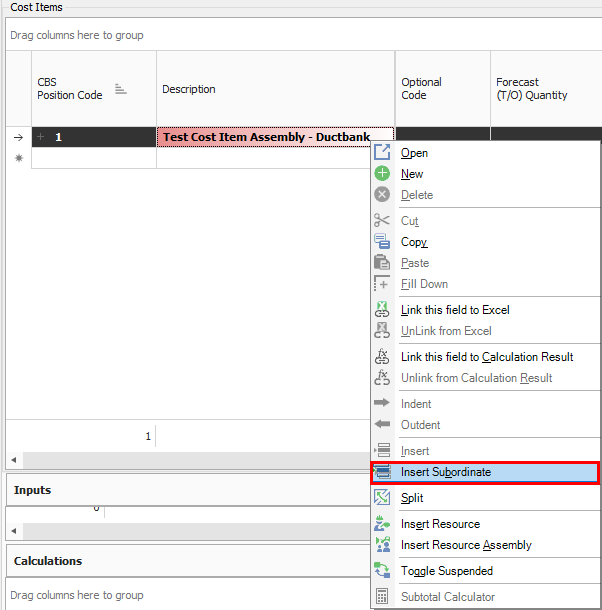
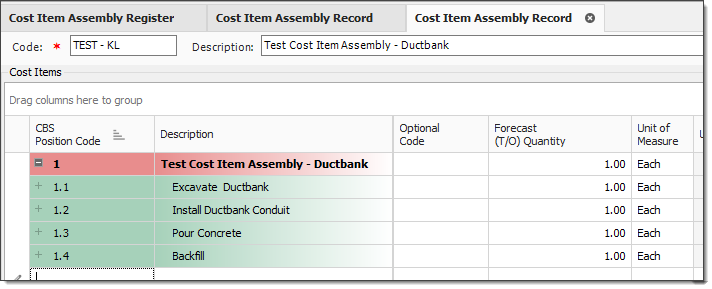
Insert 4 subordinates.

Enter the descriptions and units of measure as follows:
Navigate to the Inputs data block. In the first empty field under Variable Name, type in the name of a variable that will be referenced in the formula expressions, such asLength, then press Tab.
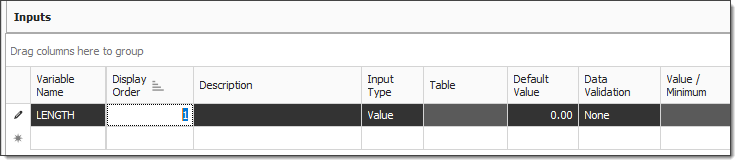
The Variable Name is a free text field and is determined based on how the calculations are referenced in the input values.
The Display Order field can be set to control the order in which you are prompted to provide the input values
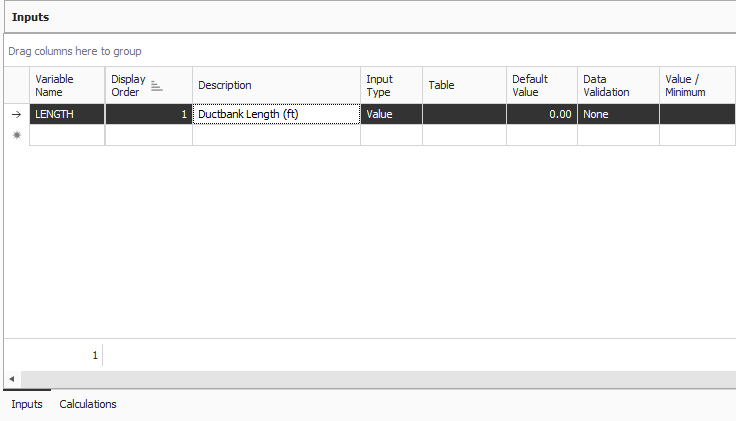
Select the Description field and type Ductbank Length (ft), then press Tab.
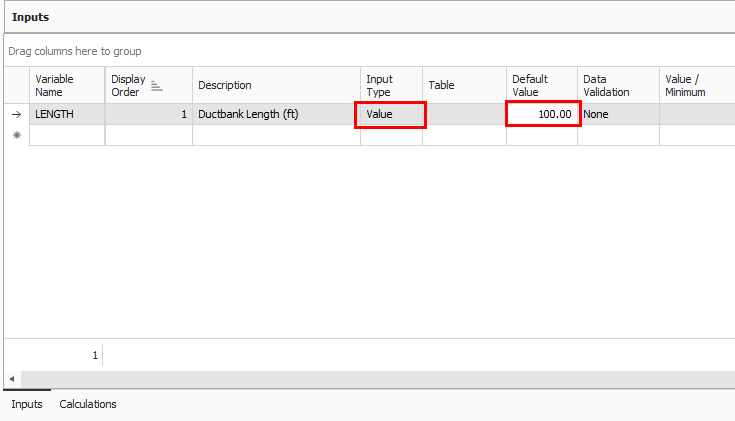
In the Input Type field, select Value from the drop-down list. In the Default Value field, type 100.
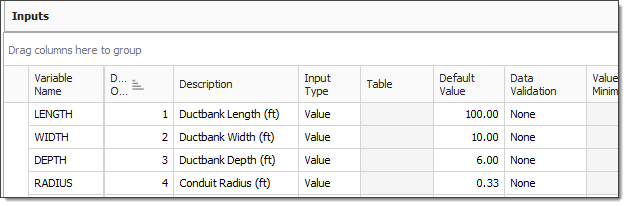
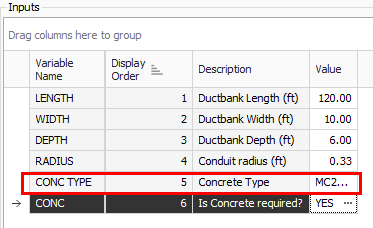
Fill out additional fields as shown below:
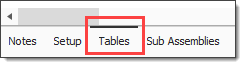
In the bottom right corner of the Cost Item Assembly Record, click on Tables.
Right click in the Table Code field and select New.

In the Code field, type CONC – Your Initials, and in the Description field, type Concrete Types.

In the Columns section, enter in the following column names and descriptions, choosing the Text Type.

Click OK in the bottom right corner.

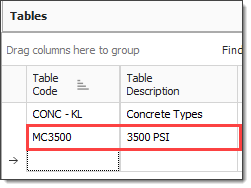
In the Tables section, enter in the following data for the Concrete resource codes and types:
Click OK in the bottom right corner.
Add the following input, selecting Table for the Input Value from the drop-down.
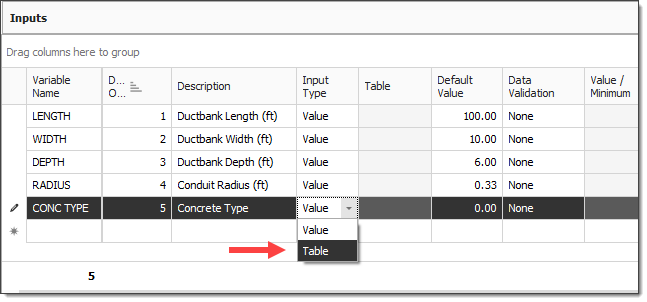
From the Table drop-down list, select your CONC table.

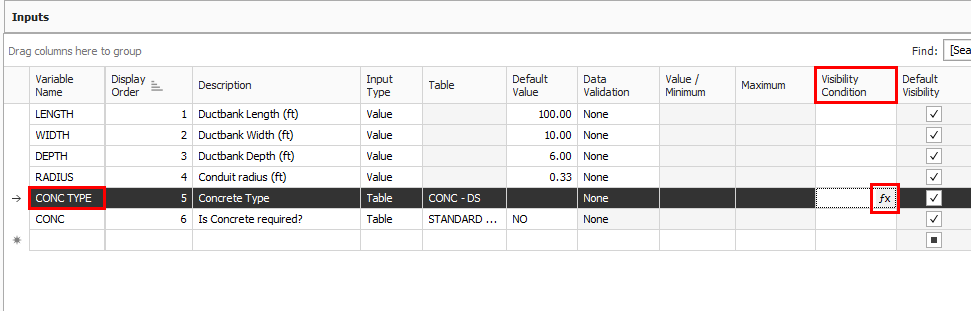
Create a new input as follows, choosing Table as the Input Type, and selecting Standard Table from the drop-down.
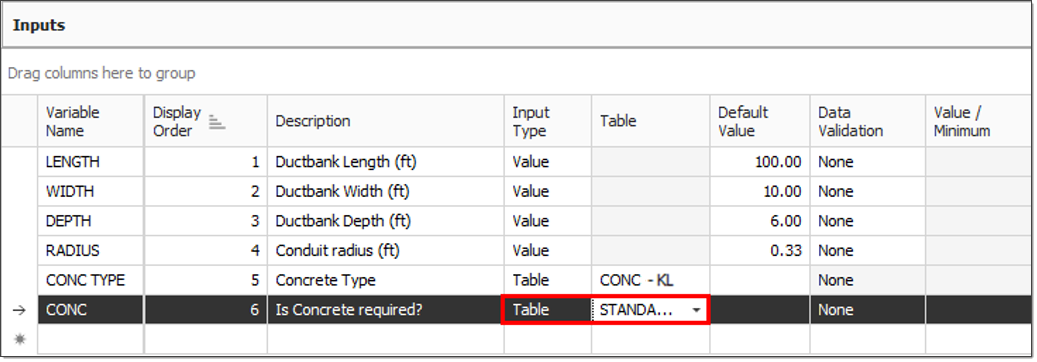
Set the Default Value of the CONC variable as No, then click OK.
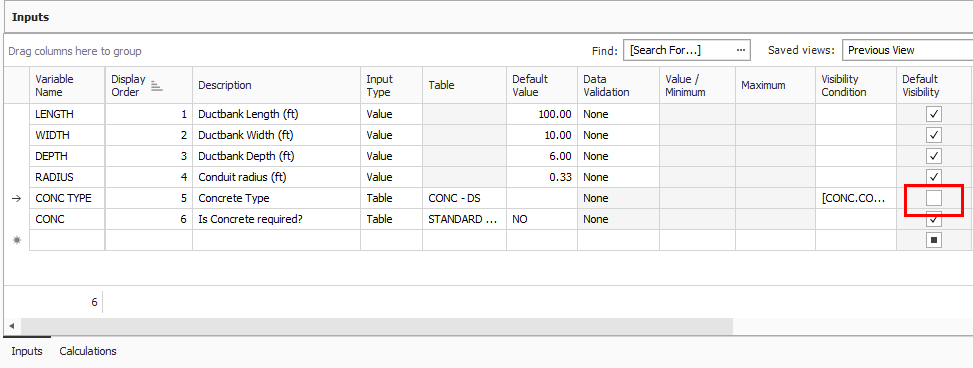
In the Visibility Condition field for the CONC TYPE variable, click the fx button.
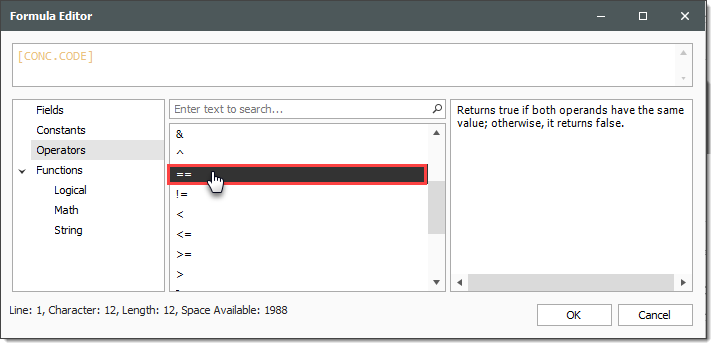
In the Formula Editor, and from the Fields section, double click [CONC.CODE].

In the Operators field, double click on the ‘==’
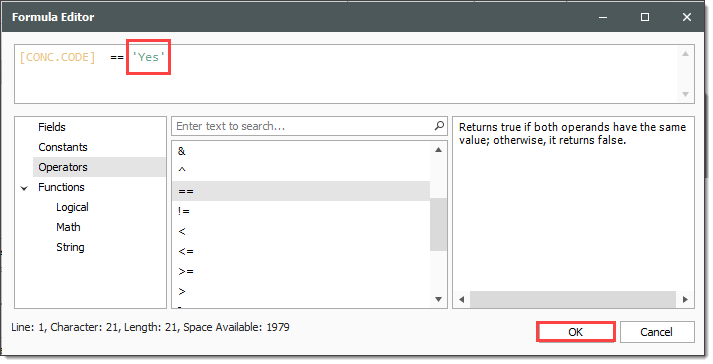
In the Formula Editor, type ‘Yes’.
Click OK.
Notice that the Default Visibility field for CONC TYPE becomes unchecked
This means that only when the answer to Is Concrete required is Yes, the CONC TYPE input will become visible; otherwise, it will stay hidden
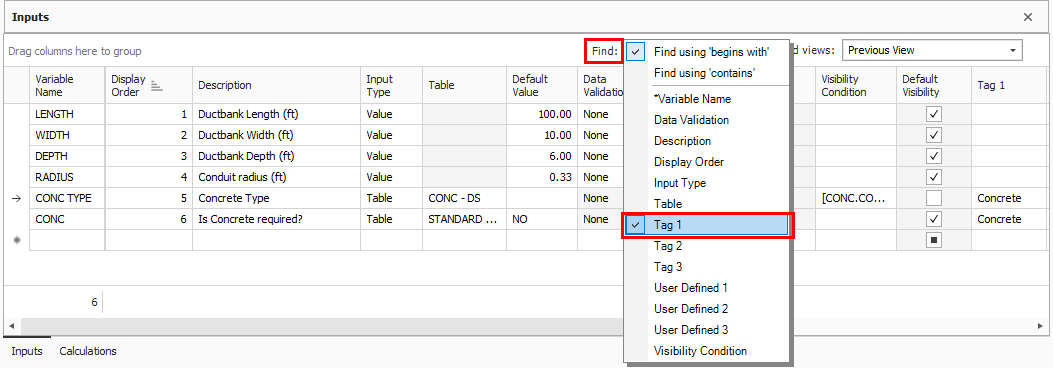
In the Tag 1 fields for CONC TYPE and CONC, select Concrete.

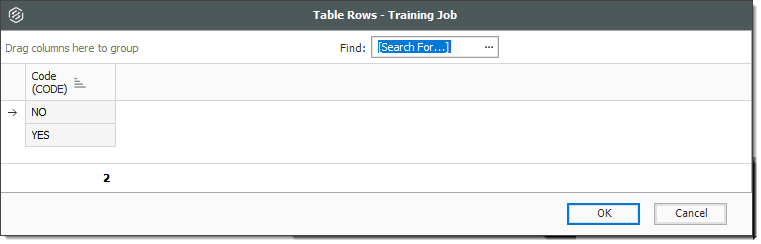
In the Find field under Inputs, select Tag 1.
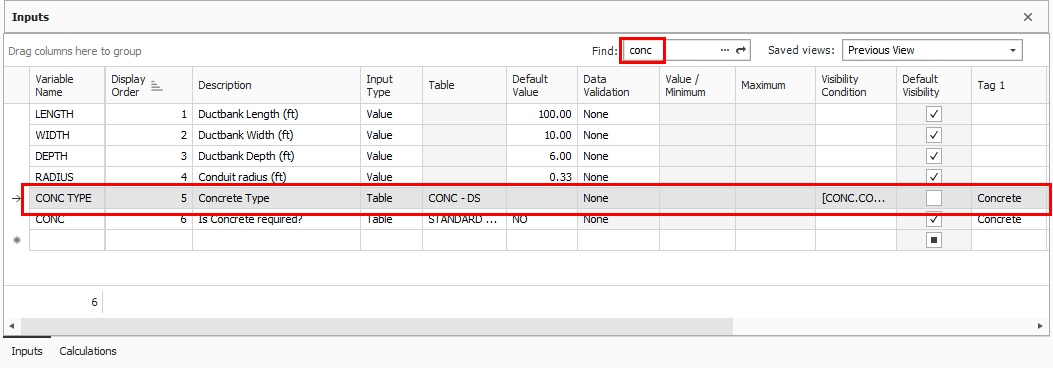
Begin typing in Concrete and notice that the CONC TYPE row becomes highlighted.
Drag the Calculations data block into view.

In the Variable name field, type Volume, then press Tab.

The Variable Name field in the Calculations section will be the name that other Calculations can refer or link to and this name must be unique within the context of the Cost Item Assembly, and unique with respect to input variable names.
Enter the Description Ductbank Volume, then press Tab.

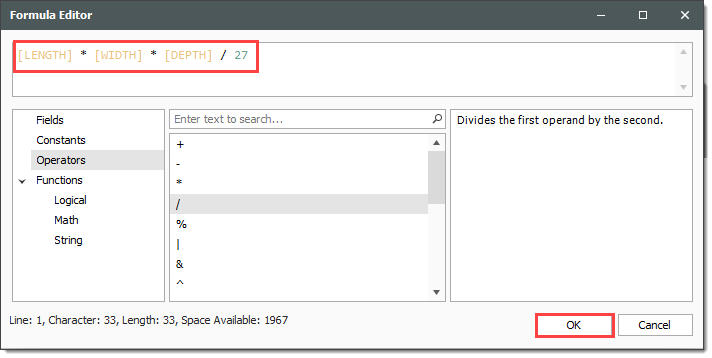
In the Formula field, select the fx formula editor button.

Select the Field values and Operators as indicated below to create the displayed formula, then click OK.
Notice that the Default Result auto calculates using the calculation and input values provided

In the blank row under the Variable Name field, type Conduit and enter the Description Conduit Length, then click the fx button to open the formula editor.

Select the Fields value and Operators as indicated below to create the displayed formula, then click OK.

In the blank row under the Variable Name field, type Volume2 and enter the Description Conduit Volume, then click on the fx button to open the formula editor.
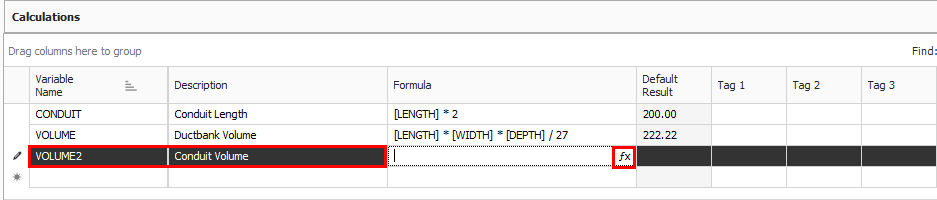
Enter the following formula, using the PI() function from the Functions > Math tab, the radius and length from the Fields tab, and the available Operators tab, then click OK.

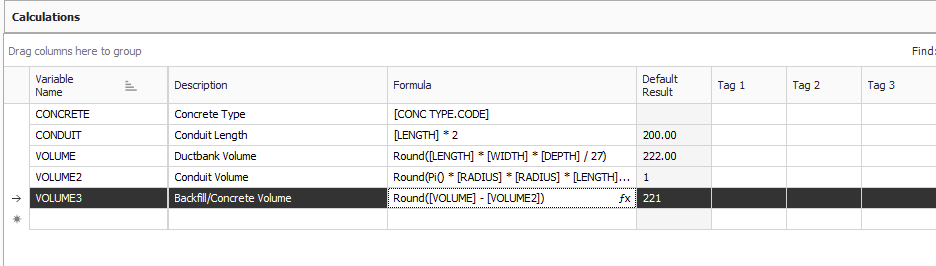
In the blank row under the Variable Name field, type Volume3 and enter the Description Backfill/Concrete volume, then click on the fx button to open the formula editor.

Enter the following formula, selecting the already created calculations from the Fields section. Click OK.

In the blank row under the Variable Name field, type Concrete and enter the Description Concrete type, then click on the fx button to open the formula editor.

Enter the following formula, selecting the table value from the Fields tab, then click OK.

A default result will not appear because a value from the table has not yet been chosen.

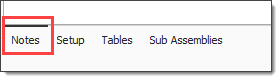
Click on the Notes tab in the bottom right corner.
In the Notes text box, type Ductbank Notes.

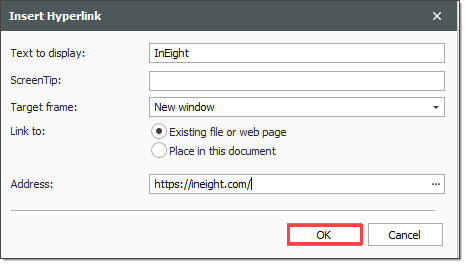
Right click within the notes section and select Hyperlink.

Type in a link to your SharePoint or document sharing site, then click OK.
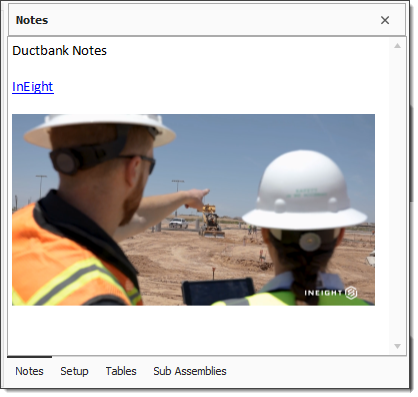
Note how the hyperlink appears in the notes section.

Still in Notes, copy a picture or drawing from your computer, then Paste it into the notes section.
Expand your Cost Items window so that you can see all the cost items.

Right click on the Excavate Ductbank Forecast (T/O) Quantity field and select Link this field to Calculation Result.

You create calculations prior to linking the values field. The linking of calculation results is similar to linking to Excel values except all linked values update automatically.
Select VOLUME, then click OK.
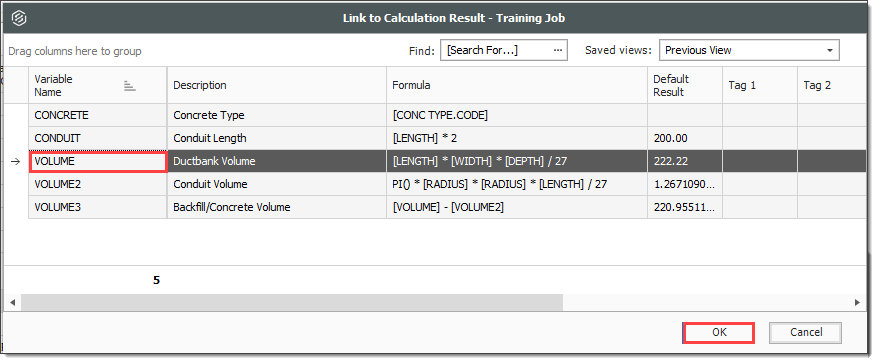
Note how the Forecast (T/O) Quantity field is now populated with a linked quantity

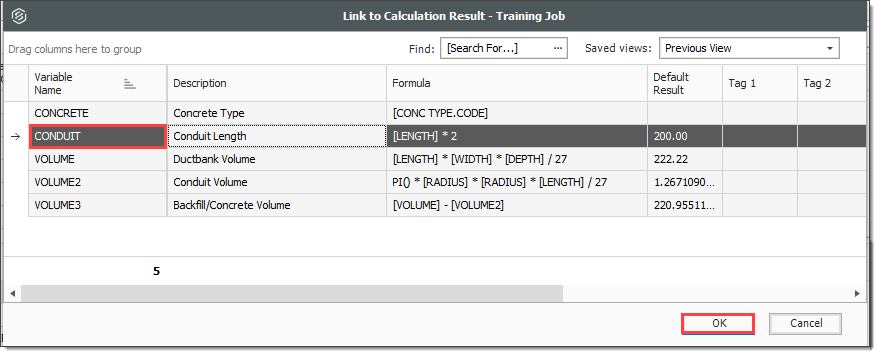
Right click on the Install Ductbank Conduit Forecast (T/O) Quantity field and select Link this field to Calculation Result.
Select CONDUIT, then click OK.
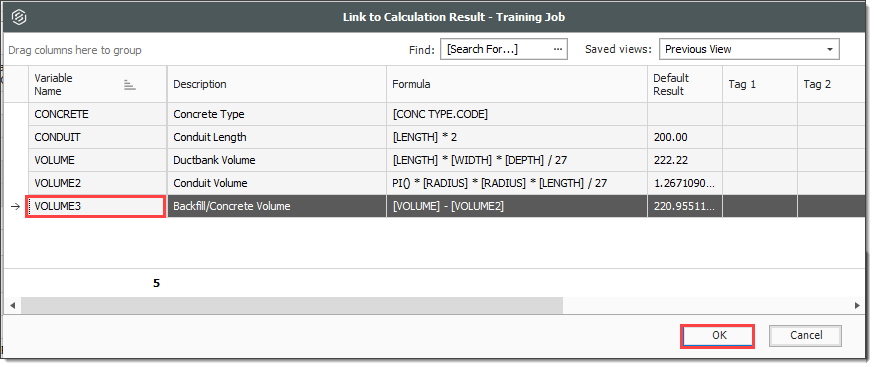
Select the Forecast (T/O) Quantity field for Pour Concrete, hold down CTRL, and select the Forecast (T/O) Quantity field for Backfill.

Right click and select Link this field to Calculation Result.
Select VOLUME3, then click OK.
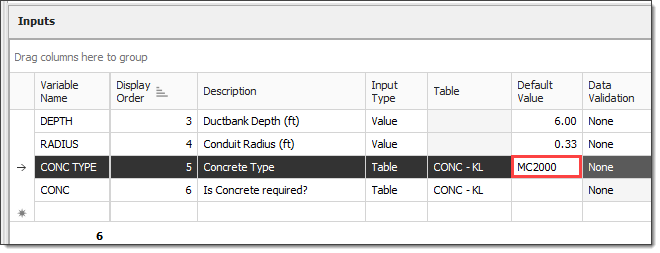
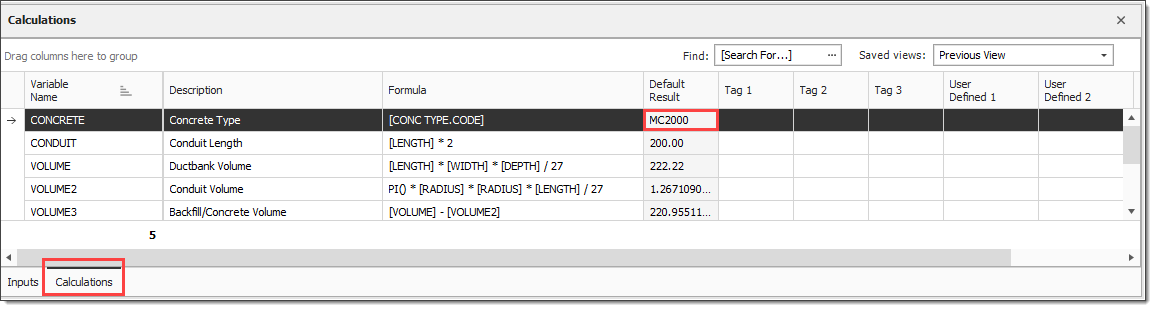
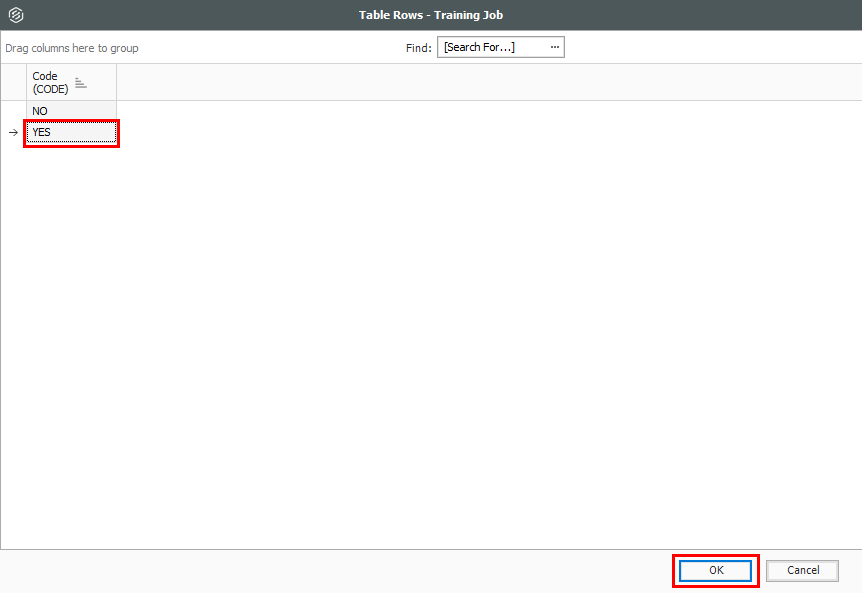
In the Inputs data block, select the Default Value field for the CONC TYPE input.
Select MC2000, then click OK.

Notice that this value is now populated in the Default Value field.
Navigate to the Calculations data block.
Note that the Default Result field is now populated
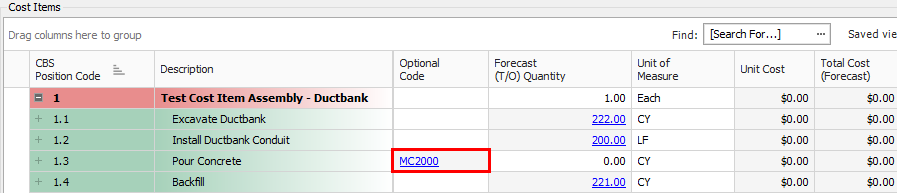
In the Cost Items data block, right click in the Optional Code field for the Pour Concrete cost item, and select Link to Calculation Result
Select the CONCRETE calculation, then click OK.
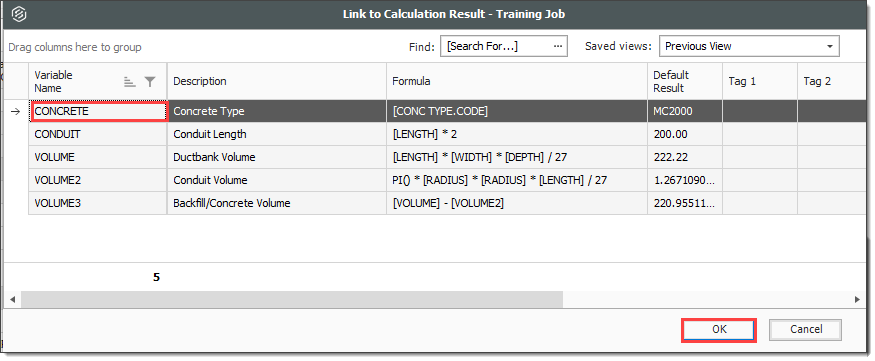
Note how the optional code for Pour Concrete is now populated

Navigate to the CBS Register.
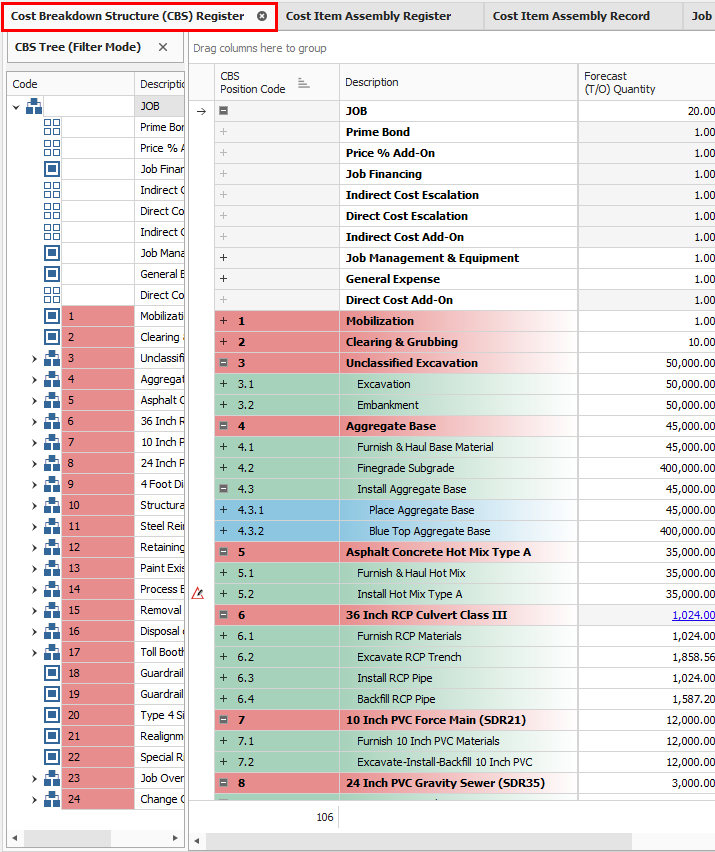
Right click on the first cost item in the hierarchy and select Insert Cost Item Assembly as Subordinate.
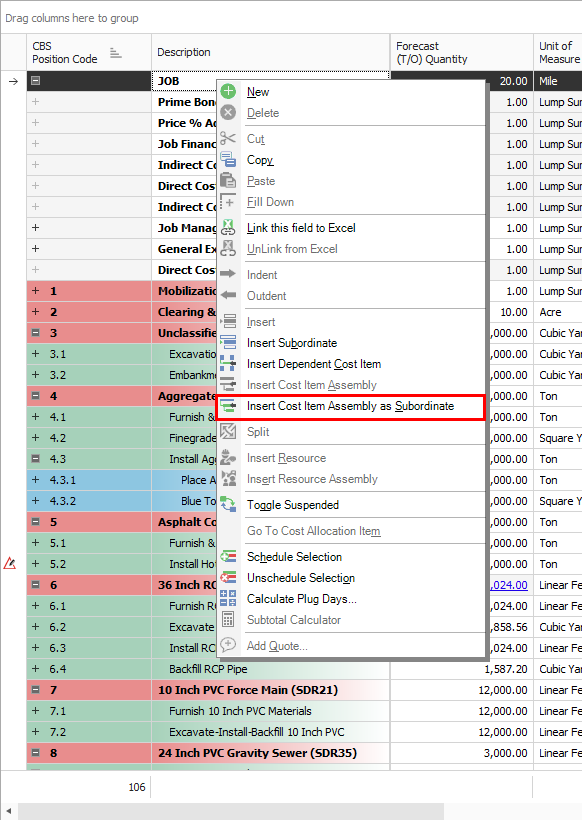
Select your Cost Item Assembly, then click OK.
Click OK again.

Your Cost Item Assembly is added to the bottom of the CBS
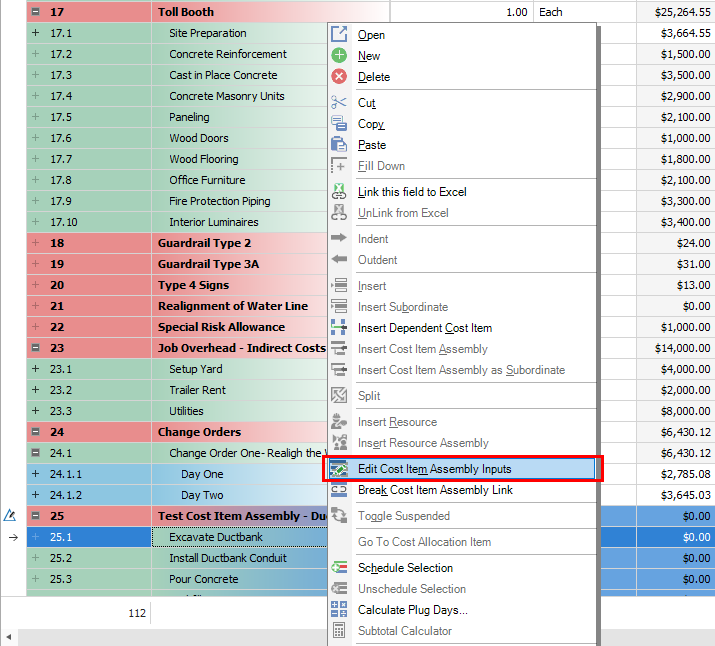
Right click on your Excavate Ductbank cost item and select Edit Cost Item Assembly Inputs.
Maximize your screen.
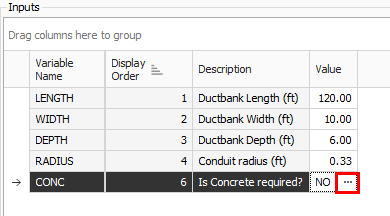
Change the Length input value to 120.
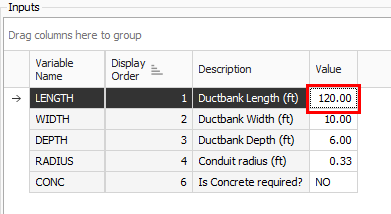
Click OK.

Notice how all the quantities for the cost items using the input Length change

Navigate to your Cost Item Assembly Record.

Using the Functions tab, select the Round function and put your existing formula within its parenthesis, then click OK.

You now see a rounded number in the Default Result field
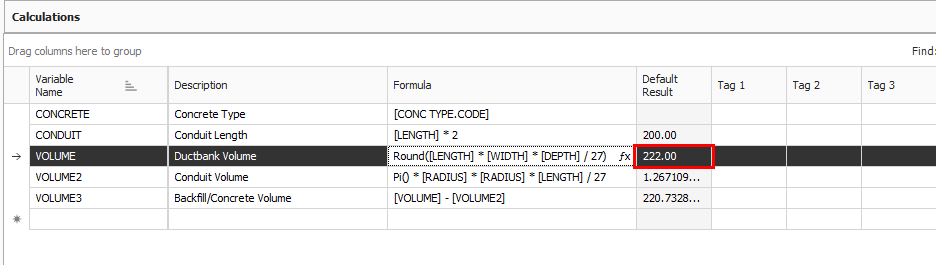
You now see a rounded number in the Default Result field
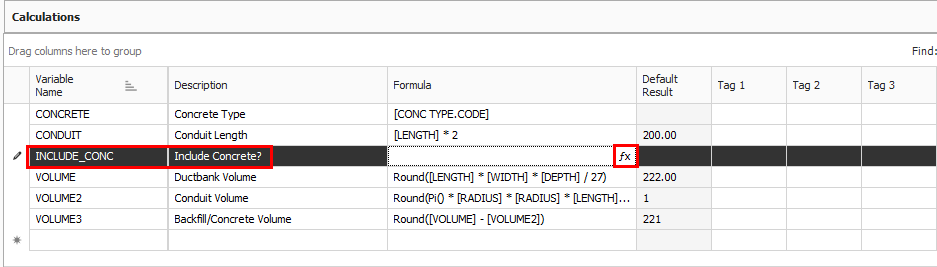
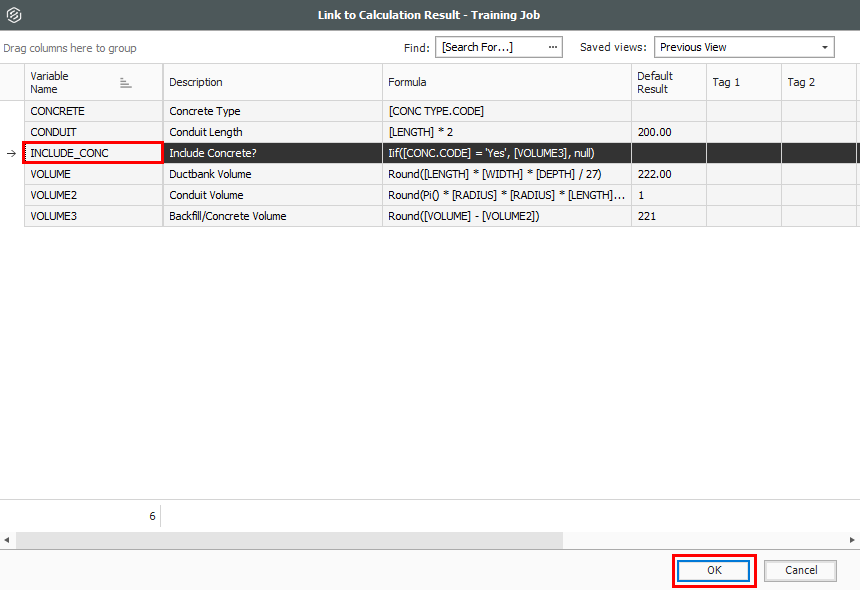
Create a new calculation. In the Variable Name field, type Include_Conc, enter Include Concrete? in the Description field, then click on the fx button to open the formula editor.
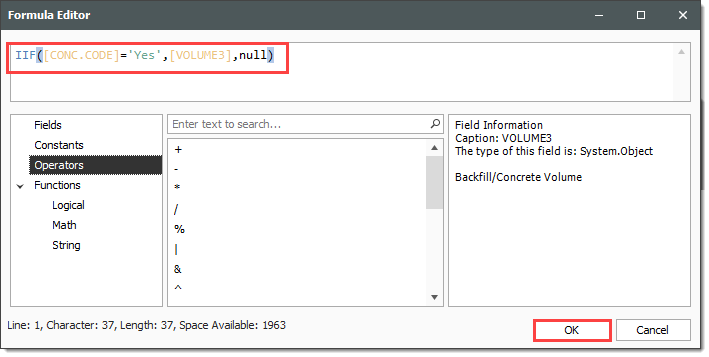
Using the Iif(, , ) function from the Functions tab, and the existing Volume3 calculations from the Fields tab, enter in the following formula, then click OK.
Navigate to the CBS Register.
Right click on one of your cost assembly items, and select Edit Cost Item Assembly Inputs.
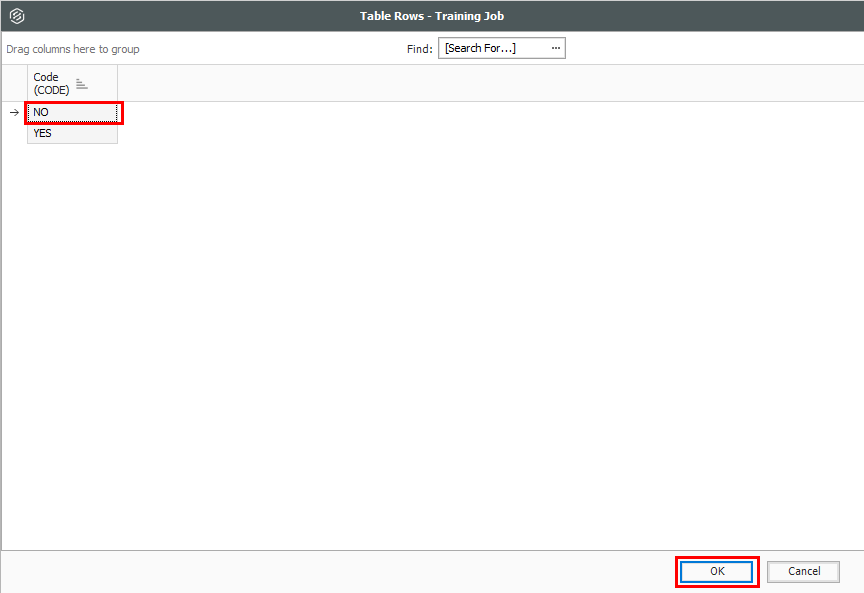
On the CONC input, select the ellipses next to the Default Value.
Select Yes.
Click OK.
Note how the conditional input CONC TYPE is now displayed
Click OK.
Navigate back to your Cost Item Assembly Record.
In the Cost Items data block, right click on the Pour Concrete Forecast (T/O) Quantity field.

From the ribbon, click the Unlink from Calculation Result option.

Now click Link to Calculation result.

Select the INCLUDE_CONC calculation, then click OK.
Right click on the Pour Concrete Optional Code field.
From the ribbon, click the Unlink from Calculation Result option.
Navigate to the CBS Register.
Right click on one of your cost assembly items, and select Edit Cost Item Assembly Inputs.
Click OK.
Right click on one of your cost assembly items, and select Edit Cost Item Assembly Inputs.
Change the default value of CONC to No.
Click OK.
Click OK again.
Notice that your Pour Concrete cost item now disappears

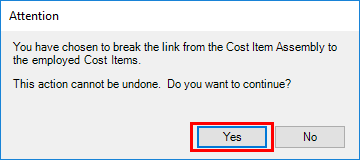
Right click your Excavate Ductbank cost item and select Break Cost Item Assembly Link.

On the resulting Attention prompt, click Yes.
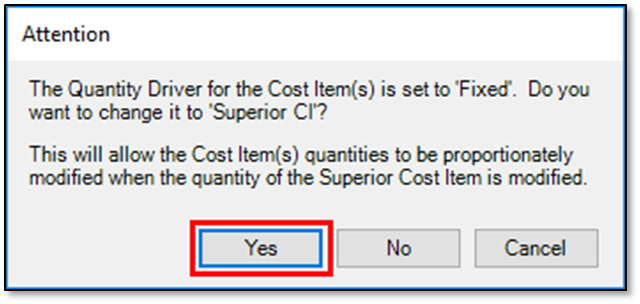
When prompted about changing the Quantity Driver to Superior CI, click Yes.
Note that the hyperlinks disappear, and the link has been broken

Navigate to Setup > Cost Item Assemblies.
Select a cost item assembly.
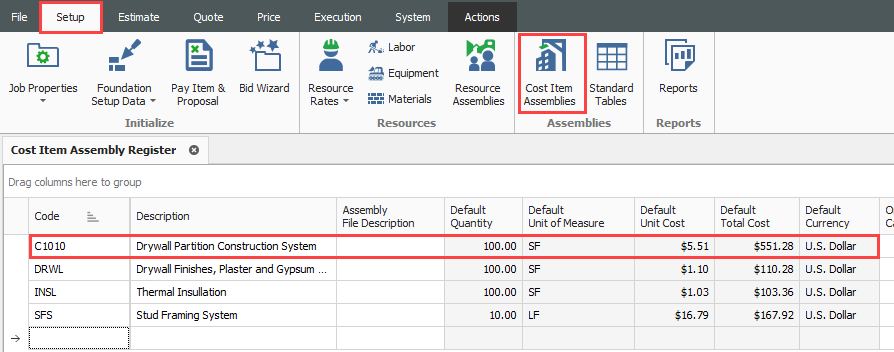
The cost item assembly record will open
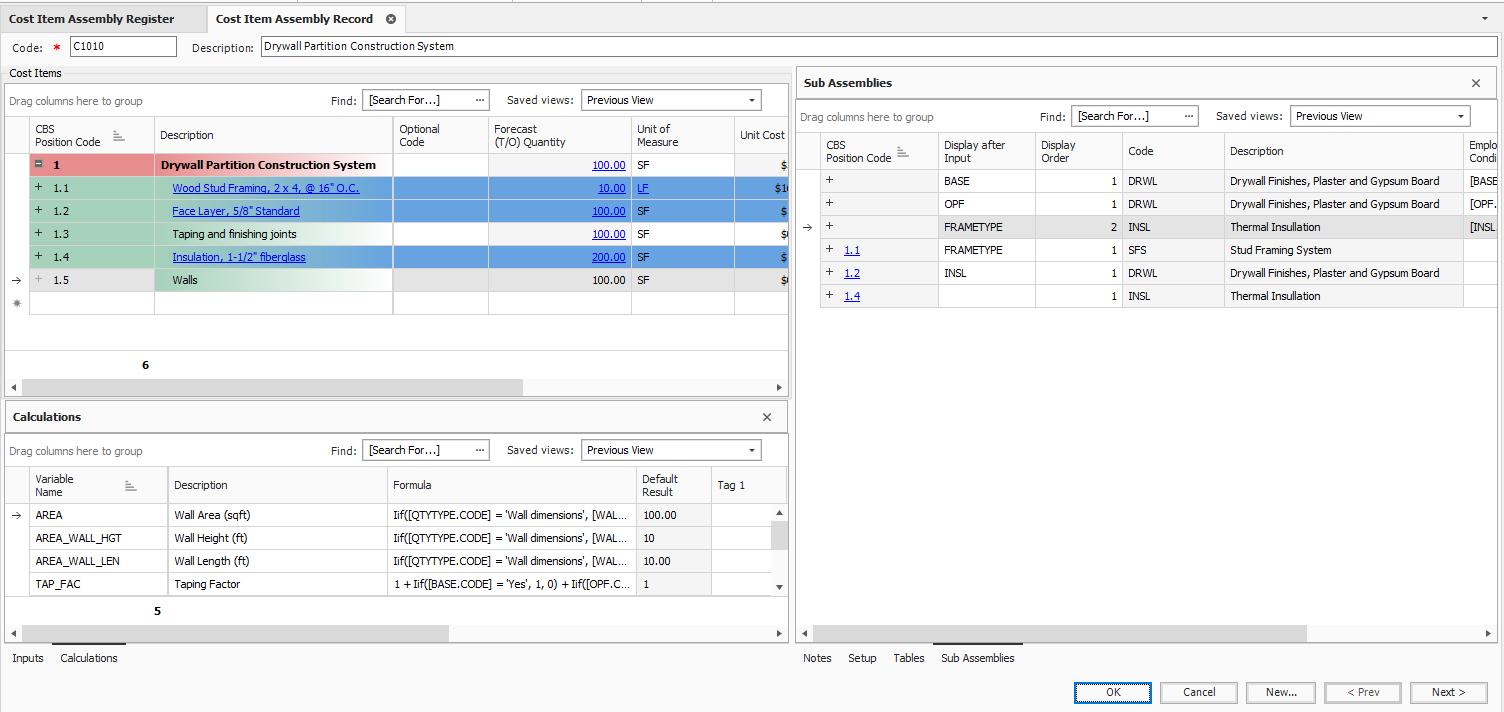
With the addition of “Walls” as our example. select a blank line in the Cost Item Assembly and give it a number and description.
Right click on the line item and select Insert Cost Item Assembly as Subordinate.

The Cost Item Assembly Register sub assembly opens
From this screen, select a sub assembly to add and click OK.

The window for the sub assembly will open with its details
Complete any changes to the values
Click OK.
The cost item sub assembly has been added:

Additional Information
9977 N 90th Street, Suite 250 Scottsdale, AZ 85258 | 1-800-637-7496
© 2024 InEight, Inc. All Rights Reserved | Privacy Statement | Terms of Service | Cookie Policy | Do not sell/share my information