 icon next to its Assembly Code.
Products
Solutions
Resources
9977 N 90th Street, Suite 250 Scottsdale, AZ 85258 | 1-800-637-7496
© 2024 InEight, Inc. All Rights Reserved | Privacy Statement | Terms of Service | Cookie Policy | Do not sell/share my information

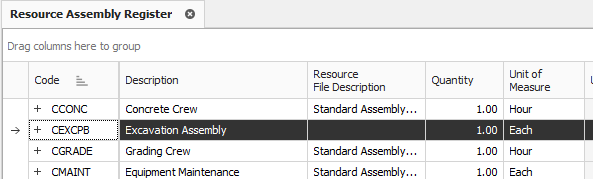
A Resource Assembly is a group of resources. You can create an assembly once and then reuse it as needed in multiple cost items whenever the same combination of resources is needed.

The most common use for an assembly is to group labor resources into crews (e.g., Pipe Crew, Concrete Crew); however, any resource (equipment, materials, etc.) may be grouped into an assembly. Utilizing assemblies allows you to estimate faster, since you can add and manage an entire group of resources at once.
You can create assemblies in the Library and import them into job folders the same way you import resources.
To open the Library Resource Assembly Register, select the Library icon, and then select Resource Assemblies from the Master Resources section of the Setup tab. The Resource Assembly Register opens.
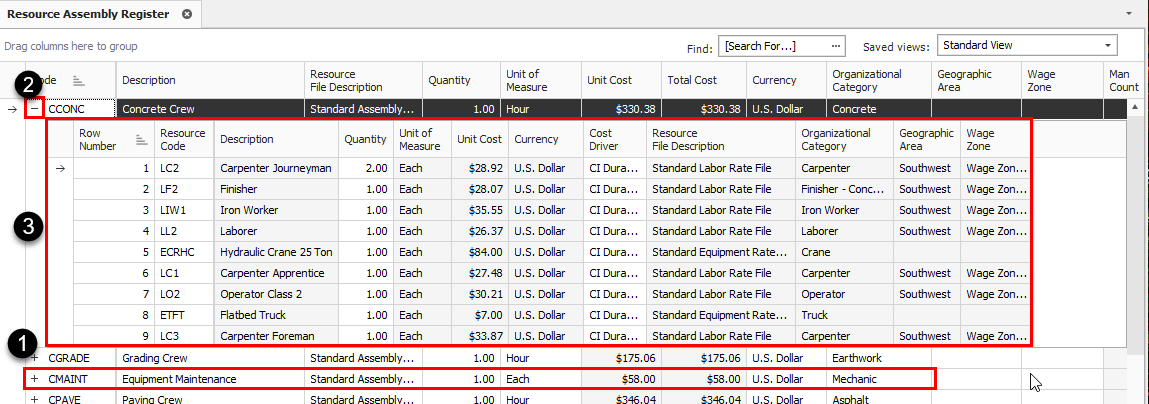
The following image and table shows an overview of the library Resource Assembly Register.
|
Section |
Description |
|---|---|
|
1 |
Each row in the register represents a single resource assembly and is defined with an Assembly Code and Assembly Description. |
|
2 |
Each assembly can be expanded by clicking the plus |
|
3 |
Expanding an assembly reveals the list of resources that make up that assembly.
|
To open an existing Resource Assembly Record, right-click on the row header of an assembly (row) on the Resource Assembly Register, and then select Open.
The following image and table show an overview of the resource assembly record.

|
Name |
Description |
|
|---|---|---|
|
1 |
Assembly Code and Description |
Each assembly is defined with an assembly Code and an assembly Description. |
|
2 |
Quantity and Unit of Measure |
Each assembly has a quantity and unit of measure. The default is 1 EA. For crew assemblies with all hourly duration driven resources, it is a best practice to change the Qty to Hour, so that when used on a cost item, it will show you the assembly’s unit cost per hour. |
|
3 |
Assembly Details |
The rows in the Assembly Details register represent the resources that make up the resource assembly. |
|
4 |
Notes |
An area where the estimators make notes for records related to the resource assemblies for work orders which is commonly performed by a type of crew. |
The Productivity Indicator shows the field that contains the as-entered value and is driving the estimate for that cost item. This appears as an arrow aligned to the left of the cell as shown below.
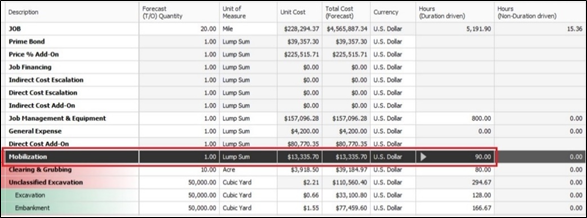
Being able to see productivity drivers on the CBS register makes it easier to review and modify the estimate as a whole while reducing the potential to accidentally overwrite a manually entered data.
Follow the step by step below to create a Resource Assembly.
From the Library landing page, under the Master Resources section of the Setup tab, select Resource Assemblies. The Resource Assembly Register shows.
Right-click on any row header, and then select New from the drop-down menu. A new Resource Assembly Record is shown.
In the Code field, type a code as the unique code for the assembly. For example, you can type CEXC + [your initials].
Add a description in the Description field.
In the Assembly Details register at the bottom of the screen, click in the Resource Code column in the first blank row, and then select the Resource icon that shows in the cell.
On the Labor tab of the resulting register, select the resource with your description. For example, you can select LL2Laborer, and then click OK to add this resource to the assembly.
You can add dditional resources if needed.
You can use the Ctrl and Shift keys to select multiple resources at once.
Click OK to save and close the new assembly.
Additional Information
9977 N 90th Street, Suite 250 Scottsdale, AZ 85258 | 1-800-637-7496
© 2024 InEight, Inc. All Rights Reserved | Privacy Statement | Terms of Service | Cookie Policy | Do not sell/share my information