Products
Solutions
Resources
9977 N 90th Street, Suite 250 Scottsdale, AZ 85258 | 1-800-637-7496
© 2024 InEight, Inc. All Rights Reserved | Privacy Statement | Terms of Service | Cookie Policy | Do not sell/share my information

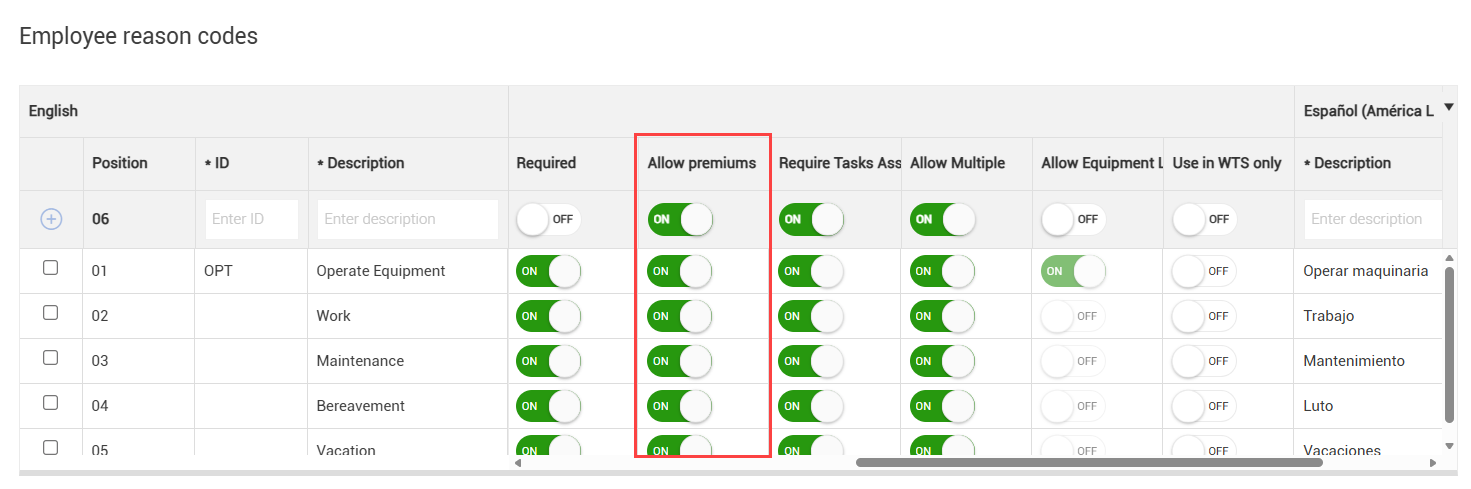
Reason codes classify hours worked into specific payroll categories. When entering an employee’s hours on a daily plan, you can select a reason code to indicate how those hours should be categorized for payroll purposes.
The following categories can represent activities or conditions such as:
Operating equipment
Performing maintenance
Bereavement leave
Paid time off (PTO)
Reason codes can also identify pay types like standard time, overtime, or double time.
Reason codes must be enabled and configured in your organization and project settings. For more details, see Organization settings.
You can assign a premium rate to an employee’s work hours to ensure accurate pay for specific tasks. Premiums apply on an hourly basis and are typically used when an employee performs work outside their normal job duties.
For example, an employee might work six hours at a regular labor rate and two hours as a welder. You can assign two reason codes- one for the six hours and one for the two hours- and apply a premium code to the welding hours. This ensures the correct rate is reflected when the information goes to payroll.
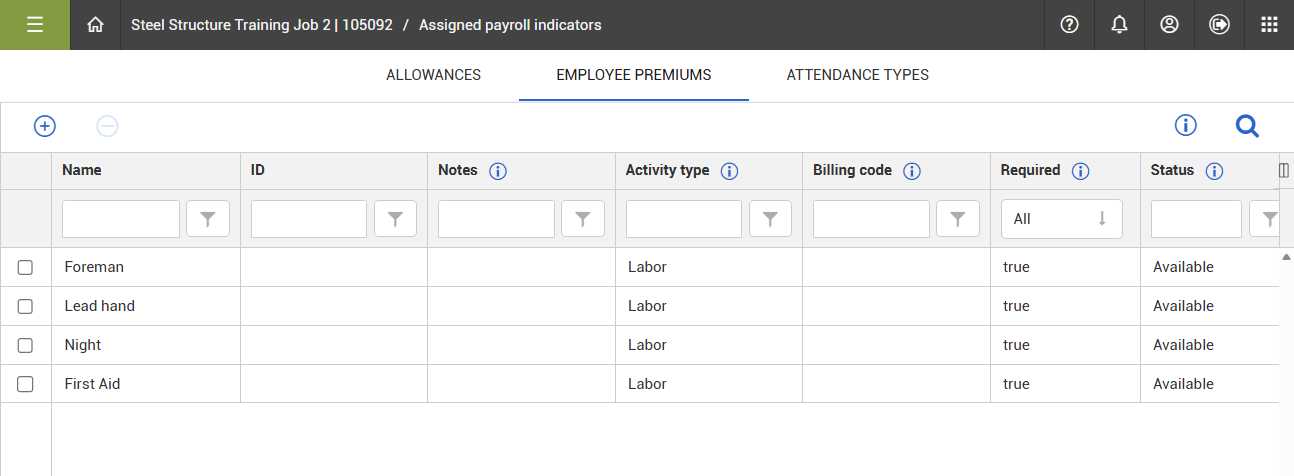
Premiums are set up in your organization’s Master data libraries. You can manage premiums for your project on the Assigned payroll indicators page.
Note: Reason codes are required for Time Center and Weekly Timesheet.
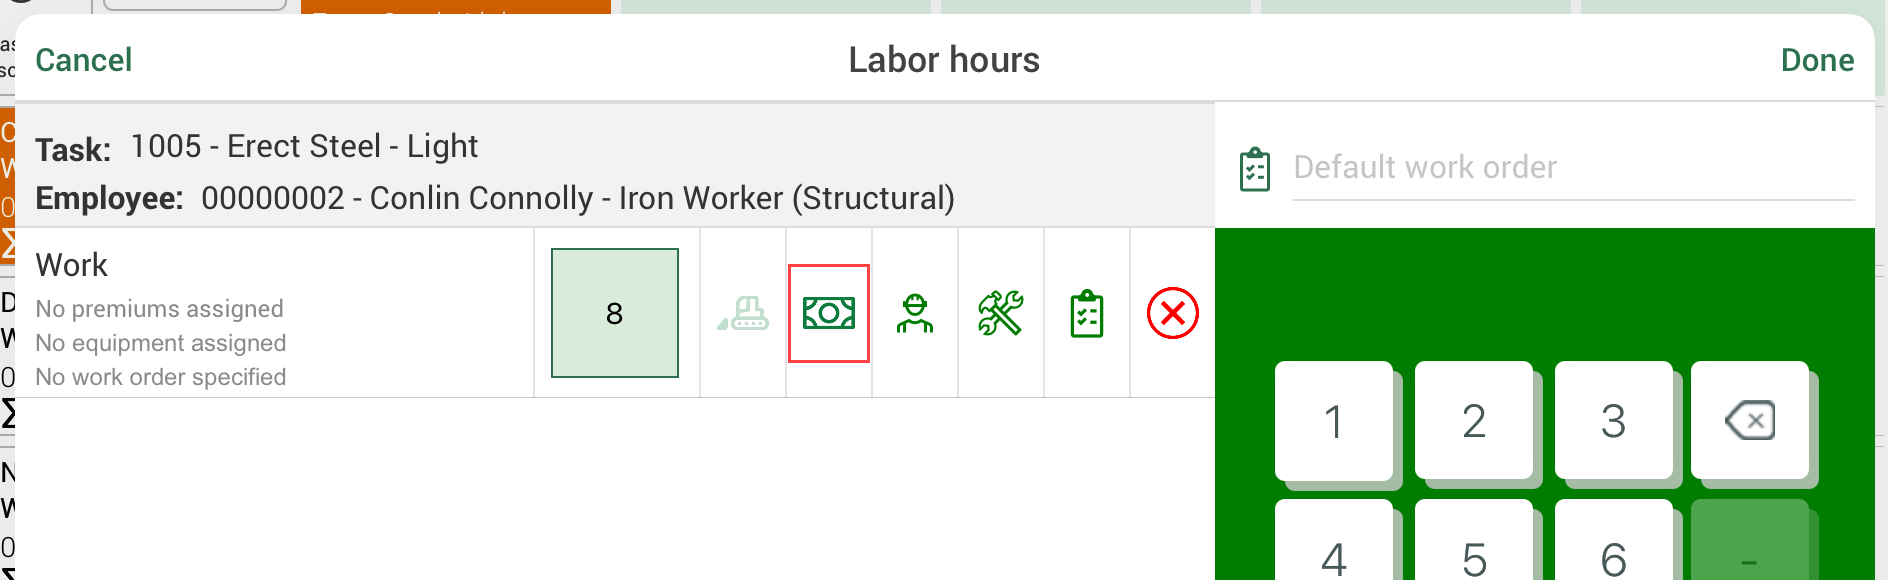
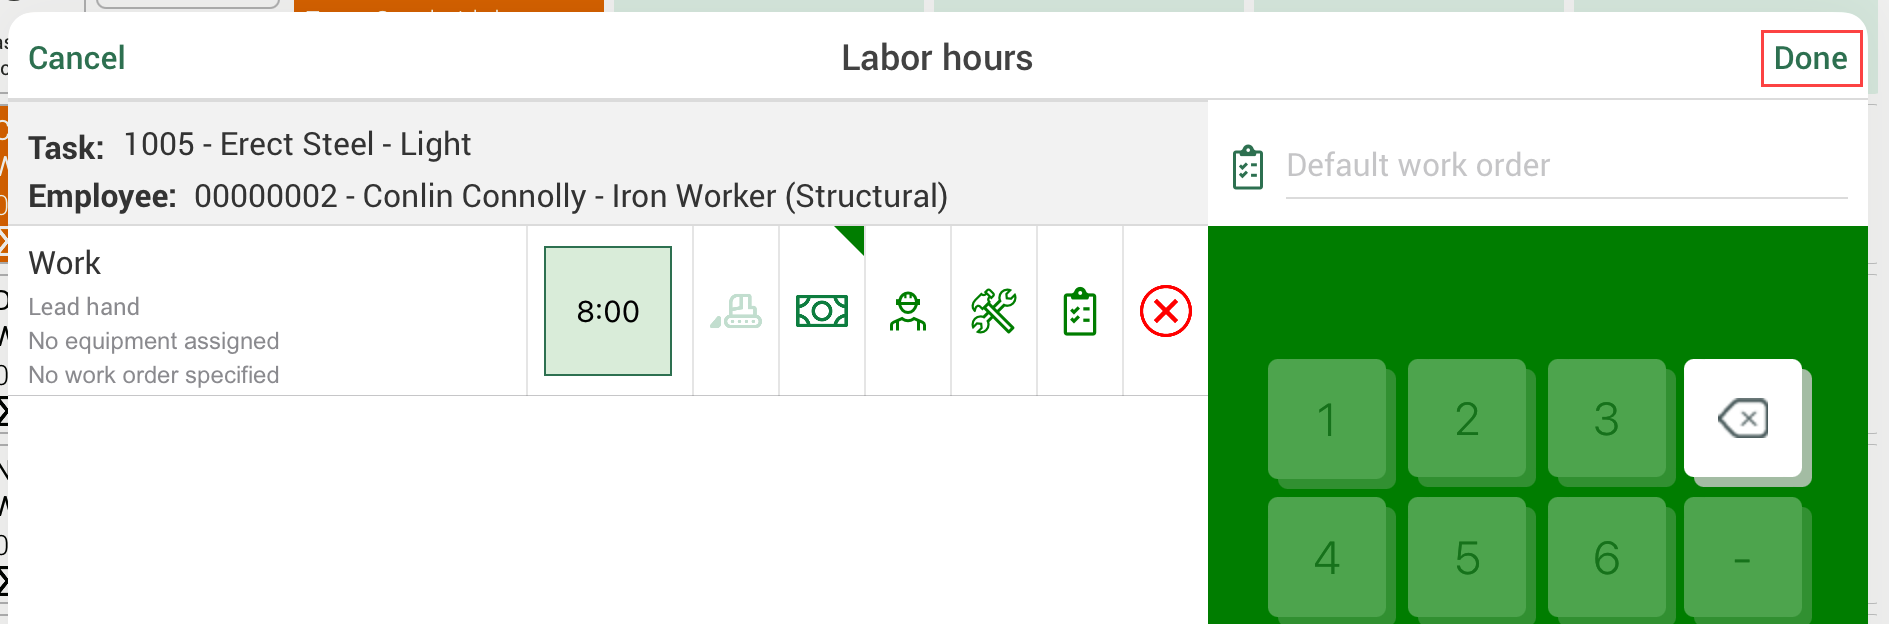
From the Time Sheet tab, click a tile for an employee’s work hours.

Click the Premium icon.
Select a premium, and then click Done.
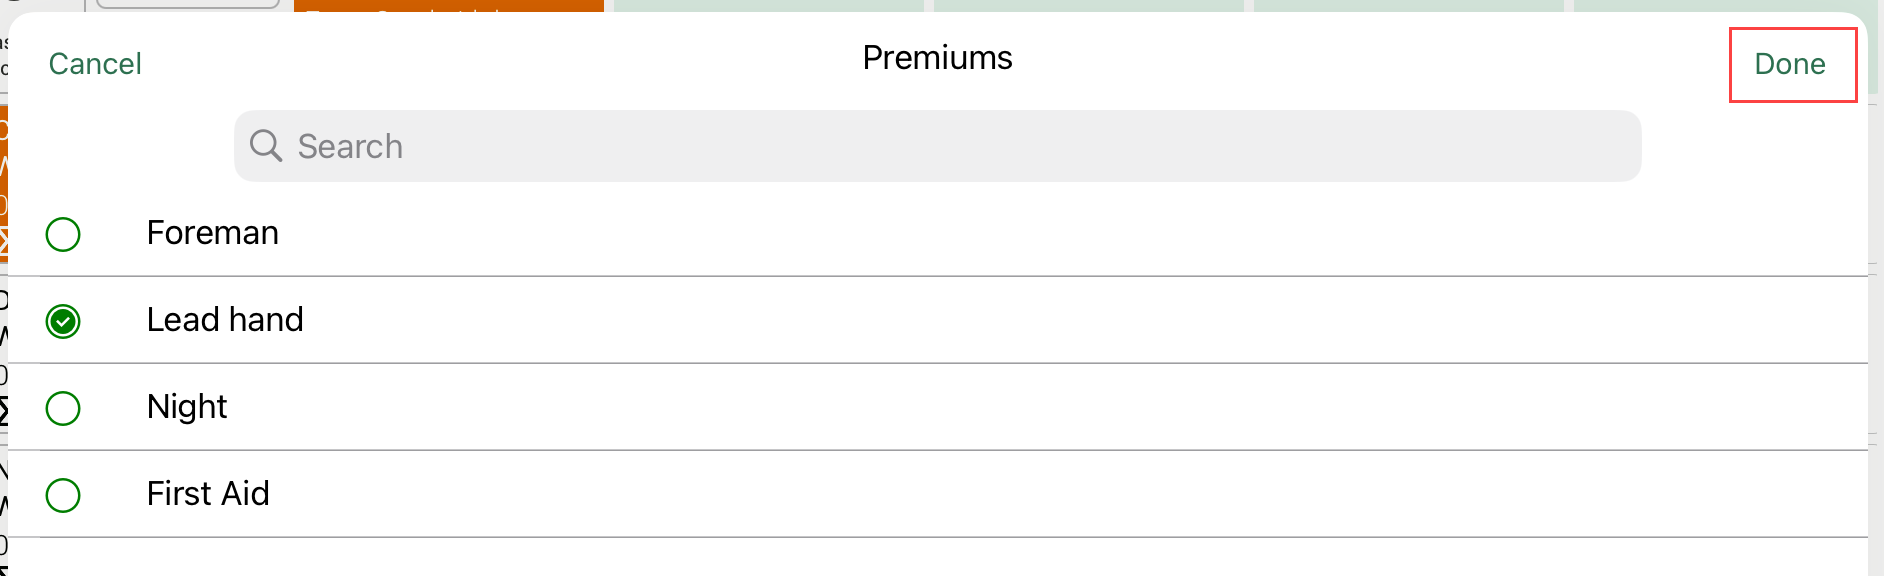
Click Done to return to the Time Sheet tab.
Additional Information
9977 N 90th Street, Suite 250 Scottsdale, AZ 85258 | 1-800-637-7496
© 2024 InEight, Inc. All Rights Reserved | Privacy Statement | Terms of Service | Cookie Policy | Do not sell/share my information