Products
Solutions
Resources
9977 N 90th Street, Suite 250 Scottsdale, AZ 85258 | 1-800-637-7496
© 2024 InEight, Inc. All Rights Reserved | Privacy Statement | Terms of Service | Cookie Policy | Do not sell/share my information

You can customize the columns on your pages according to your preferences. Changes made to columns and filtering will be retained across projects each time you access Control.
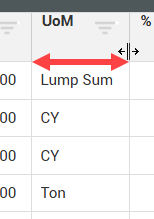
You can resize the width of a column to let you view the data more clearly. To resize a column, select the column border on the right, and then drag it to a new position.
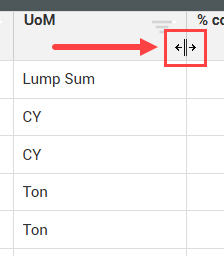
To auto-fit the column to its contents, double-click the column border.
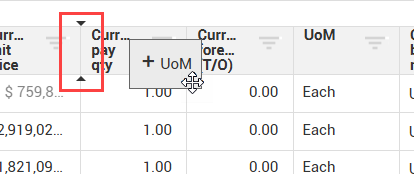
You can move a column from one place to another to customize your view using drag and drop.
To move a column, select the column header, and then drag and drop the column into a new position.
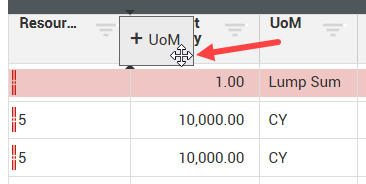
Notice that two black arrows indicate the new position of the column.
You can sort columns by clicking the column header. Click once to sort the column in ascending order.
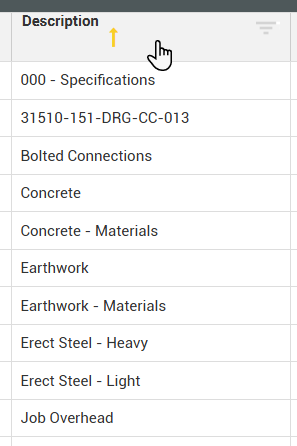
Click the column header a second time to sort the column in descending order.

To clear the sorting, click the column header a third time.
You can filter your column data to only show specific information you want to view. There are two ways to set a filter:
You can set a filter for a column by clicking the Filter icon on any column header. This opens a drop-down list of items you can filter by to apply to that specific column.
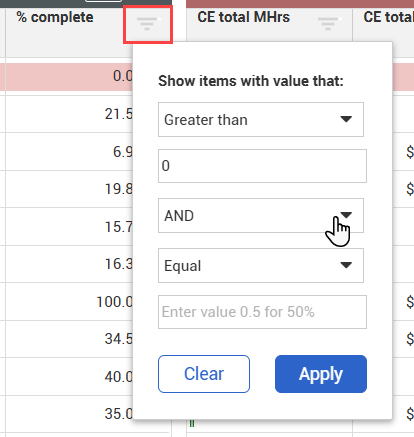
If you want to remove a single filter, locate the column you filtered, click the Filter icon, and then click the Clear button.
Selecting the Filter icon will remove all the filters applied to the columns.
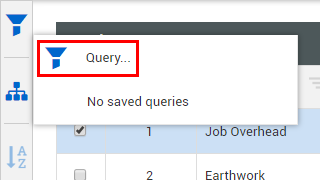
You can also set a filter by clicking the Filter icon and selecting Query.
On the CBS and ACS tabs, the Filter icon shows on the side toolbar. On the Pay Items tab, Change Register, and Audit Log, the Filter icon shows on the top right toolbar.
The filter by Query option is helpful when you:
Need to search for the column you need to filter
Need to apply filters to more than one column
Selecting Query opens the Query builder slide-out panel, where you can set the filter criteria.
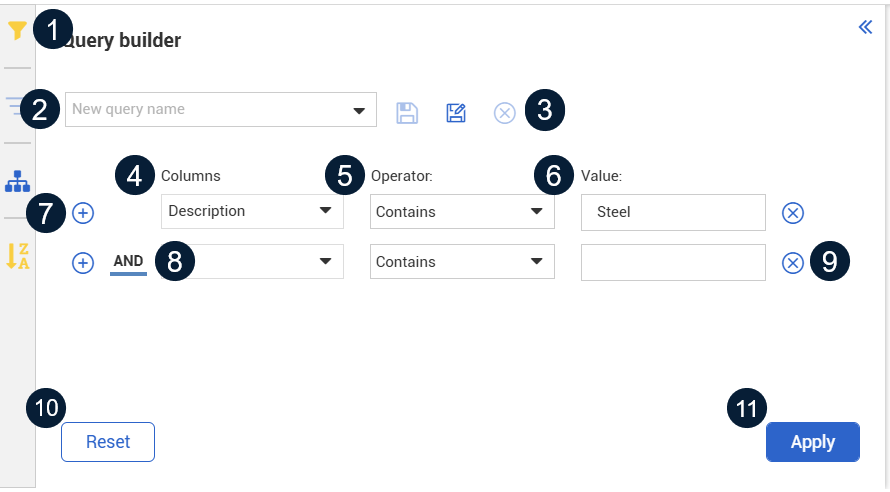
You can build a query using multiple criteria. Each criterion includes a column, an operator, and a value. Use the AND/OR options to combine criteria and define how they relate to each other. The following image and table show the Query builder functions:
|
Title |
Description |
|
|---|---|---|
|
1 |
Filter icon |
Opens the Query builder slide-out panel. |
|
2 |
Query name |
Click the Save as icon to the right to input a name for the query. Open the query name drop-down menu to select a saved query. |
|
3 |
Save Query icons |
Click the Save as icon to enter a name for a new query, and then click the Save icon to save the query. Click the Delete icon to delete the saved query. |
| 4 | Columns | Open the Columns drop-down menu to select the column that the filter criterion will apply to. |
| 5 | Operator | Open the Operator drop-down menu to select the condition to be applied to the selected column. |
| 6 | Value | Enter the value you want to search for. |
| 7 | Add icon | Click the Add icon to add another criterion to the query. |
| 8 | AND/OR options | Click AND/OR to define how the query criteria relate to one another. When you click here, the options toggle between “And” and “Or”. |
| 9 | Delete icon | Click the Delete icon to remove the criterion from the query. |
| 10 | Reset | Click the Reset button to remove the filter criteria from the CBS and close the Query builder. |
| 11 | Apply | Click the Apply button to apply the filter criteria to the CBS. |
On the CBS tab, in addition to the two filtering methods, there is also a Filter indicator on the side toolbar. When a filter is applied, the Filter indicator turns yellow. Hover over the icon to view details of the applied filters.

Clicking the filter icon will remove all of the applied filters.
Several tabs in Workspaces let you organize your data into groups based on column. This is useful when you want to view related records together, or if you want to see subtotal values by group.
Note that only columns with a discrete or predefined set of values such as categories, statuses, or units of measure can be used for grouping.
From the right toolbar, click the Group columns icon. This opens the grouping area at the top of the page.
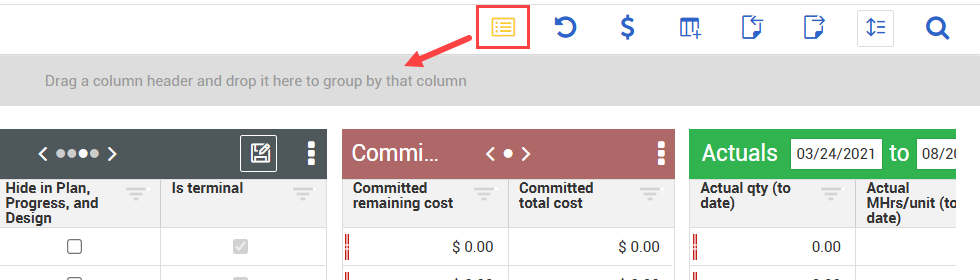
On the Pay Items tab, the grouping area is always open.
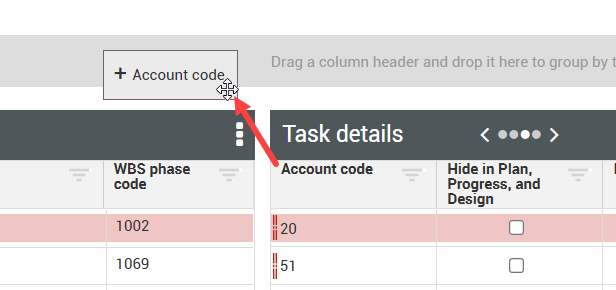
Select a column header, and then drag and drop it into the grouping area. Your data is now grouped based on the values in that column.
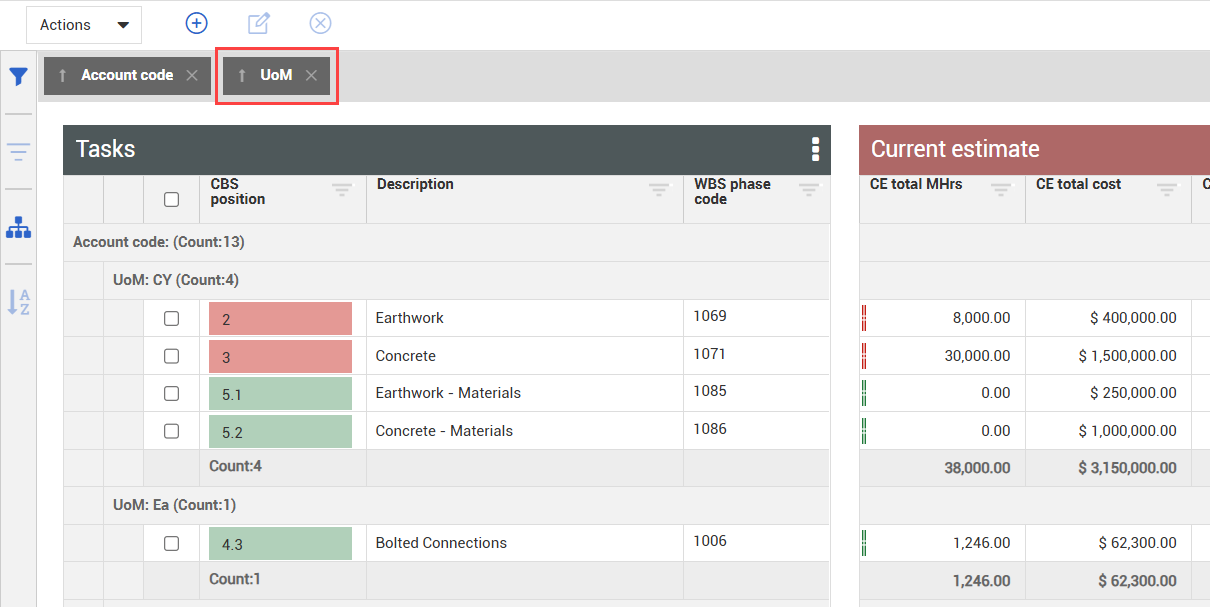
To create a subgroup, select another column header, and then drag and drop it into the grouping area.
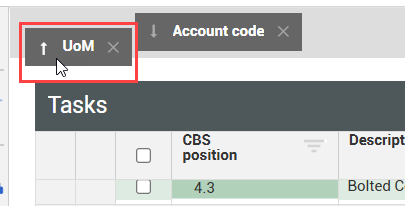
To reverse the sorting of the groups, click the column header inside the grouping area.
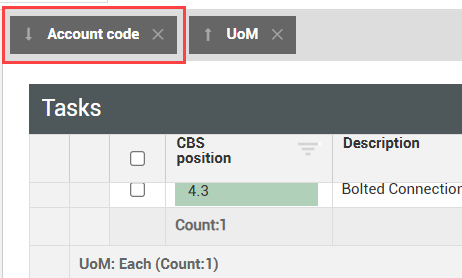
To rearrange the subgrouping, drag and drop a column header inside the grouping area into a new position.
Click the Close icon on the column header to remove it from the grouping.
To remove the grouping on the page, click the Group columns icon again.
Additional Information
9977 N 90th Street, Suite 250 Scottsdale, AZ 85258 | 1-800-637-7496
© 2024 InEight, Inc. All Rights Reserved | Privacy Statement | Terms of Service | Cookie Policy | Do not sell/share my information