Products
Solutions
Resources
9977 N 90th Street, Suite 250 Scottsdale, AZ 85258 | 1-800-637-7496
© 2024 InEight, Inc. All Rights Reserved | Privacy Statement | Terms of Service | Cookie Policy | Do not sell/share my information

From the project’s home page menu, select Control.
Select Control > Workspaces on the left side of the Main menu.
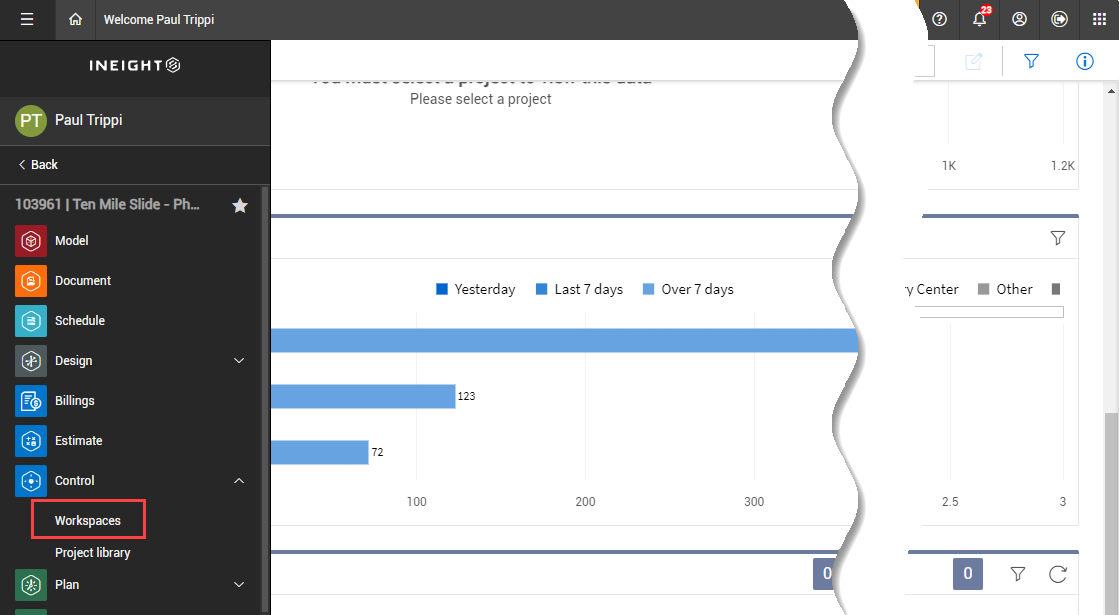
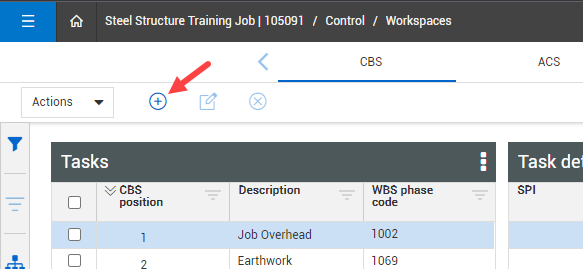
Select the CBS tab to open the CBS register of your project.

Select the Add Cost Item icon on the top left of the page.
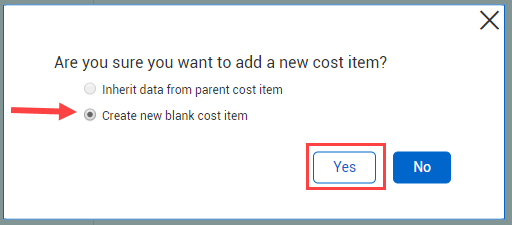
Select Create a new blank cost item, then click Yes.
This opens the Cost item details page where you can enter the pertinent information for the new cost item
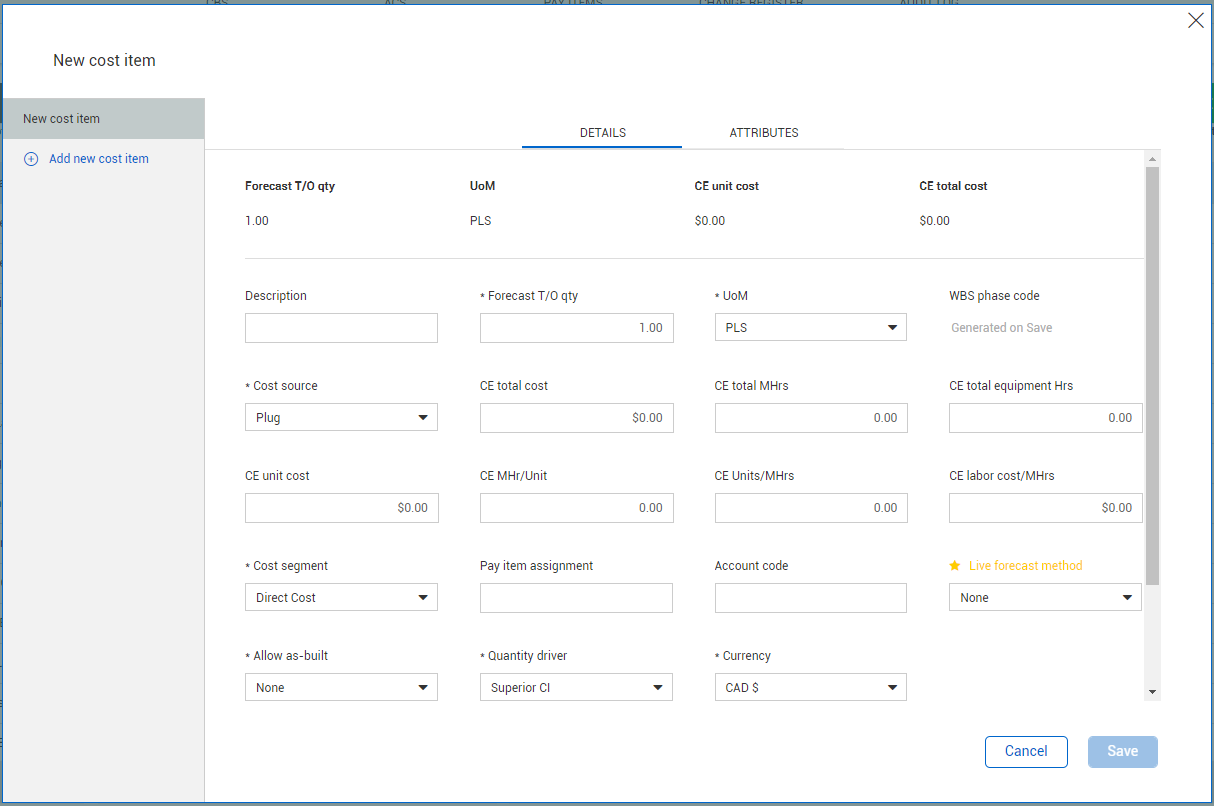
On the Details tab, enter the following information:
Description: [enter a cost item description]
UoM: Lump Sum
Cost Segment: Direct Cost
Allow as-built: All
Click Add new cost item on the new cost item list in the left-side panel to add an additional cost item.
Enter the following information:
Description: [enter a cost item description]
UoM: Lump Sum
Cost Segment: Direct Cost
Allow as-built: All

Click Save.
Your new cost items are now created in the CBS

From the project’s home page menu, select Control.
Select Workspaces.
On the CBS tab, scroll down and find a superior cost item in the Tasks data block where multiple subordinate cost items exist.
Right click the superior cost item to bring up the options menu.
Select New Subordinate Cost Item to create a subordinate cost item to your superior cost item.
Select the Inherit data from parent cost item radio button, then click Yes.
On the CBS register tab, highlight the new subordinate cost item you created.
Right click on the cost item of your choice.
Click on Adjust CBS position.
Click and drag your cost item and move it directly under the superior cost item you want it to go under.
Click Save.
Your subordinate cost item should now be moved.
On the CBS register tab, select the Group Columns icon on the right toolbar.
Drag the column header of a column and drop it into the grey bar area.
Drag and drop a second column header into the grey bar area.
Your project cost items are now grouped by both columns.
From the Control > Workspaces page, on the CBS tab, click on the Import icon on the right toolbar.

Select Cost Items when the Import CBS data window appears.
Click on the Browse button to select a file to import.
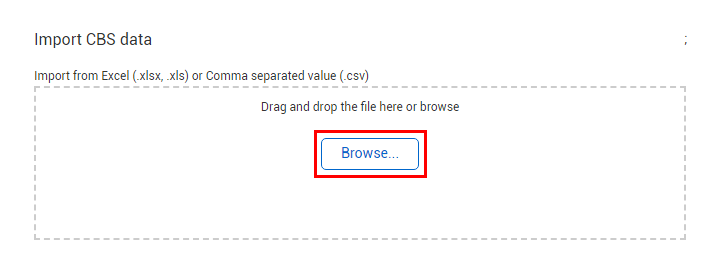
Browse to the Excel file you wish to import.
The file and its location should be indicated by your instructor if you’re in a classroom setting, otherwise you can select one of your own
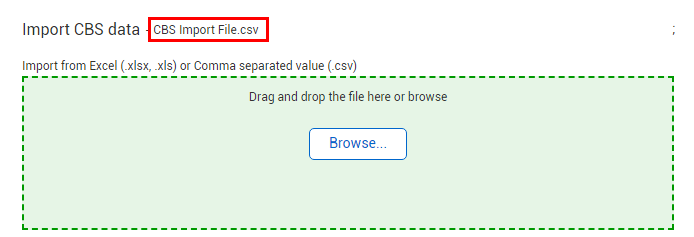
Select the import file and click Open.

The import file is now selected
Under Options, select New Items (if not already selected).
For the Cost item matching criteria, select Cost items and cost item attributes from the drop-down list.
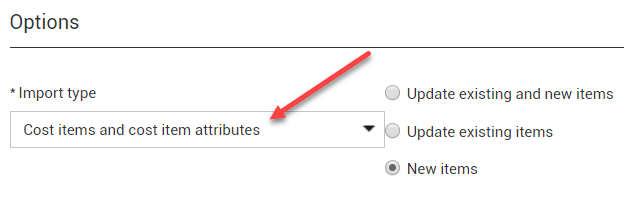
Click Next.
This takes you to the Map columns window
Note that the File columns fields are set to Blank-do not import by default
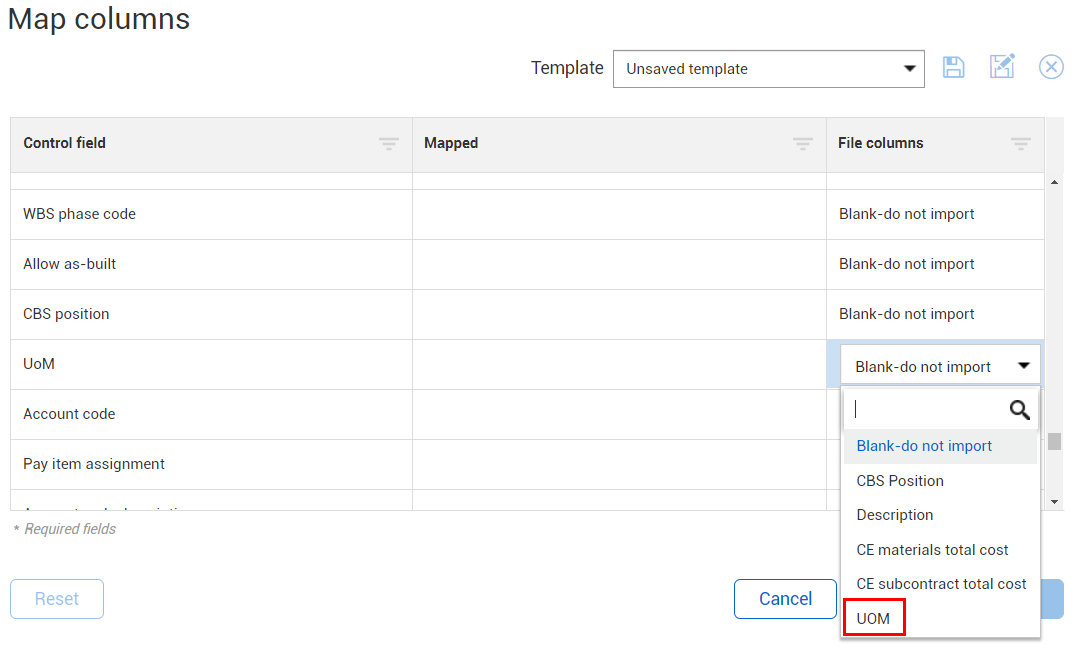
Select UOM from the drop-down list to map the UOM column in the Excel file to the UoM CBS column.
Repeat the selection process to select the appropriate File columns to map to the following CBS columns:
CBS position
Description
WBS Phase Code
Forecast (T/O) quantity
CE Final MHrs
CE final cost
A green check mark indicates successful mapping of your file columns

To save these settings for future use, click in the Template field and type Steel Structure Template.

Click the Save icon to save the template.

Click Next.
A progress bar appears informing you the import is in progress

A prompt appears, indicating the project will be disabled from use during the importing process

Click Import now.
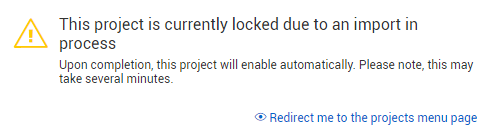
A prompt appears informing you that the project is currently locked for the importing process
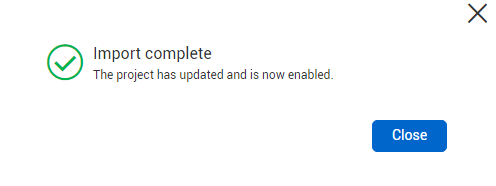
Once completed, you will receive the following prompt, informing you the data imported successfully
Additional Information
9977 N 90th Street, Suite 250 Scottsdale, AZ 85258 | 1-800-637-7496
© 2024 InEight, Inc. All Rights Reserved | Privacy Statement | Terms of Service | Cookie Policy | Do not sell/share my information