Products
Solutions
Resources
9977 N 90th Street, Suite 250 Scottsdale, AZ 85258 | 1-800-637-7496
© 2024 InEight, Inc. All Rights Reserved | Privacy Statement | Terms of Service | Cookie Policy | Do not sell/share my information


While adding issue details, the superintendent receives revised drawings and specs from the owner for the additional steel work. He includes these documents with the issue details.
The superintendent also asks his field engineer to send an additional RFI to clarify aspects of the design.
In InEight Change, you can link related documentation (e.g., specs, drawings) under the issue’s Supporting Documents tab. You can also link RFIs to the issue that were created in InEight Document.
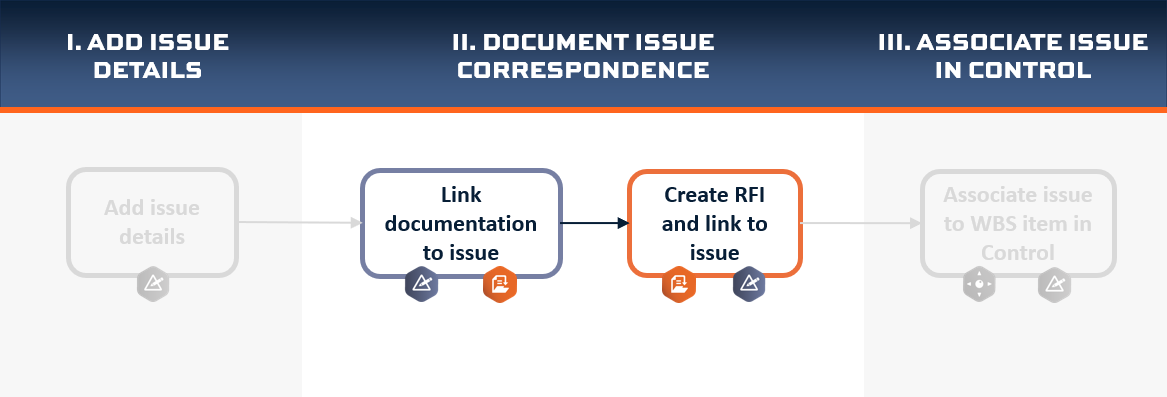
The following steps walk through a couple of examples showing how to link documents from InEight Document to your issue in InEight Change, under the Supporting Documents tab.
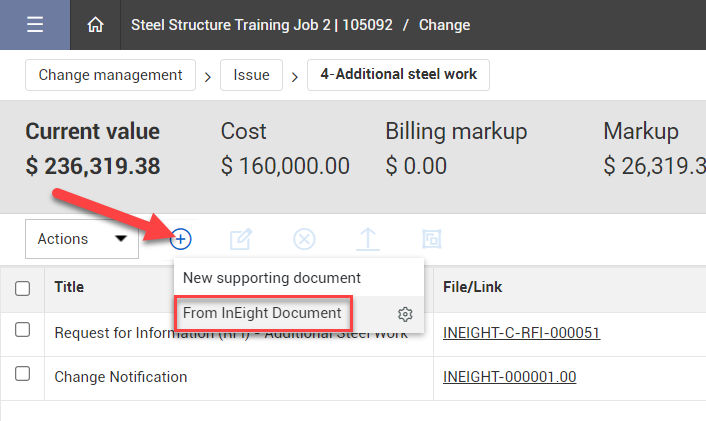
From the Supporting Documents tab, select Add > From InEight Document.
Search for the document to link to from InEight Document and select it.
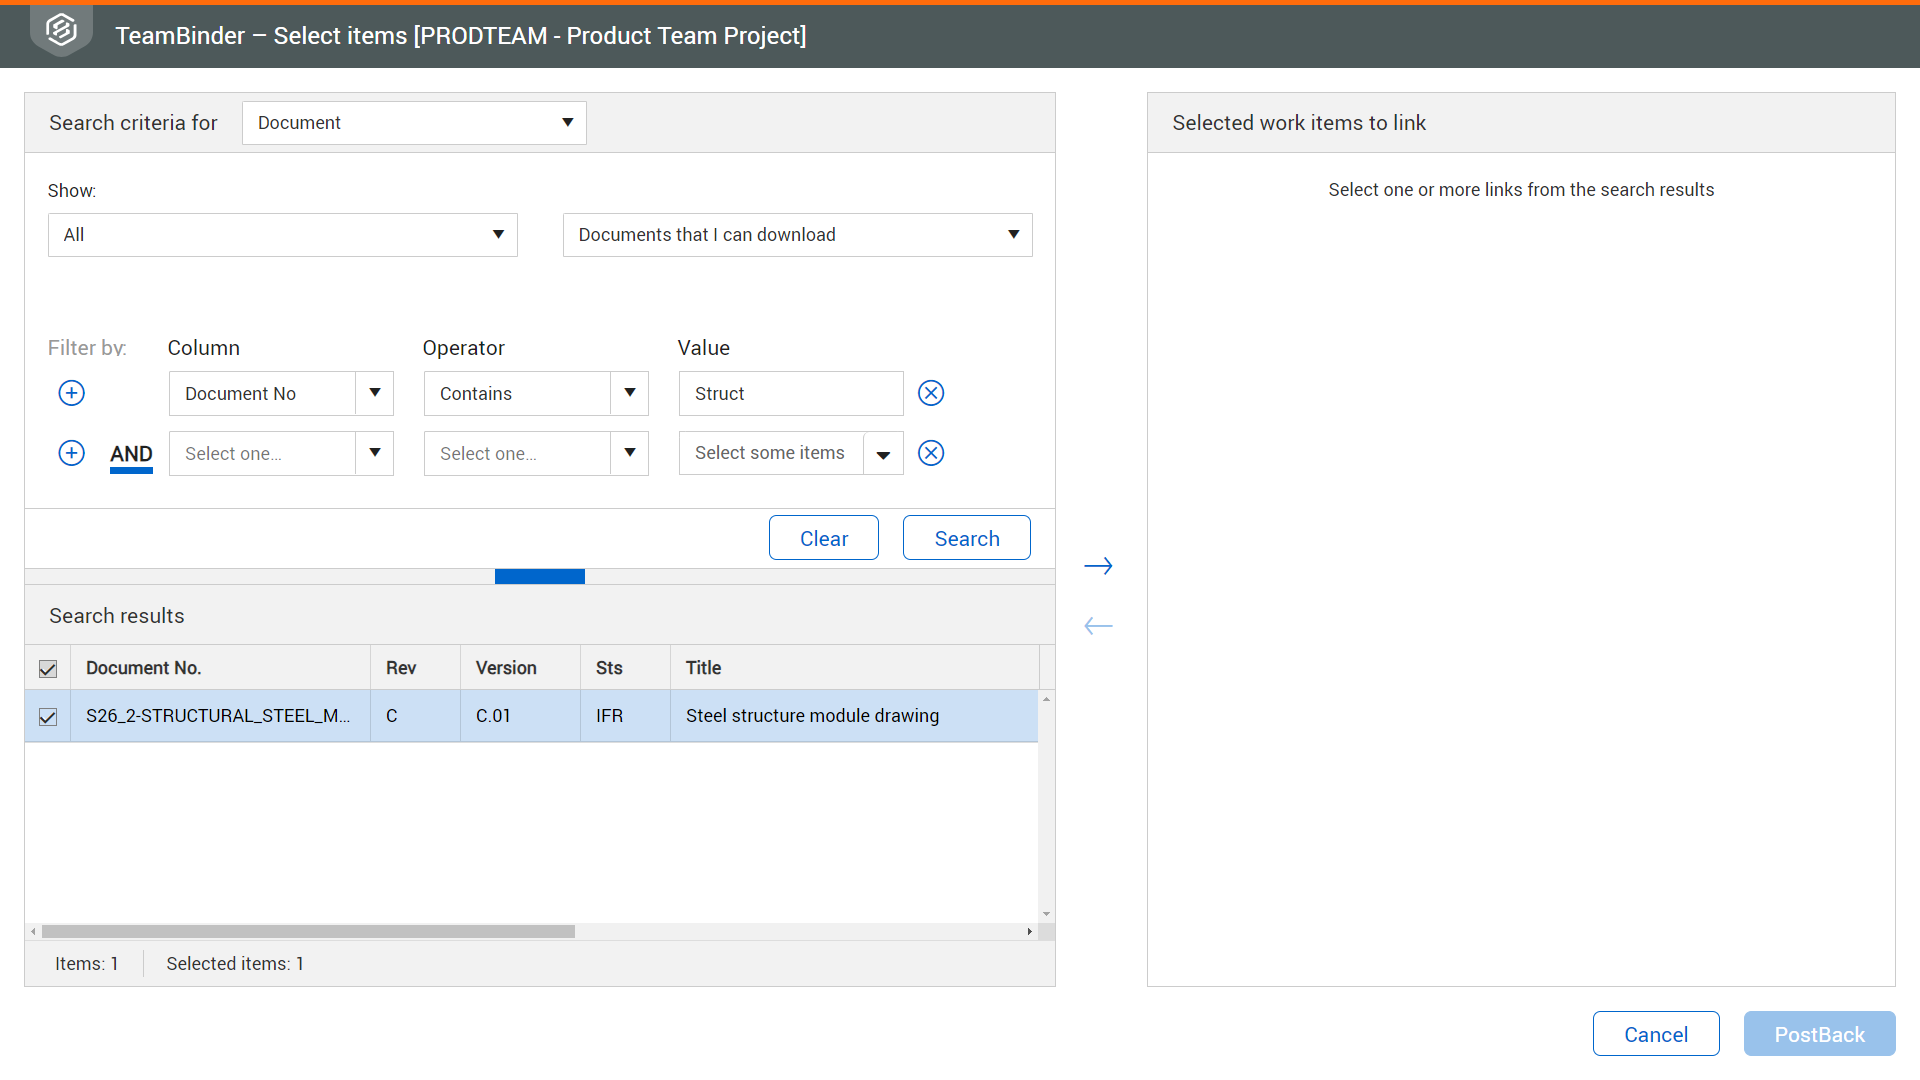
Use the arrow to move the selected document to the right, then PostBack.

Select the Document type, then click Add.
You can add notes if needed.

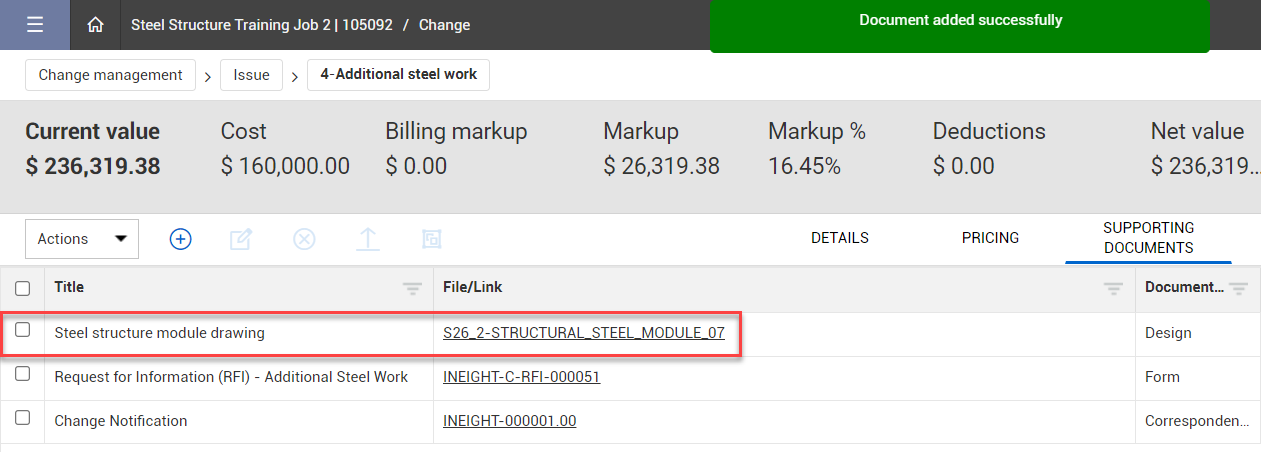
A direct link to the document is added on the Supporting Documents tab.
In Eight Document, an RFI is created to follow up on the issue.

From the Supporting Documents tab, select Add > From InEight Document.

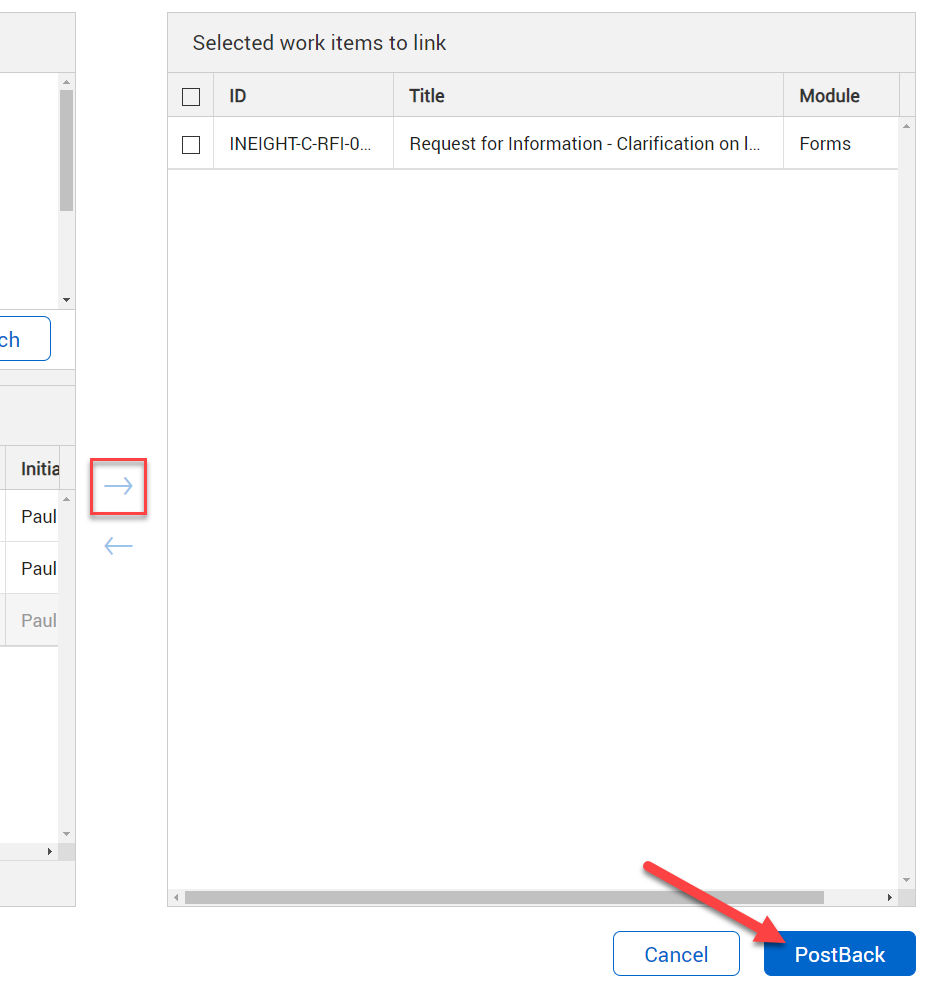
Search for the form to link to from InEight Document and select it.

Use the arrow to move the selected document to the right, then PostBack.
Select the Document type and Subtype, then click Add.
You can add notes if needed.

A direct link to the form is added on the Supporting Documents tab.

Access the following link to learn more:
Additional Information
9977 N 90th Street, Suite 250 Scottsdale, AZ 85258 | 1-800-637-7496
© 2024 InEight, Inc. All Rights Reserved | Privacy Statement | Terms of Service | Cookie Policy | Do not sell/share my information